


unity可视化着色器
Unity 2018.1 brings new levels of control and flexibility. One of the coolest features coming in 2018.1 is Shader Graph. Whether you’re a beginner or a pro, it helps you create a range of shaders; flowing lava, gooey slime mound, beautiful lakes, flashing LEDs, and more!
Unity 2018.1带来了新的控制和灵活性级别。 Shader Graph是2018.1中最酷的功能之一。 无论您是初学者还是专业人士,它都可以帮助您创建一系列着色器。 流动的熔岩,黏糊糊的土墩,美丽的湖泊,闪烁的LED等!
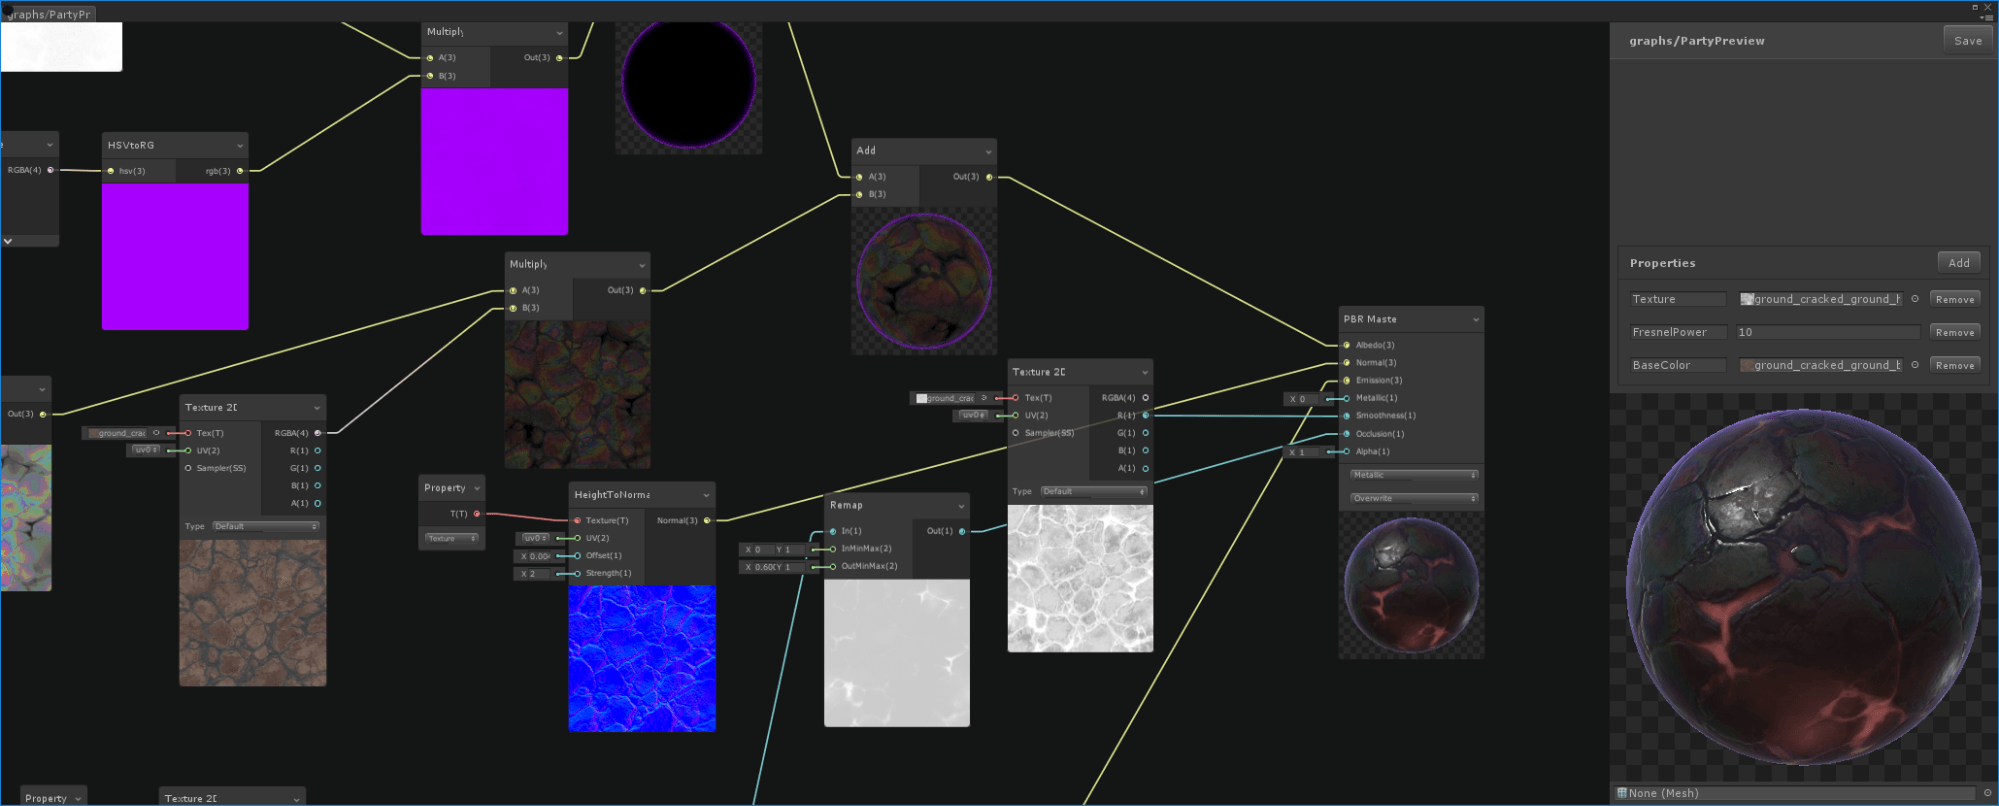
A Shader Graph enables you to build your shaders visually. Instead of hand writing code you create and connect nodes in a graph network. You can do things like:
着色器图使您可以直观地构建着色器。 您可以在图形网络中创建并连接节点,而无需手写代码。 您可以执行以下操作:
The graph framework gives instant feedback on the changes, and it’s simple enough that new users can become involved in shader creation.
图形框架可立即提供有关更改的反馈,而且非常简单,新用户即可参与着色器的创建。
The Shader Graph is now available in beta! To get started, download the sample project, open it with Unity 2018.1 beta, and start exploring. You can also get Shader Graph via the Package Manager.
着色器图现已提供beta版! 首先,下载示例项目,使用Unity 2018.1 beta打开它,然后开始探索。 您也可以通过Package Manager获取Shader Graph。
Shader Graph is designed to work with another Unity 2018.1 feature: Scriptable Render Pipeline (SRP). Therefore, you can’t use it with the Built-In Unity Renderer. It will come with support for:
Shader Graph旨在与Unity 2018.1的另一个功能配合使用: 可脚本化渲染管道 (SRP)。 因此,您不能将其与内置Unity Renderer一起使用。 它将支持:
You will also be able to extend the system to export shaders for any custom SRP you write.
您还可以扩展系统以导出您编写的任何自定义SRP的着色器。
如何创建着色器图? (How do you create Shader Graphs?)
In Unity 2018.1, a Shader Graph appears as a normal shader. To create a Shader Graph you click the Create menu, and select ‘Shader Graph’ from the dropdown. This will create a Shader Graph asset in the project. You can double click on the asset or select the Open Graph button to bring up the Shader Graph Edit window.
在Unity 2018.1中,着色器图显示为普通着色器。 要创建着色器图,请单击“创建”菜单,然后从下拉列表中选择“着色器图”。 这将在项目中创建一个Shader Graph资产。 您可以双击资产或选择“打开图形”按钮以调出“着色器图形编辑”窗口。
When you open the Shader Graph you start with the ‘Master Node’. You connect nodes into the Master Node to create the look of your surface. To learn more about the underlying material models check out the existing Unity Standard Shader documentation.
打开“明暗器图形”时,从“主节点”开始。 您可以将节点连接到主节点中,以创建曲面外观。 要了解有关基础材料模型的更多信息,请查看现有的Unity Standard Shader文档。
You can quickly edit your surface by changing the default values! But, you know what’s even more exciting? Adding textures and other complex interactions. To add a node simply right click and select ‘Create Node’.
您可以通过更改默认值来快速编辑表面! 但是,您知道还有什么更令人兴奋的吗? 添加纹理和其他复杂的交互。 要添加节点,只需右键单击并选择“创建节点”。
Each included Shader Graph node has a number of inputs, we’ve included default values that you can customize however you like.
每个包含的“ Shader Graph”节点都有许多输入,我们包含了可根据需要自定义的默认值。
Adding in a texture (or other assets) is also really easy, just create a node of that asset type and connect it!
添加纹理(或其他资产)也非常容易,只需创建该资产类型的节点并将其连接即可!
Your Shader Graph shader is just like a normal shader in Unity. Right click on any object in the Inspector and choose Create Material. You can create multiple materials from the same shader.
您的Shader Graph着色器就像Unity中的普通着色器一样。 右键单击检查器中的任何对象,然后选择“创建材料”。 您可以从同一着色器创建多种材质。
You can easily expose parameters in your shader so they can be overwritten in each material you create from your shader. In the Shader Graph, right lick on any variable node and select ‘Convert to Property’. These exposed parameters appear in the material inspector for each material you create from your shader.
您可以轻松地在着色器中公开参数,以便在您从着色器创建的每种材质中都可以覆盖它们。 在“明暗器图形”中,右键单击任何变量节点,然后选择“转换为属性”。 这些暴露的参数将显示在材质检查器中,用于您从着色器创建的每种材质。
我想要更多的教程! (I want more tutorials!)
We’re hosting a live training session on the Shader Graph on March 7! Register for it on our Events page and follow our Twitter and YouTube for a recording of the session. If you’re going to GDC, you can look forward to a number of Shader Graph related talks, sign up here for updates.
我们将于3月7日在Shader Graph上进行现场培训 ! 在我们的活动页面上进行注册,然后关注我们的Twitter和YouTube ,以记录会议记录。 如果您要参加GDC,可以期待许多有关Shader Graph的讲座,请在此处注册以进行更新。
We also highly recommend that you check out and learn from Andy Touch’s Shader Graph Example Library on GitHub!
我们还强烈建议您检查并从GitHub上的 Andy Touch的Shader Graph示例库中学习!
我有问题! (I have questions!)
Excellent! We are happy to answer them. Please come talk to us on this forum thread, and we will help you out there.
优秀的! 我们很乐意回答他们。 请通过这个论坛主题与我们联系,我们将为您提供帮助。
unity可视化着色器


 2314
2314


 被折叠的 条评论
为什么被折叠?
被折叠的 条评论
为什么被折叠?
 到【灌水乐园】发言


