If you have a lot of time and information invested in Facebook, it’s not easy moving to a new social network. Here are a few tips on moving your information from your Facebook account to your shiny new Google+ account.
如果您在Facebook上投入了大量的时间和信息,那么迁移到新的社交网络并不容易。 以下是一些将您的信息从Facebook帐户转移到闪亮的Google+帐户的提示。
Moving social networks isn’t the easiest thing to do, but luckily there are a few tools we can use to migrate pictures, videos, and friends. Wall posts and messages don’t make sense to migrate between networks so we are going to leave those out.
移动社交网络并不是一件容易的事,但幸运的是,我们可以使用一些工具来迁移图片,视频和朋友。 墙上的帖子和消息在网络之间迁移没有意义,因此我们将忽略这些内容。
导出Facebook信息 (Export Facebook Information)
Start by downloading all of your Facebook information. To do that, log into Facebook and go to account settings in the upper right corner.
首先下载您的所有Facebook信息。 为此,请登录Facebook并转到右上角的帐户设置。
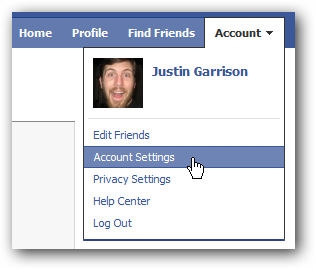
On the settings tab click “learn more” next to “download your information.”
在设置标签上,点击“下载信息”旁边的“了解更多信息”。

Enter your password and click continue; you will be sent an email once your download is ready.
输入密码,然后单击继续; 下载完成后,您会收到一封电子邮件。

Once you receive the email, click the link to download a zip of all of your files.
收到电子邮件后,请单击链接以下载所有文件的zip文件。
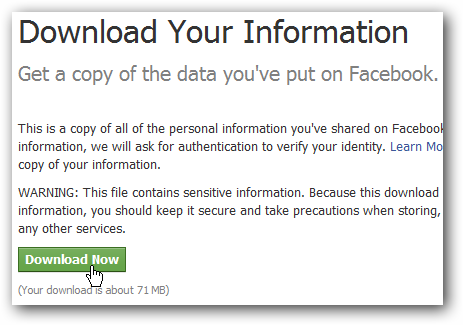
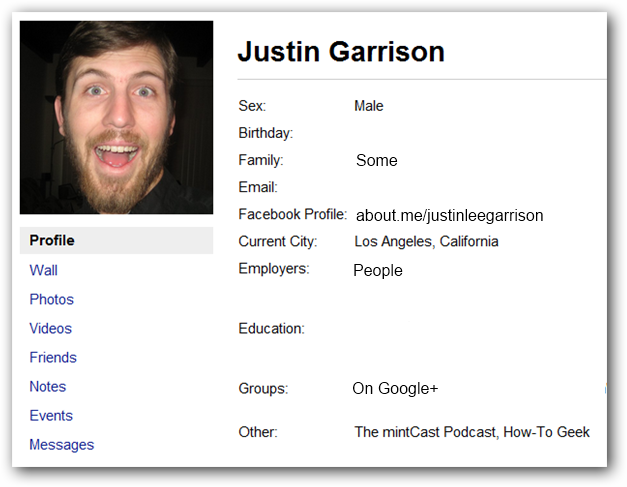
Extract the files and open the index.html file to verify all your information is there.
解压缩文件并打开index.html文件,以确认所有信息都在其中。
导入照片 (Import Photos)
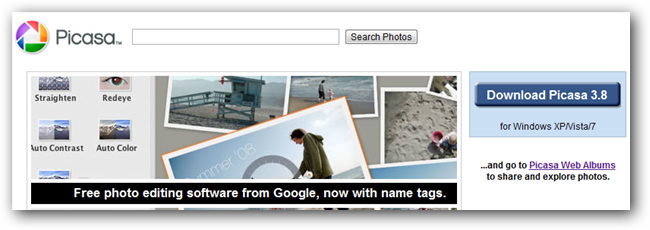
Google+ uses Picasa web albums to share pictures. To get started you need to download Picasa from the link below.
Google+使用Picasa网络相册共享图片。 首先,您需要从下面的链接下载Picasa。
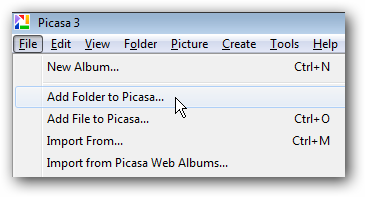
Once installed, open Picasa and add the Facebook photos folder you just downloaded to picasa.
安装完成后,打开Picasa,然后将您刚刚下载的Facebook照片文件夹添加到picasa。
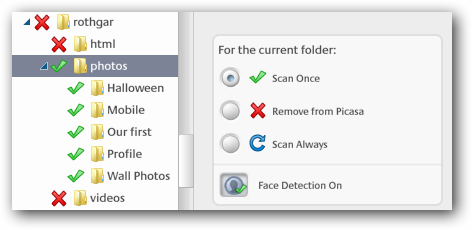
Set Picasa to scan the folders once, and then let it do the import.
将Picasa设置为一次扫描文件夹,然后让其进行导入。
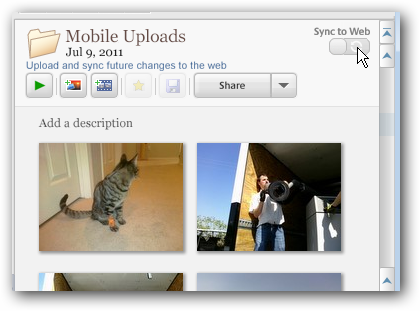
Once the pictures have finished importing into Picasa, find the albums and select Sync to Web on the right.
图片完成导入到Picasa后,找到相册并选择右侧的“同步到网络”。
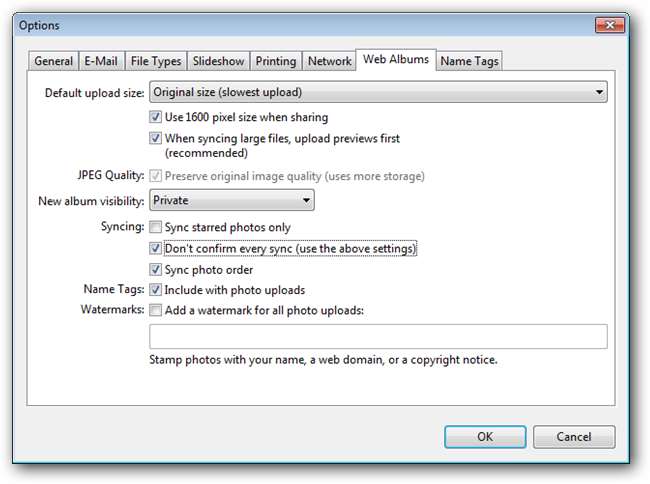
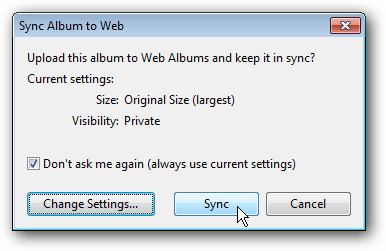
A pop-up window will open and ask you to sign in to web albums. Log in with your Google+ account and a second popup will ask you to verify your upload settings. Click change settings and modify the settings to you liking. Make sure you check the box to “use the above settings” otherwise you will be asked every time.
将打开一个弹出窗口,要求您登录网络相册。 使用您的Google+帐户登录,第二个弹出窗口将要求您验证上传设置。 单击更改设置,然后根据自己的喜好修改设置。 确保选中复选框以“使用以上设置”,否则每次都会询问您。
We’d recommend setting your new album visibility to private by default. You will be able to change the sharing settings from Google+ later, and this prevents you from making any embarrassing photos public.
我们建议您默认将新相册的公开程度设置为私人。 以后您将可以从Google+更改共享设置,这可以防止您公开任何令人尴尬的照片。
Now go back to Picasa and click sync; your photos will be uploaded in the background.
现在返回Picasa并单击同步; 您的照片将在后台上传。
在Google+上分享您的照片 (Share Your Photos on Google+)
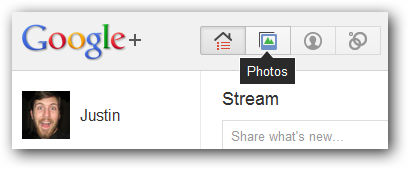
After your pictures have uploaded, log into Google+ and click on photos in the top banner.
图片上传后,登录Google+,然后点击顶部横幅中的照片。
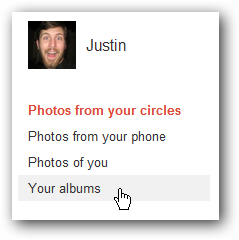
Navigate to your albums on the left.
导航到左侧的相册。
Open the album you just uploaded and click share album at the top.
打开您刚刚上传的相册,然后点击顶部的共享相册。
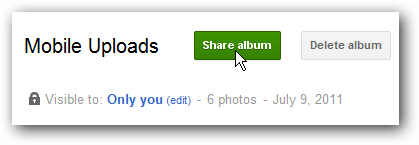
The share album button will automatically make your album public and post a link to it in your stream.
共享相册按钮将自动将您的相册公开,并在您的信息流中发布指向该相册的链接。
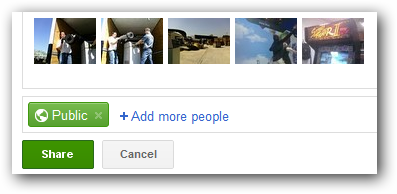
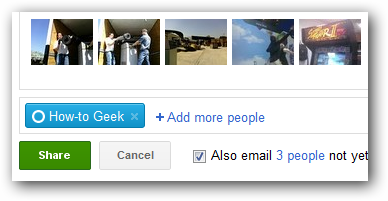
If you don’t want the album to be public, you can remove the Public circle and instead add some of your own. This will still make a post in your stream, but it will only be visible to those you have shared it with.
如果您不希望公开相册,则可以删除“公开”圈子,然后添加自己的相册。 这仍然会在您的信息流中发布信息,但只有与之共享的人才能看到。
It is possible for someone you shared an album with to re-share that with the public so make sure you only share with people you know and trust.
与您共享相册的人可能会与公众重新共享,因此请确保仅与您认识和信任的人共享。
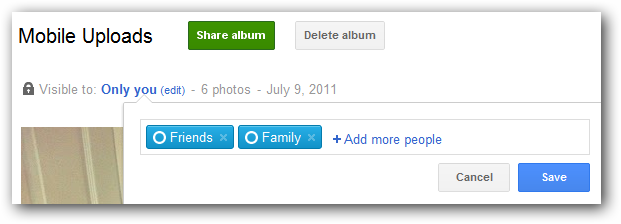
If you don’t want the album posted to your stream, you can also click the edit button from the main album page which will change the sharing settings without posting the album in your stream.
如果您不希望将相册发布到您的信息流中,则还可以单击相册主页面上的“编辑”按钮,这将更改共享设置,而无需将相册发布到您的信息流中。
导入视频 (Import Your Videos)
Importing videos is a lot less automated than pictures. To import your Facebook videos browse to your Facebook export you downloaded earlier and there will be a videos folder.
导入视频的自动化程度远低于图片。 要导入您的Facebook视频,请浏览至您之前下载的Facebook导出,然后会有一个video文件夹。
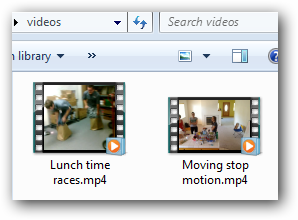
Log into your Google+ account and click on your profile -> videos.
登录您的Google+帐户,然后点击您的个人资料->视频。

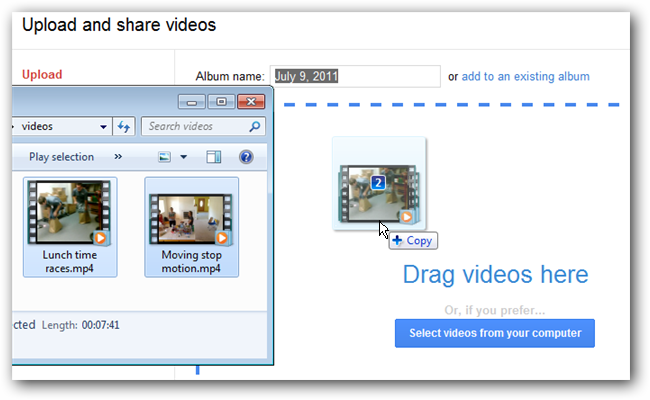
Click upload new videos on the right and drag the videos from your computer to your browser.
单击右侧的上载新视频,然后将视频从计算机拖到浏览器。
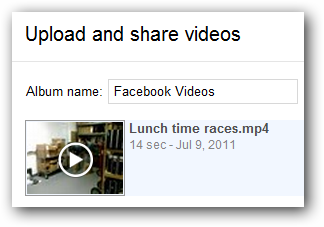
Once the videos are done uploading you can name, create, and share the album from Google+.
视频上传完成后,您可以命名,创建和共享Google+中的相册。
导入您的Facebook朋友 (Import Your Facebook Friends)
Go to login.yahoo.com and sign in with your Facebook account or a yahoo account if you already have one.
转到login.yahoo.com并使用您的Facebook帐户或yahoo帐户(如果已经有)登录。
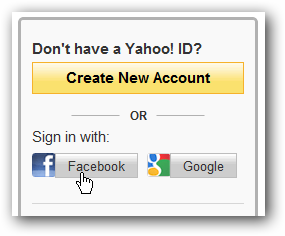
Confirm access and sign in with your facebook account and then go to address.yahoo.com. Click tools and import from the dropdown.
确认访问权限并使用您的Facebook帐户登录,然后转到address.yahoo.com 。 单击工具,然后从下拉菜单中导入。
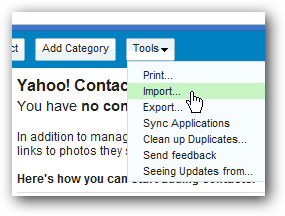
Select Facebook from the provided options.
从提供的选项中选择Facebook。

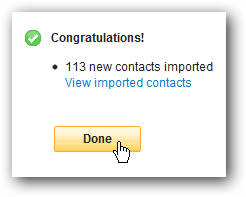
After you confirm access to your contacts, the import will happen automatically.
确认对联系人的访问后,导入将自动进行。
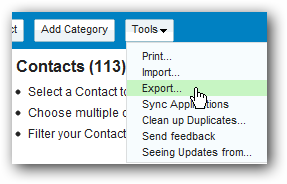
Next export your contacts to a .csv file with the tools menu.
接下来,使用工具菜单将联系人导出到.csv文件。
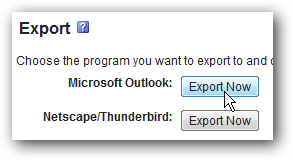
Export your contacts to Microsoft Outlook, confirm the capcha and save the file.
将您的联系人导出到Microsoft Outlook,确认验证码并保存文件。
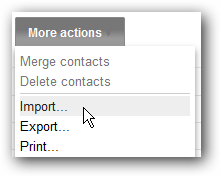
Now login to Gmail, click contacts -> more actions -> import.
现在登录到Gmail,单击联系人->更多操作->导入。
Browse to the .csv file you just downloaded and select it for importing.
浏览到刚刚下载的.csv文件,然后选择要导入的文件。
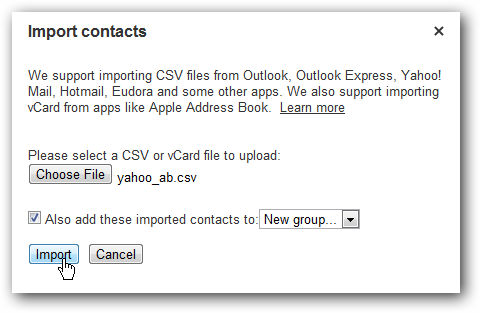
Specify a new group to import the contacts into, if you chose that option, and the contacts should import without any problems.
如果选择了该选项,请指定一个新的组以将联系人导入到该组中,并且联系人应该可以顺利导入。
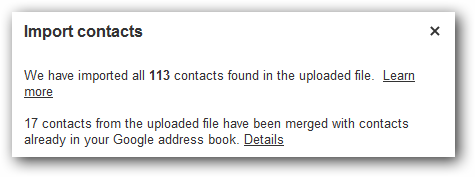
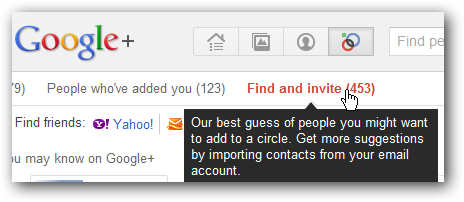
Go back to Google+ and your newly imported contacts will show up under find and invite.
返回Google+,您新导入的联系人将显示在“查找和邀请”下。
Add friends to circles and send invites to them if they aren’t already using Google+.
将朋友添加到圈子中,如果他们还没有使用Google+,则向他们发送邀请。
翻译自: https://www.howtogeek.com/67766/how-to-migrate-from-facebook-to-google/


 553
553

 被折叠的 条评论
为什么被折叠?


