


利用Render Texture可以模拟实现影子,同样的使用Render Texture也可以实现虫子等物体经过时在其他物体上留下的粘液痕迹效果(别问我为什么要做这么恶心的东西,罪恶之源是teamlab,模仿的这个团队做的一个效果)。
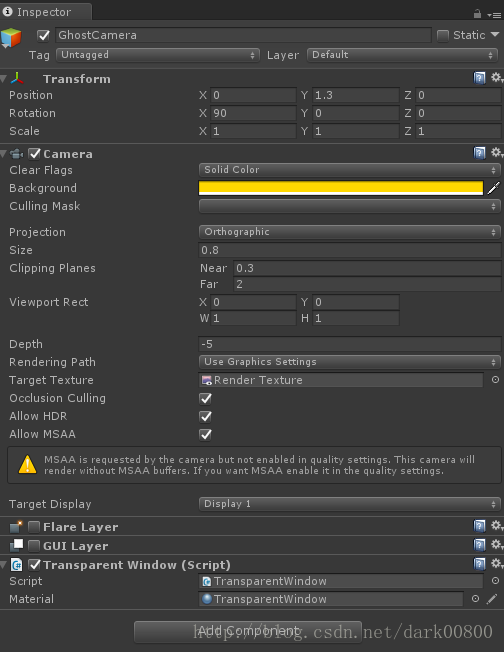
首先在物体正上方新建一个摄像机负责观察物体截取RenderTexture,这里使用了之前讲过的透明窗体的脚本将物体以外的画面颜色抠掉。使用方法见【Unity3d】窗体透明。
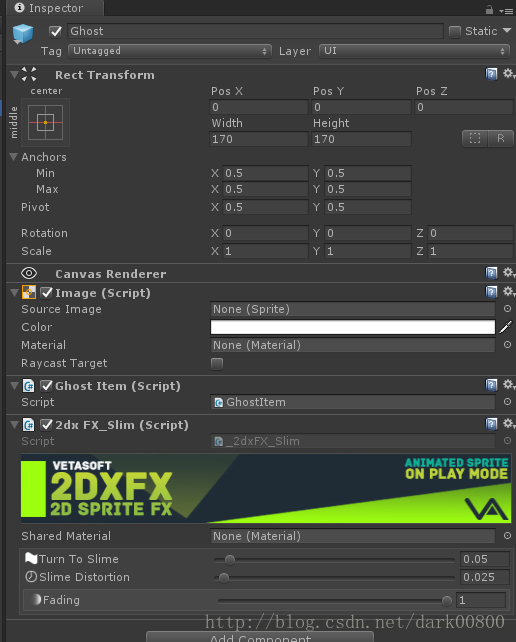
这里使用了Image来实现,也可以用SpriteRenderer或者plane来实现,只需对获取的RenderTexture进行一些处理即可。因为使用的是Image,所以用到了2DxFX插件中的Slim效果进行类似粘液化的处理。我们新建一个GhostItem的脚本来处理生成的粘液图片。
public class GhostItem : MonoBehaviour
{

    private bool wait;
    private float tick = 0;
    [HideInInspector]
    public float duration = 1f;

    private _2dxFX_Slim slim;

    public void Init(RenderTexture texture, float d)
    {
        duration = d;
        Image image = GetComponent<Image>();
        int width = texture.width;
        int height = texture.height;
        Texture2D t = new Texture2D(width, height, TextureFormat.ARGB32, false);
        RenderTexture.active = texture;
        t.ReadPixels(new Rect(0, 0, width, height), 0, 0);
        t.Apply();
        Sprite s = Sprite.Create(t, new Rect(0, 0, texture.width, texture.height), new Vector2(0.5f, 0.5f));
        image.sprite = s;
        slim = gameObject.GetComponent<_2dxFX_Slim>();
    }

    private void Awake()
    {
        wait = true;
    }

    private void Update()
    {
        if (wait)
        {
            tick += Time.deltaTime;
            if (tick >= duration)
            {
                wait = false;
                tick = 0;
            }
        }
        else
        {
            tick += Time.deltaTime;
            slim._Alpha = Mathf.Lerp(1f, 0f, tick / duration);
            if (tick >= 3)
                Destroy(gameObject);
        }
    }
}
其中在Init方法中读取RenderTexture并且生成一张Sprite以供显示。
在经过duration秒之后粘液便慢慢消失。
新建一个Image物体,添加GhostItem脚本和Slim效果,制作成Prefab。
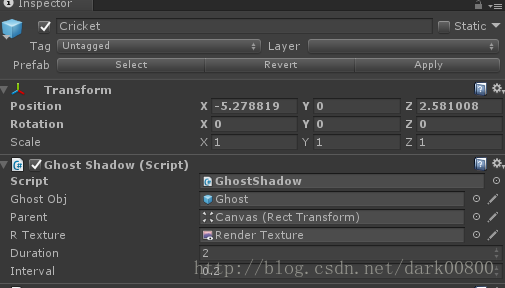
然后我们新建一个GhostShadow脚本间隔生成粘液:
public class GhostShadow : MonoBehaviour
{

    public GameObject ghostObj;
    public Transform parent;
    public RenderTexture rTexture;
    public float duration = 2f;
    public float interval = 0.1f;

    private float tick;
    private readonly Vector2 offset = new Vector2(960f, 540f);

    private void Start()
    {
        tick = 0;
    }

    private void Update()
    {
        tick += Time.deltaTime;
        if (tick < interval)
            return;

        GameObject ghost = Instantiate(ghostObj);
        var gTrans = ghost.transform;
        gTrans.SetParent(parent, false);
        var p = Camera.main.WorldToScreenPoint(transform.position);
        p = new Vector3(p.x - offset.x, p.y - offset.y, 0);
        gTrans.localPosition = p;
        gTrans.localEulerAngles = new Vector3(0, 0, -transform.eulerAngles.y);
        GhostItem item = ghost.GetComponent<GhostItem>();
        item.Init(rTexture, duration);

        tick = 0;
    }
}
将刚刚制作的Prefab赋值给ghostObj,parent是ghostObj生成之后的父物体, rTexture就是主角RenderTexture。
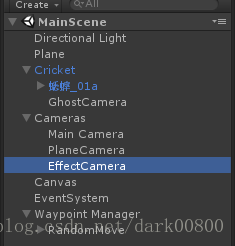
为了显示层次使用了三个摄像机,地面一个在最底层,粘液在中间层,物体在最上层,其中粘液的摄像机还添加了一个模糊效果以使粘液更加逼真。物体运动使用SimpleWaypointSystem实现。
最后效果:
By:蒋


 250
250


 被折叠的 条评论
为什么被折叠?
被折叠的 条评论
为什么被折叠?
 到【灌水乐园】发言


