


libjpeg的编译
下载后直接对configure指定即可。或者使用Yocto编译,参考我的其他与Yocto相关博文。
mjpg-server的编译
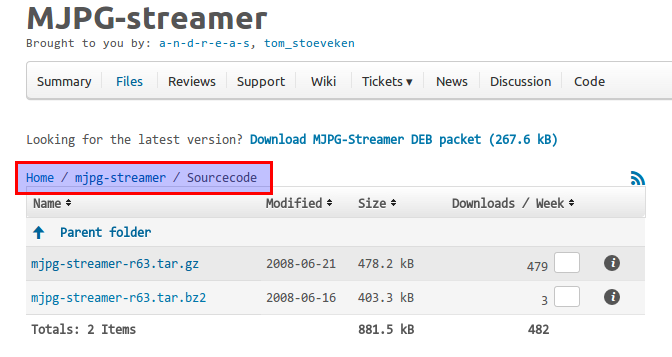
mjpg-streamer已经很老了,且sourceforge中的下载文件,默认是deb格式的,因此需要找到对应的源代码
下载地址:http://sourceforge.net/projects/mjpg-streamer/files/mjpg-streamer/Sourcecode/
编译
下载之后,解压,并将所有Makefile中的CC变更成接受Preset的格式,即将:
- CC = gcc
变更成:
- CC ?= gcc
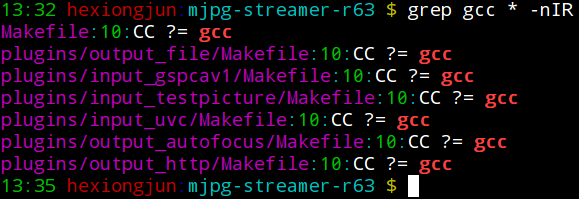
为了防止少修改,还可以用grep看看都有哪些文件有:
- grep 'CC = gcc' --color
结果如下:
对于修改Makefile,可以使用sed与awk组合完成,命令如下:
- sed 's/= gcc/?= gcc/g' -i ` find -name Makefile -print0 | xargs -0 grep 'CC = gcc' --color | awk -F':' '{print $1}'`
然后再使用grep看看文件是否都完成了变更。
将mjpg-streamer的库output文件放到target上
lib库so文件
直接在target中使用scp或者其他方式放进去即可,下面是一个范例:
- $scp hexiongjun@192.168.2.100scp hexiongjun@192.168.2.100:/media/work/iMX6/VideoCap/mjpg-streamer-code-182/mjpg-streamer/*.so /usr/lib/
- hexiongjun@192.168.2.100's password: streamer/*.so . '68.2.100:/media/work/iMX6/V
- input_file.so 100% 29KB 28.8KB/s 00:00
- input_testpicture.so 100% 177KB 177.2KB/s 00:00
- input_uvc.so 100% 92KB 92.1KB/s 00:00
- output_file.so 100% 42KB 41.6KB/s 00:00
- output_http.so 100% 75KB 74.7KB/s 00:00
- output_udp.so 100% 32KB 32.3KB/s 00:00
mjpg-streamer可执行文件
然后将mjpg-streamer可执行文件放入到/usr/bin或者其他PATH变量的路径中:- $scp hexiongjun@192.168.2.100scp hexiongjun@192.168.2.100:/media/work/iMX6/VideoCap/mjpg-streamer-code-182/mjpg-streamer/mjpg-streamer /usr/bin/
mjpg-streamer的使用说明
在使用之前可以看看其帮助文档:
- root@imx6qsabresd:/usr/bin# mjpg_streamer -h
- -----------------------------------------------------------------------
- Usage: mjpg_streamer
- -i | --input "<input-plugin.so> [parameters]"
- -o | --output "<output-plugin.so> [parameters]"
- [-h | --help ]........: display this help
- [-v | --version ].....: display version information
- [-b | --background]...: fork to the background, daemon mode
- -----------------------------------------------------------------------
- Example #1:
- To open an UVC webcam "/dev/video1" and stream it via HTTP:
- mjpg_streamer -i "input_uvc.so -d /dev/video1" -o "output_http.so"
- -----------------------------------------------------------------------
- Example #2:
- To open an UVC webcam and stream via HTTP port 8090:
- mjpg_streamer -i "input_uvc.so" -o "output_http.so -p 8090"
- -----------------------------------------------------------------------
- Example #3:
- To get help for a certain input plugin:
- mjpg_streamer -i "input_uvc.so --help"
- -----------------------------------------------------------------------
- In case the modules (=plugins) can not be found:
- * Set the default search path for the modules with:
- export LD_LIBRARY_PATH=/path/to/plugins,
- * or put the plugins into the "/lib/" or "/usr/lib" folder,
- * or instead of just providing the plugin file name, use a complete
- path and filename:
- mjpg_streamer -i "/path/to/modules/input_uvc.so"
- -----------------------------------------------------------------------
归纳起来就是:
- mjpg-streamer Input_plugin_lib Input_plugin_option Output_plugin_lib Output_plugin_option
可以看到其input plugin有三个:
- root@imx6qsabresd:/usr/bin# ls /usr/lib/input_* -l
- -rwxr-xr-x 1 root root 29506 Dec 21 03:51 /usr/lib/input_file.so
- -rwxr-xr-x 1 root root 181443 Dec 21 03:51 /usr/lib/input_testpicture.so
- -rwxr-xr-x 1 root root 94272 Dec 21 03:51 /usr/lib/input_uvc.so
其output plugin也有三个:
- root@imx6qsabresd:/usr/bin# ls /usr/lib/output_* -l
- -rwxr-xr-x 1 root root 42604 Dec 21 03:51 /usr/lib/output_file.so
- -rwxr-xr-x 1 root root 76517 Dec 21 03:51 /usr/lib/output_http.so
- -rwxr-xr-x 1 root root 33119 Dec 21 03:51 /usr/lib/output_udp.so
因此,可以默认的组合成9种情况。
输入可以是文件,测试的虚拟video与uvc camera;输出可以是文件/http与udp。各种都有各自的特点,输出的共为两类:
- 流媒体
- 录制成文件
使用测试
我们可以使用实际的video设备来直接capture,这样的话,如果一旦有问题,那么将还需要判断究竟是我们移植的mjpg-streamer的问题还是我们的设备的问题,因此,我们将其解耦,先做一个模拟的video来测试,确定好了移植的程序没有问题再继续使用实际的设备。
前面提到了input plugin有三个,其中有一个是input_testpicture.so,这个其实就虚拟的测试用的,因此,我们在target上面使用下面命令来测试。
创建一个www输出目录
- mkdir /var/www
启动streamer
关于mjpg-streamer的用法,可以查看source code中的start.sh :
- mjpg_streamer -i "input_testpicture.so -r 320*240" -o "output_http.so -w /var/www"
其输出为log为:
- i: delay.............: 1000
- i: resolution........: 640x480
- o: www-folder-path...: /var/www/
- o: HTTP TCP port.....: 8080
- o: username:password.: disabled
- o: commands..........: enabled
可以看到,我们设置的分辨率(resolution)无效,它默认使用的还是640x480,说明不支持其他的格式。
同时还有一个默认的HTTP TCP端口为8080.
查看video输出
使用方法可以参考source code中的Readme
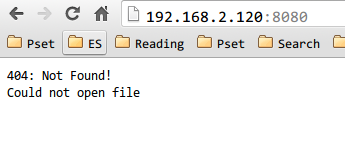
这里使用浏览器,打开target的网站,假设我们的Target目标的IP为192.168.2.120,那么在浏览器中输入:
- http://192.168.2.120:8080/?action=stream
会发现提示找不到文件:
但是打开下面页面确实可以的:
- http://192.168.2.120:8080/?action=snapshot
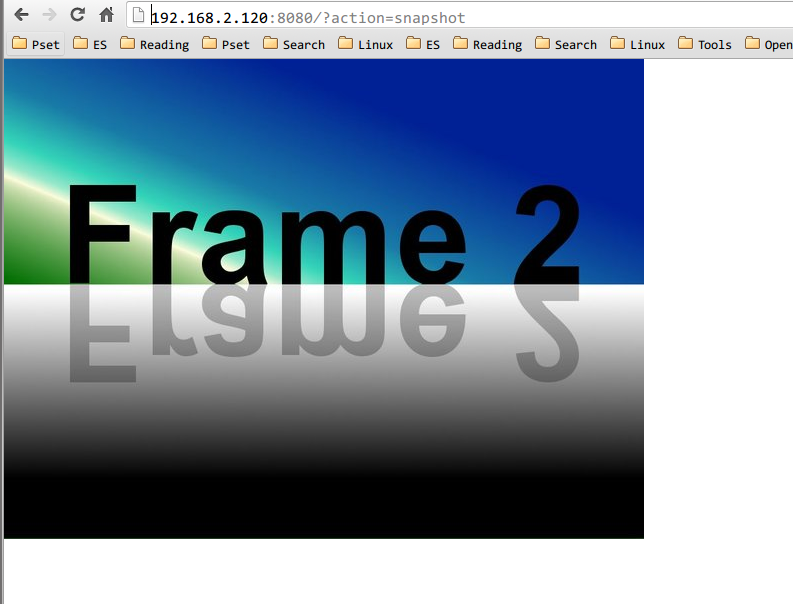
然后我们不断刷新page,可以看到浏览器中页面的frame在变化
我们还可以使用vlc或者mplayer等video player来查看streamer video的内容,例如以vlc为例,播放效果如下:
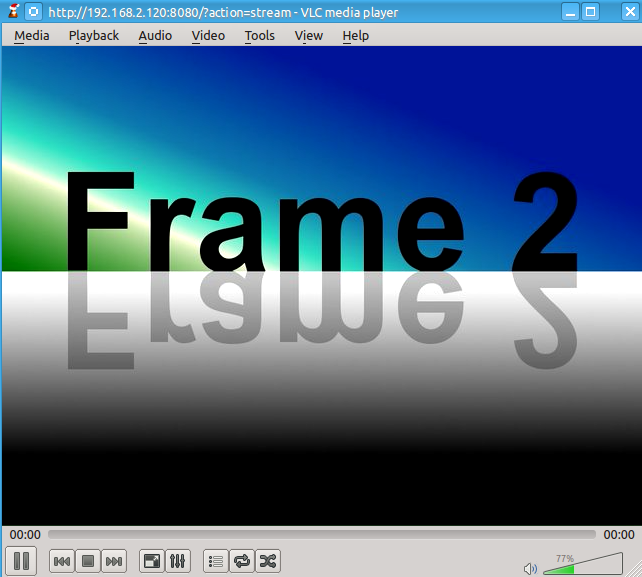
根据这两个测试,我们可以确定移植的程序没有问题。
YUV摄像头的采集
插入USB camera,然后内核会有类似的如下输出:
- [ 0.000000] uvcvideo: Found UVC 1.00 device USB2.0 Camera (1e4e:0102)
- [ 0.000000] revserved_memory_account:viv_gpu registerd
然后确定生成了设备节点/dev/videoX
默认根据前面的使用经验,我们一样来测试,但是我们指定了device与其他的input plugin,因为我们的uvc camera,结果如下
- output_http.so"sd:/usr/bin# mjpg_streamer -i "input_uvc.so -d /dev/video0" -o "o
- MJPG Streamer Version: svn rev: exported
- i: Using V4L2 device.: /dev/video0
- i: Desired Resolution: 640 x 480
- i: Frames Per Second.: 5
- i: Format............: MJPEG
- Unable to set format: 1196444237 res: 640x480
- Init v4L2 failed !! exit fatal
- i: init_VideoIn failed
- root@imx6qsabresd:/usr/bin#
发现我们失败了,其中有一个细节是
- i: Format............: MJPEG
说明streamer期望配置我们的摄像头为MJPEG输出,但是我们摄像头不支持,因此提示:
Init v4L2 failed !! exit fatal
对此,我们需要添加-y参数,指定摄像头输出的frame格式是YUV:
- mjpg_streamer -i "input_uvc.so -d /dev/video0 -f 30 -r 320*240 -y" -o "output_http.so -w /var/www"
输入如下:
- MJPG Streamer Version: svn rev: exported
- i: Using V4L2 device.: /dev/video0
- i: Desired Resolution: 320 x 240
- i: Frames Per Second.: 30
- i: Format............: YUV
- i: JPEG Quality......: 80
- Adding control for Pan (relative)
- Control exists: File exists
- Adding control for Tilt (relative)
- Control exists: File exists
- Adding control for Pan Reset
- Control exists: File exists
- Adding control for Tilt Reset
- Control exists: File exists
- Adding control for Pan/tilt Reset
- Controuvcvideo: Failed to query (GET_DEF) UVC control 11 on unit 3: -32 (exp. 1).
- l exists: File exists
- Adding control for Focus (absolute)
- Control exists: File exists
- mapping control for Pan (relative)
- UVCIOC_CTRL_MAP - Error: No such file or directory
- mapping control for Tilt (relative)
- UVCIOC_CTRL_MAP - Error: No such file or directory
- mapping control for Pan Reset
- UVCIOC_CTRL_MAP - Error: No such file or directory
- mapping control for Tilt Reset
- UVCIOC_CTRL_MAP - Error: No such file or directory
- mapping control for Pan/tilt Reset
- UVCIOC_CTRL_MAP - Error: No such file or directory
- mapping control for Focus (absolute)
- UVCIOC_CTRL_MAP - Error: No such file or directory
- mapping control for LED1 Mode
- UVCIOC_CTRL_MAP - Error: No such file or directory
- mapping control for LED1 Frequency
- UVCIOC_CTRL_MAP - Error: No such file or directory
- mapping control for Disable video processing
- UVCIOC_CTRL_MAP - Error: No such file or directory
- mapping control for Raw bits per pixel
- UVCIOC_CTRL_MAP - Error: No such file or directory
- o: www-folder-path...: /var/www/
- o: HTTP TCP port.....: 8080
- o: username:password.: disabled
- o: commands..........: enabled
可以看到出了一些IOCTRL的cmd没有外,其他的都没有问题。
同样的,使用VLC来测试
打开VLC,然后File--> Open NetWork stream
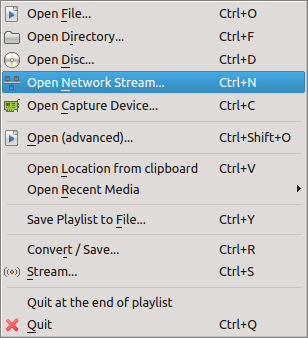
输入地址:
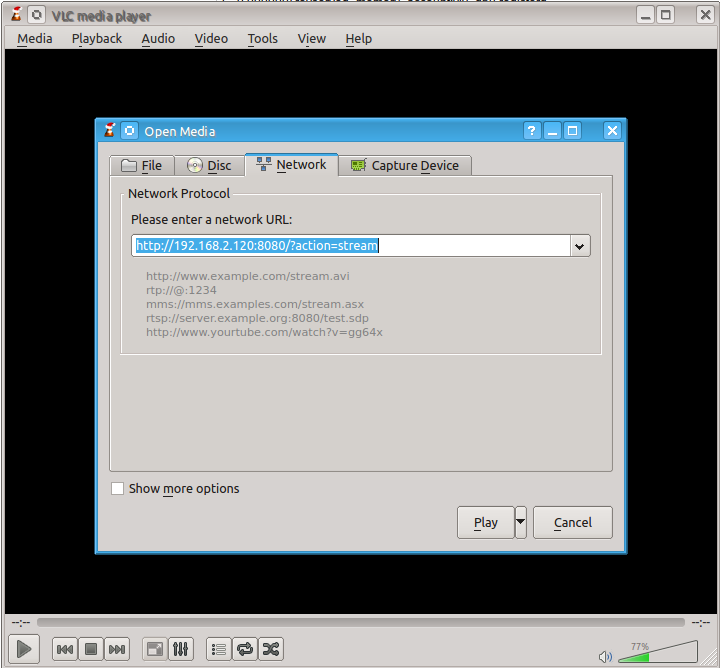
效果如下:
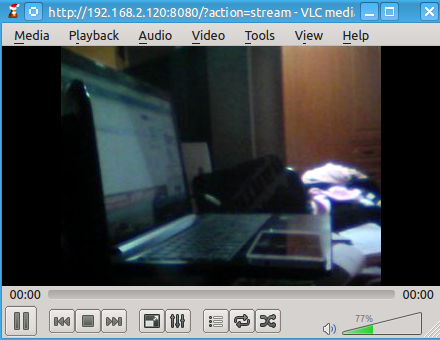
因为不支持mjpeg压缩,看起来和以前在QQ视频聊天一样,流畅度不佳。
参考
http://blog.miguelgrinberg.com/post/how-to-build-and-run-mjpg-streamer-on-the-raspberry-pi


 1660
1660

 被折叠的 条评论
为什么被折叠?
被折叠的 条评论
为什么被折叠?
 到【灌水乐园】发言


