


 本文介绍了在Windows10环境下,使用CloudCompare软件和PCL库进行STL文件转换为PCD文件的过程。通过CloudCompare可以快速便捷地减少点云噪声,而PCL代码转换虽然保留了噪声,但提供了更多的后期处理可能性。两种方法各有优劣,适用于不同的需求。
刚接触这一领域,准备自己一边学习一边记录。
本人对的软件配置为win10,visual studio2019,pcl1.11.0。自己总结了几种转换的方法。并分析优劣。
我的stl原文件是一个灯泡,如下图所示。
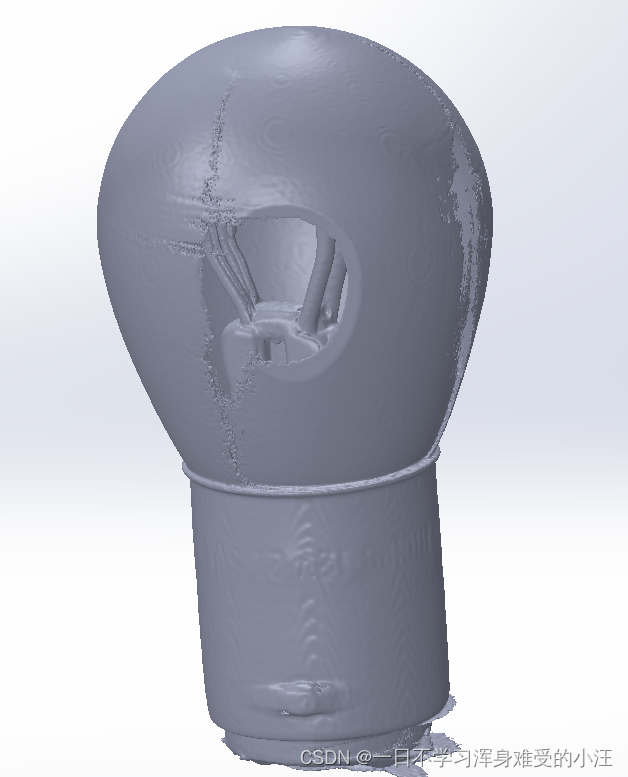
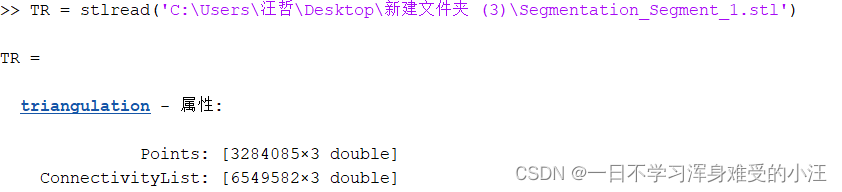
总点数为:3284085
一、使用软件CloudCompare
利用软件比较方便与快捷
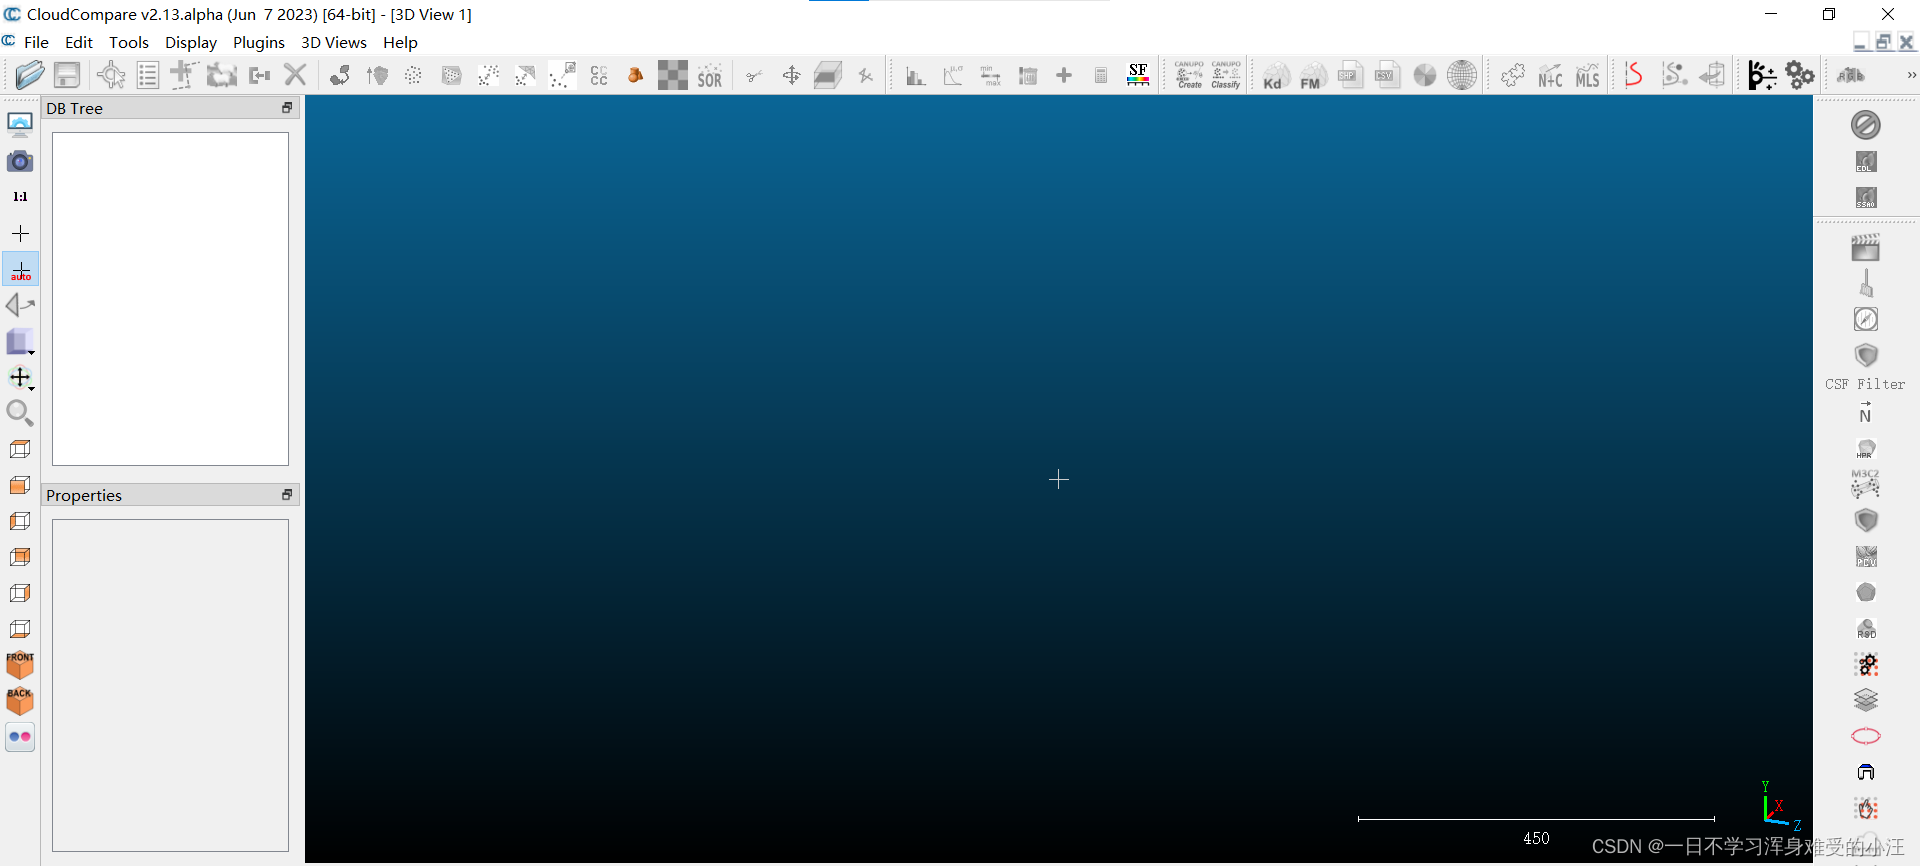
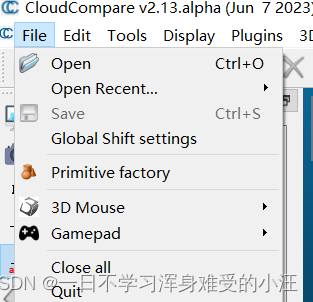
(1)打开cloudcompare软件
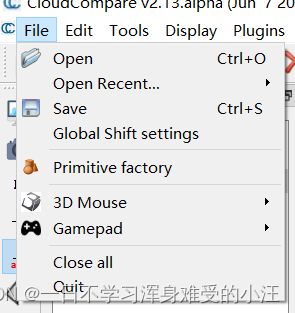
(2)点击左上角File中的open
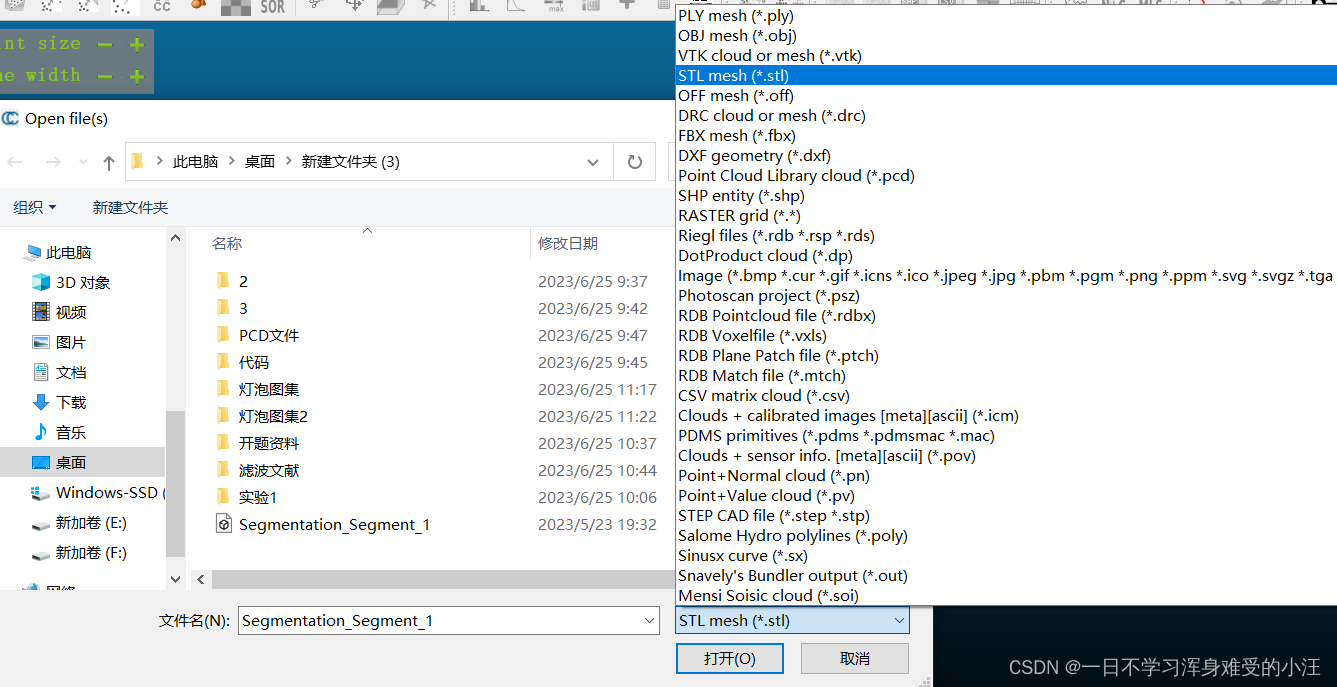
(3)打开对应的stl文件
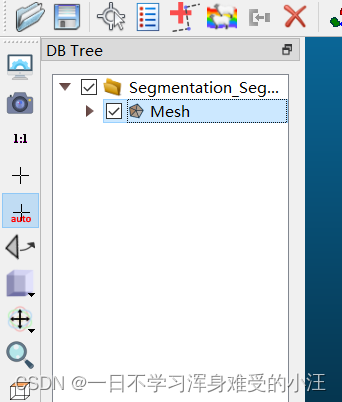
(4)点击mesh
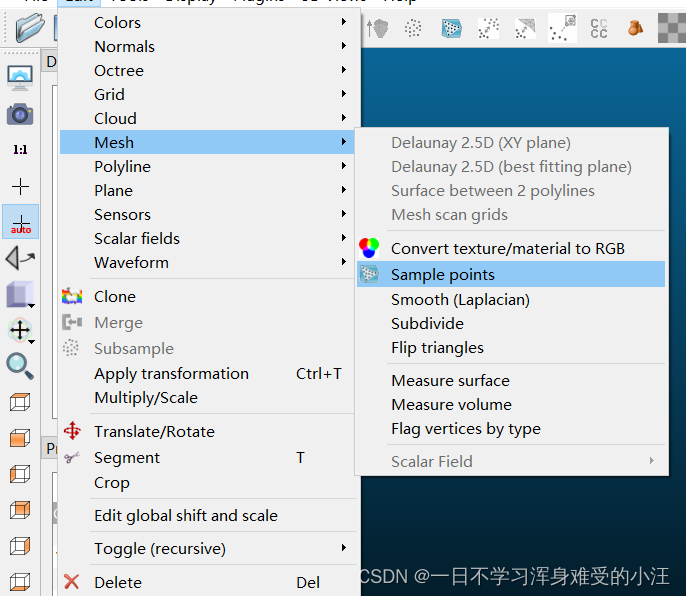
(5)再点击Edit-Mesh-Sample Point
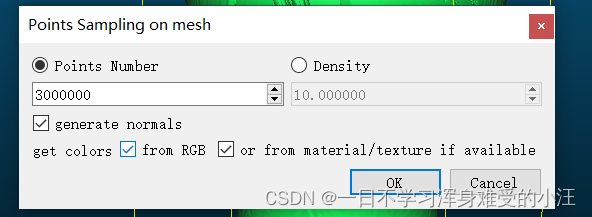
(6)输入预期的点云数后,点击ok(设置3000000)
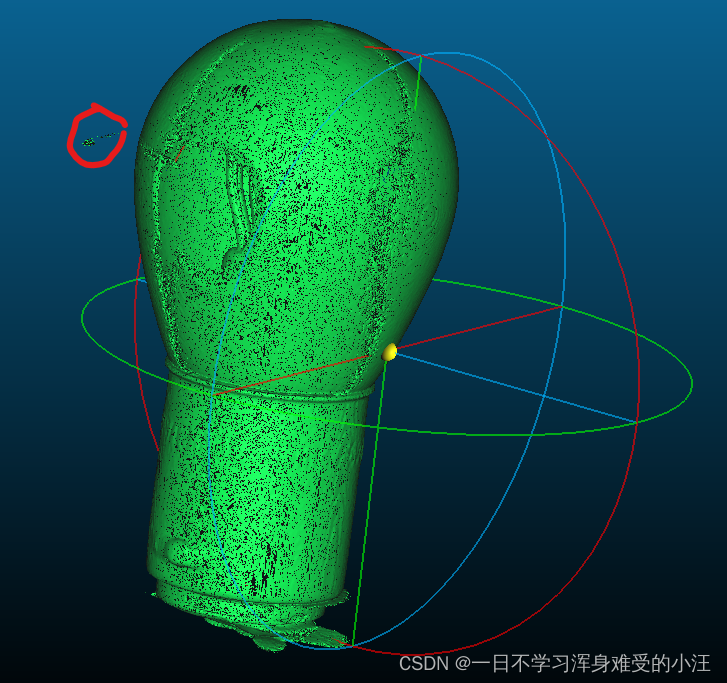
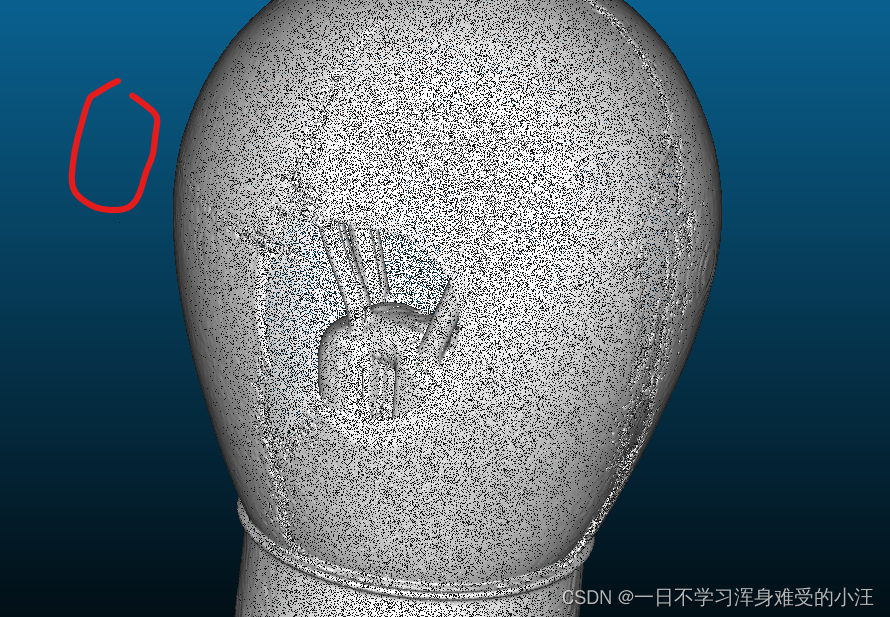
(7)效果图如下:(之前原stl文件红点处有一些噪声,但是经过软件处理后噪声不见了,可能是有滤波器啥的)

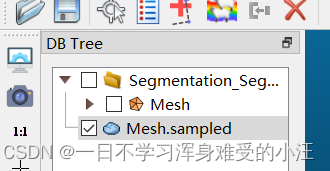
(8)点击Mesh.sampled
(9)点击File-Save保存PCD文件即可
(10)PCD文件可视化展示下效果(个人情况暂不给以展示,仅给代码)
输入以下代码(char strfilepath[256] = "e:\\deee.pcd";这一句来改文件输入)
#include<pcl/visualization/cloud_viewer.h>
#include<iostream>//标准C++库中的输入输出类相关头文件。
#include<pcl/io/io.h>
#include<pcl/io/pcd_io.h>//pcd 读写类相关的头文件。
#include<pcl/io/ply_io.h>
#include<pcl/point_types.h> //PCL中支持的点类型头文件。
int user_data;
using std::cout;

void viewerOneOff(pcl::visualization::PCLVisualizer& viewer)
{
	viewer.setBackgroundColor(0, 0, 0);   //设置背景颜色
}

int main() {
	pcl::PointCloud<pcl::PointXYZ>::Ptr cloud(new pcl::PointCloud<pcl::PointXYZ>);

	/*char strfilepath[256] = "e:\\dengpao.pcd";*/
	char strfilepath[256] = "e:\\deee.pcd";
	if (-1 == pcl::io::loadPCDFile(strfilepath, *cloud)) {
		cout << "error input!" << endl;
		return -1;
	}

	cout << cloud->points.size() << endl;
	pcl::visualization::CloudViewer viewer("Cloud Viewer");     //创建viewer对象

	viewer.showCloud(cloud);
	viewer.runOnVisualizationThreadOnce(viewerOneOff);
	system("pause");
	return 0;
}
二、pcl转PCD文件,visual studio代码
利用pcl转,代码如下:
#include <iostream>
#include <pcl/io/io.h>
#include <pcl/io/pcd_io.h>
#include <pcl/io/ply_io.h>
#include <pcl/io/vtk_lib_io.h>//loadPolygonFileOBJ所属头文件;
#include <pcl/point_cloud.h>
#include <pcl/console/parse.h>
#include <pcl/common/transforms.h>
#include <pcl/visualization/cloud_viewer.h>


using namespace std;
using namespace pcl;

int user_data;

void
viewerOneOff(pcl::visualization::PCLVisualizer& viewer)
{
    viewer.setBackgroundColor(1.0, 0.5, 1.0);       //设置背景颜色
    pcl::PointXYZ o;                                  //存储球的圆心位置
    o.x = 1.0;
    o.y = 0;
    o.z = 0;
    viewer.addSphere(o, 0.25, "sphere", 0);                  //添加圆球几何对象
    std::cout << "i only run once" << std::endl;

}

void
viewerPsycho(pcl::visualization::PCLVisualizer& viewer)
{
    static unsigned count = 0;
    std::stringstream ss;
    ss << "Once per viewer loop: " << count++;
    viewer.removeShape("text", 0);
    viewer.addText(ss.str(), 200, 300, "text", 0);

    //FIXME: possible race condition here:
    user_data++;
}

int main()
{

	//读取STL格式模型
	vtkSmartPointer<vtkSTLReader> reader = vtkSmartPointer<vtkSTLReader>::New();
	reader->SetFileName("e://Segmentation_Segment_1.stl");
	reader->Update();
	vtkSmartPointer<vtkPolyData> polydata = vtkSmartPointer<vtkPolyData>::New();
	polydata = reader->GetOutput();
	polydata->GetNumberOfPoints();

	pcl::PointCloud<pcl::PointXYZ>::Ptr cloud(new pcl::PointCloud<pcl::PointXYZ>());
	//从ply转pcd
	pcl::io::vtkPolyDataToPointCloud(polydata, *cloud);
	//PCLVisualizer 显示原STL文件
	pcl::visualization::PCLVisualizer vis;
	vis.addModelFromPolyData(polydata, "mesh", 0);
	//保存pcd文件
	pcl::io::savePCDFileASCII("e://dengpao0001.pcd", *cloud);
	while (!vis.wasStopped())
	{
		vis.spinOnce();
	}


    pcl::io::loadPCDFile("e://dengpao0001.pcd", *cloud);         //加载点云文件
    //pcl::io::loadPCDFile("e://dengpao2iiii6000000.pcd", *cloud);         //加载点云文件
        std::cout << cloud->points.size() << std::endl;//看总共多少个点
    pcl::visualization::CloudViewer viewer("Cloud Viewer");      //创建viewer对象

    //showCloud函数是同步的,在此处等待直到渲染显示为止
    viewer.showCloud(cloud);

    //该注册函数在可视化的时候只执行一次
    viewer.runOnVisualizationThreadOnce(viewerOneOff);

    //该注册函数在渲染输出时每次都调用
    viewer.runOnVisualizationThread(viewerPsycho);
    while (!viewer.wasStopped())
    {
        //此处可以添加其他处理
        //FIXME: Note that this is running in a separate thread from viewerPsycho
        //and you should guard against race conditions yourself...
        user_data++;
    }
    return 0;


}
可见,灯泡外的噪声仍然存在,需要后续滤波处理,如下图:
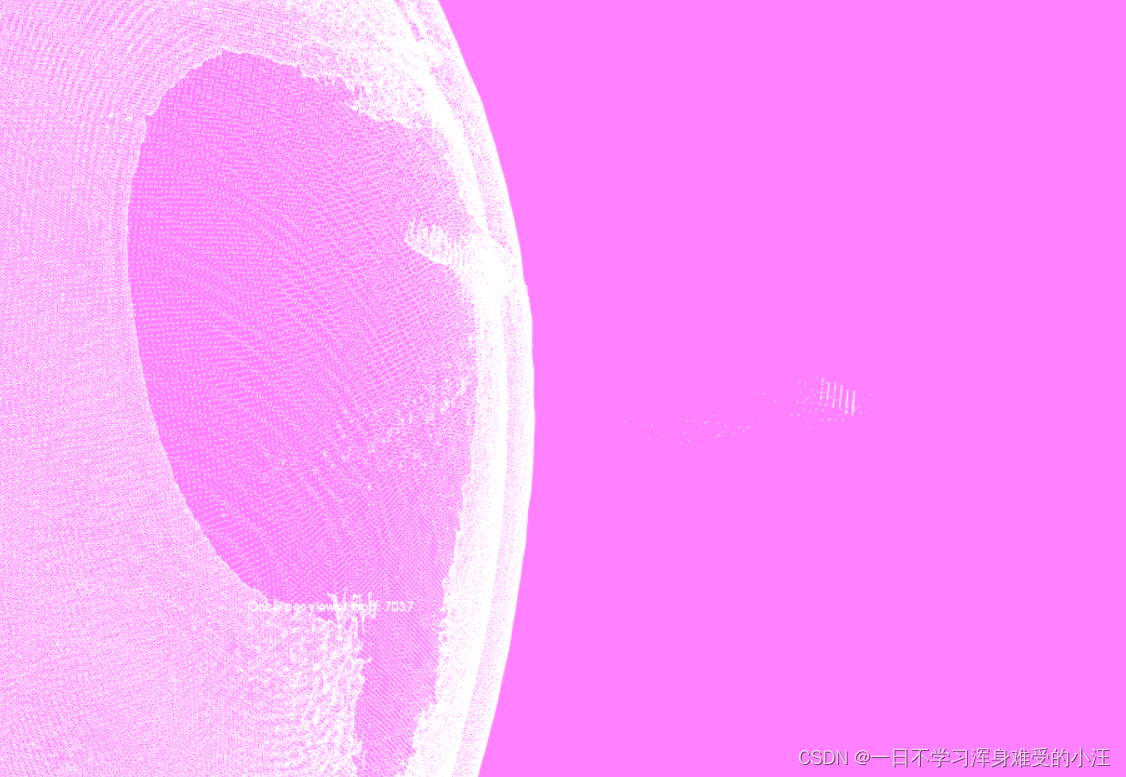
总点数为:3284090
三、总结
若有错误之处,还请各位大佬批评指正。


 1588
1588

 被折叠的 条评论
为什么被折叠?
被折叠的 条评论
为什么被折叠?
 到【灌水乐园】发言


