


st.columns
以并列方式插入容器。
插入若干并排排列的多元素容器,并返回一个容器对象列表。
要在返回的容器中添加元素,可以使用 with 符号(首选)或直接调用返回对象的方法。请参见下面的示例。
列只能放置在其他列的内部,最多只能嵌套一级。
注意
侧边栏中的栏目不能放在其他栏目内。只有在应用程序的主区域才可以这样做。
您可以使用 with 符号向列中插入任何元素:
import streamlit as st

//设定3列
col1, col2, col3 = st.columns(3)

//设定不同的列标题和展示的内容
with col1:
   st.header("A cat")
   st.image("https://static.streamlit.io/examples/cat.jpg")

with col2:
   st.header("A dog")
   st.image("https://static.streamlit.io/examples/dog.jpg")

with col3:
   st.header("An owl")
   st.image("https://static.streamlit.io/examples/owl.jpg")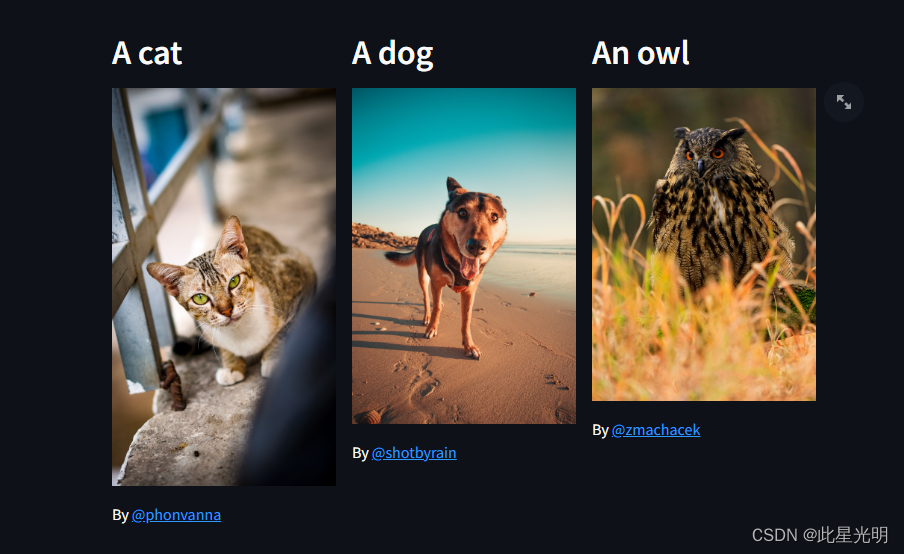
或者,你也可以直接调用返回对象的方法:
import streamlit as st
import numpy as np

col1, col2 = st.columns([3, 1])
data = np.random.randn(10, 1)

col1.subheader("A wide column with a chart")
col1.line_chart(data)

col2.subheader("A narrow column with the data")
col2.write(data)
st.container
插入一个多元素容器。
在应用程序中插入一个不可见的容器,用于容纳多个元素。例如,这样您就可以在应用程序中不按顺序插入多个元素。
要向返回的容器中添加元素,可以使用 with 符号(首选),或者直接调用返回对象的方法。请看下面的示例。
#导入app包
import streamlit as st

#对容器进行设定,这个就是用with,
with st.container():
   st.write("This is inside the container")

   # 可用于接受 "类文件 "对象的任何地方:
   st.bar_chart(np.random.randn(50, 3))

st.write("This is outside the container")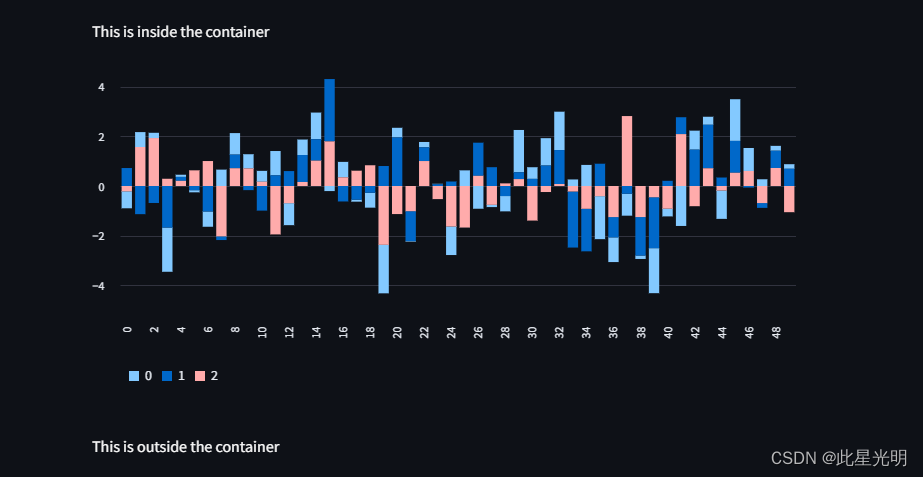
不按顺序插入元素: 起始这里仅仅插入了一个容器,而容器内仅仅放入了文本信息,
import streamlit as st

#将边界设定为真,
container = st.container(border=True)
#在容器内写相应的文字
container.write("This is inside the container")
#外部容器
st.write("This is outside the container")

# 在容器内插入一些文字
container.write("This is inside too")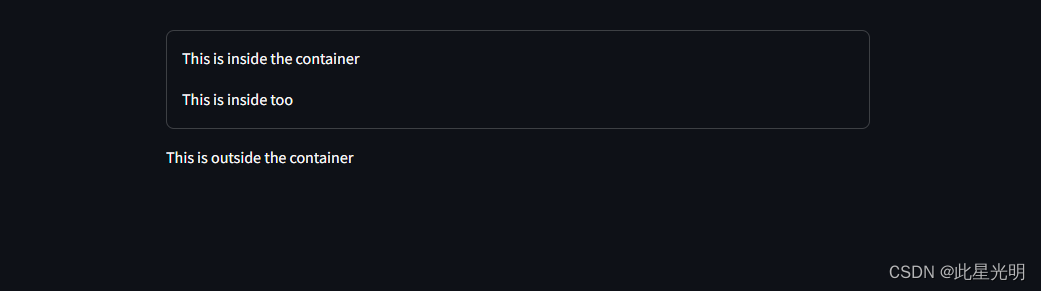
利用高度制作网格:
import streamlit as st
#设置行列
row1 = st.columns(3)
row2 = st.columns(3)
#遍历行列,并设置每一个容器的高度信息,宽度信息没有设定
for col in row1 + row2:
    tile = col.container(height=120)
#插入一个表情
    tile.title(":balloon:")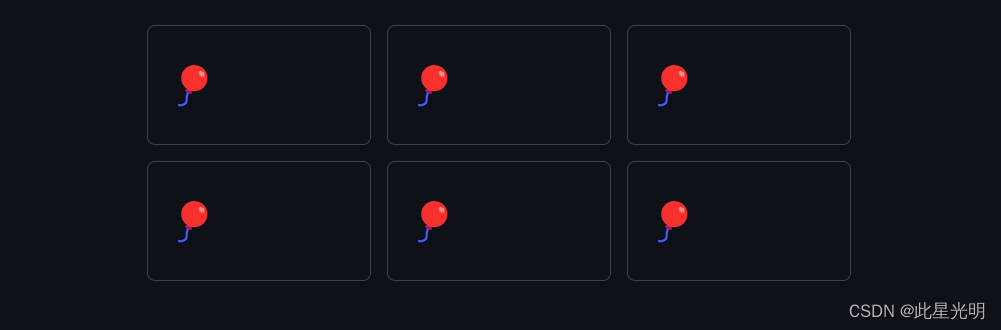
使用高度为长内容创建滚动容器:
import streamlit as st

#选择一个文本信息,用于装入下面的容器
long_text = "Lorem ipsum. " * 1000

#这里我们设定一个高度为300的容器
with st.container(height=300):
    st.markdown(long_text)
st.experimental_dialog
用于创建模式对话框的函数装饰器。
使用 @st.experimental_dialog 装饰的函数将成为对话框函数。调用对话框函数时,Streamlit 会在应用程序中插入一个模式对话框。在对话框函数中调用的 Streamlit 元素命令会在模式对话框中呈现。
对话框函数在调用时可以接受参数。需要从更广泛的应用程序中访问的对话框中的任何值通常都应存储在会话状态中。
用户可以通过点击模式对话框外侧、点击右上角的 "X "或按键盘上的 "ESC "键来解除模式对话框。解除模式对话框不会触发应用程序的重新运行。要以编程方式关闭模态对话框,请在对话框函数中明确调用 st.rerun()。
st.experimental_dialog 继承了 st.experimental_fragment 的行为。当用户与对话框函数内创建的输入部件交互时,Streamlit 只重新运行对话框函数,而不是整个脚本。
不支持在对话框函数中调用 st.sidebar。
对话框代码可以与会话状态、导入模块以及在对话框外创建的其他 Streamlit 元素交互。请注意,这些交互会在多个对话框重新运行时叠加。您需要负责处理该行为的任何副作用。
警告
一个对话框不能打开另一个对话框。一个脚本运行中只能调用一个对话框函数,这意味着在任何时候都只能打开一个对话框。
示例
下面的示例演示了 @st.experimental_dialog 的基本用法。在此应用程序中,点击 "A "或 "B "将打开一个模式对话框,提示您输入投票原因。在模式对话框中,点击 "提交 "将您的投票记录到会话状态并重新运行应用程序。这将关闭模式对话框,因为在重新运行全脚本时不会调用对话框功能。
import streamlit as st
#先设定一个标题
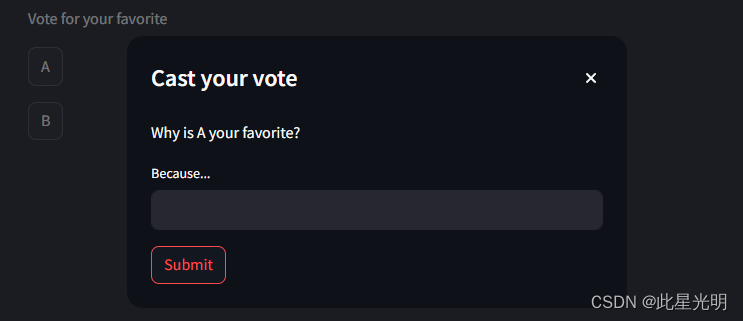
@st.experimental_dialog("Cast your vote")
#定义一个投票系统
def vote(item):
#写入问题,
st.write(f"Why is {item} your favorite?")
reason = st.text_input("Because...")
#这里如果点击发送就会展示
if st.button("Submit"):
st.session_state.vote = {"item": item, "reason": reason}
st.rerun()
#这里定义初始界面,进行分析
if "vote" not in st.session_state:
st.write("Vote for your favorite")
if st.button("A"):
vote("A")
if st.button("B"):
vote("B")
#这里我们将结果输入出你选的内容,并通过输入的的原因展示出来
else:
f"You voted for {st.session_state.vote['item']} because {st.session_state.vote['reason']}"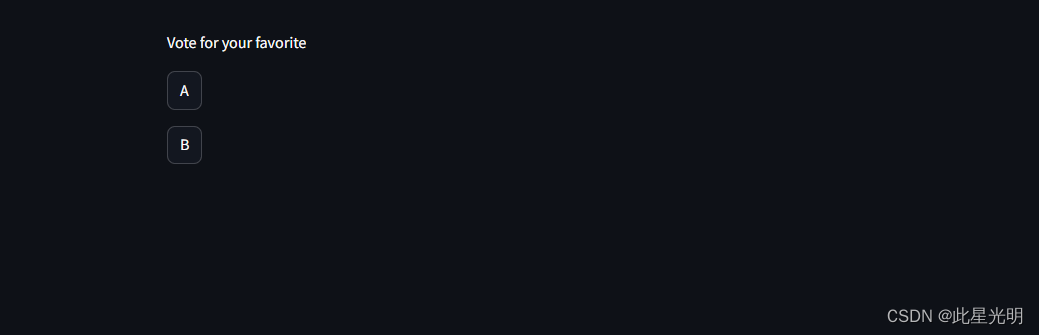
弹出一个对话框
 返回的结果
返回的结果

st.empty
插入单元素容器
在应用程序中插入一个容器,用于容纳单个元素。这样,您就可以在任意位置移除元素,或同时替换多个元素(使用子多元素容器)。
要在返回的容器中插入/替换/清除元素,可以使用符号或直接调用返回对象的方法。请看下面的示例。
使用符号就地重写元素:
import streamlit as st
import time

with st.empty():
    for seconds in range(60):
        st.write(f"⏳ {seconds} seconds have passed")
        time.sleep(1)
    st.write("✔️ 1 minute over!")
import streamlit as st
placeholder = st.empty()
# 用一些文本替换占位符:
placeholder.text("Hello")
# 用图表替换文本:
placeholder.line_chart({"data": [1, 5, 2, 6]})
# 用几个元素替换图表:
with placeholder.container():
st.write("This is one element")
st.write("This is another")
# 清除所有这些元素:
placeholder.empty()st.expander
插入一个可展开/折叠的多元素容器。
在应用程序中插入一个可容纳多个元素的容器,用户可以展开或折叠该容器。折叠时,可见的只是提供的标签。
要向返回的容器中添加元素,可以使用 with 符号(首选)或直接调用返回对象的方法。请看下面的示例。
警告
目前,您不能将扩展器放在另一个扩展器内。扩展器不能进行嵌套。
您可以使用 with 符号在扩展器中插入任何元素
import streamlit as st
#插入一个图表
st.bar_chart({"data": [1, 5, 2, 6, 2, 1]})

#设定一个扩张器在图表中
with st.expander("See explanation"):
    st.write('''
        The chart above shows some numbers I picked for you.
        I rolled actual dice for these, so they're *guaranteed* to
        be random.
    ''')
    st.image("https://static.streamlit.io/examples/dice.jpg")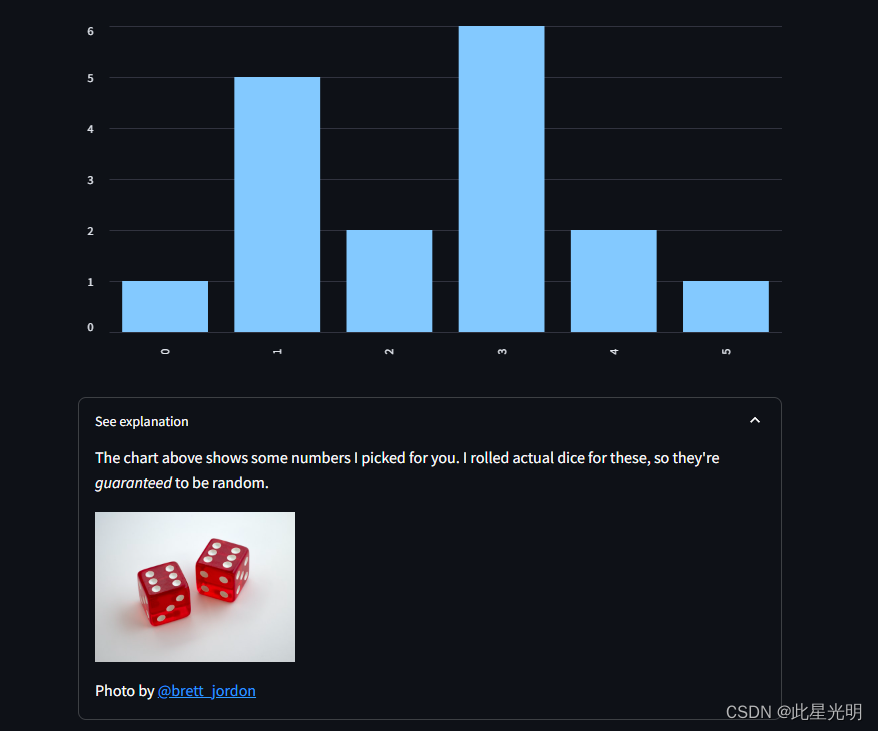
或者,你也可以直接调用返回对象的方法:这种方法比较好,因为不需要担心对齐的问题,可以直接对expender进行写入。
import streamlit as st

st.bar_chart({"data": [1, 5, 2, 6, 2, 1]})

expander = st.expander("See explanation")
expander.write('''
    The chart above shows some numbers I picked for you.
    I rolled actual dice for these, so they're *guaranteed* to
    be random.
''')
expander.image("https://static.streamlit.io/examples/dice.jpg")
st.popover
插入一个弹出式容器。
插入一个多元素容器作为弹出窗口。它由一个类似按钮的元素和一个在点击按钮时打开的容器组成。
打开和关闭弹出窗口不会触发重新运行。与打开的弹出窗口内的部件进行交互将重新运行应用程序,同时保持弹出窗口打开。点击弹出窗口外的部件将关闭弹出窗口。
要在返回的容器中添加元素,可以使用 "with "符号(首选),或者直接调用返回对象的方法。请参阅下面的示例。
警告
不得将一个弹出窗口放在另一个弹出窗口内,并不能支持嵌套。
您可以使用 with 符号在弹出窗口中插入任何元素:
import streamlit as st

#用with 进行写入
with st.popover("Open popover"):
    st.markdown("Hello World 👋")
    name = st.text_input("What's your name?")

#不在内部写入
st.write("Your name:", name)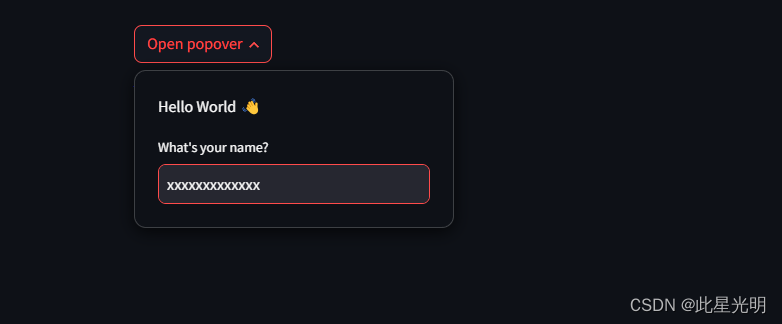
或者,你也可以直接调用返回对象的方法:
import streamlit as st

popover = st.popover("Filter items")
red = popover.checkbox("Show red items.", True)
blue = popover.checkbox("Show blue items.", True)

if red:
    st.write(":red[This is a red item.]")
if blue:
    st.write(":blue[This is a blue item.]")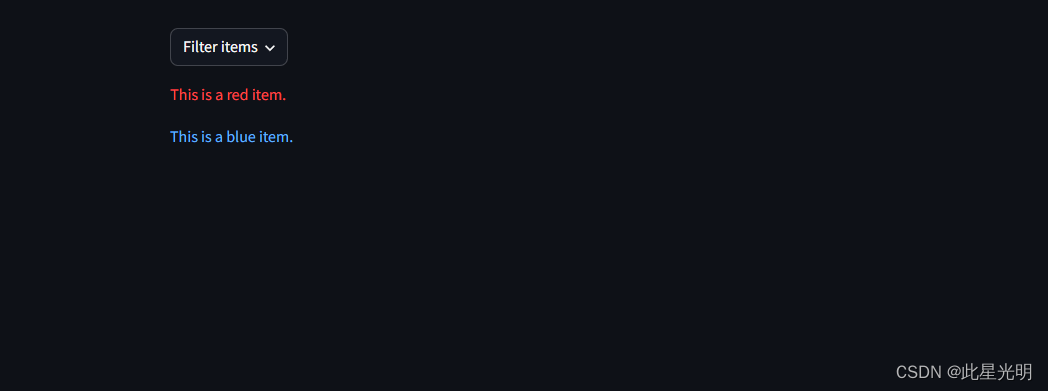
st.sidebar
您不仅可以使用部件为应用程序添加交互性,还可以将它们组织到侧边栏中。可以使用对象符号和符号将元素传递给 st.sidebar。
以下两个代码段是等价的:
# Object notation
st.sidebar.[element_name]
# "with" notation
with st.sidebar:
st.[element_name]传递给 st.sidebar 的每个元素都会固定在左侧,让用户专注于应用程序中的内容。
提示
侧边栏可以调整大小!拖放侧边栏的右边界即可调整其大小!↔️
下面举例说明如何在侧边栏中添加选择框和单选按钮:
import streamlit as st

# Using object notation
add_selectbox = st.sidebar.selectbox(
    "How would you like to be contacted?",
    ("Email", "Home phone", "Mobile phone")
)

# Using "with" notation
with st.sidebar:
    add_radio = st.radio(
        "Choose a shipping method",
        ("Standard (5-15 days)", "Express (2-5 days)")
    )
重要
不支持使用对象符号的元素只有 st.echo、st.spinner 和 st.toast。要使用这些元素,必须使用对象符号。
下面举例说明如何在侧边栏中添加 st.echo 和 st.spinner:
import streamlit as st

with st.sidebar:
    with st.echo():
        st.write("This code will be printed to the sidebar.")

    with st.spinner("Loading..."):
        time.sleep(5)
    st.success("Done!")
st.tabs
插入分隔成标签的容器。
以标签形式插入多个多元素容器。标签是一种导航元素,可让用户在相关内容组之间轻松移动。
要在返回的容器中添加元素,可以使用 with 符号(首选),或者直接调用返回对象的方法。请看下面的示例。tabs为列表中的每个字符串创建一个选项卡。默认情况下选择第一个标签页。字符串用作标签页的名称,可选择包含 Markdown,支持以下元素:粗体、斜体、删除线、内联代码、表情符号和链接。
警告
每个标签页的所有内容都会发送到前端并在前端呈现。目前不支持条件渲染。
您可以使用 with 符号在制表符中插入任何元素:
import streamlit as st

#设定三个tab 这个相当于三个界面
tab1, tab2, tab3 = st.tabs(["Cat", "Dog", "Owl"])

#三个tab的设定
with tab1:
   st.header("A cat")
   st.image("https://static.streamlit.io/examples/cat.jpg", width=200)

with tab2:
   st.header("A dog")
   st.image("https://static.streamlit.io/examples/dog.jpg", width=200)

with tab3:
   st.header("An owl")
   st.image("https://static.streamlit.io/examples/owl.jpg", width=200)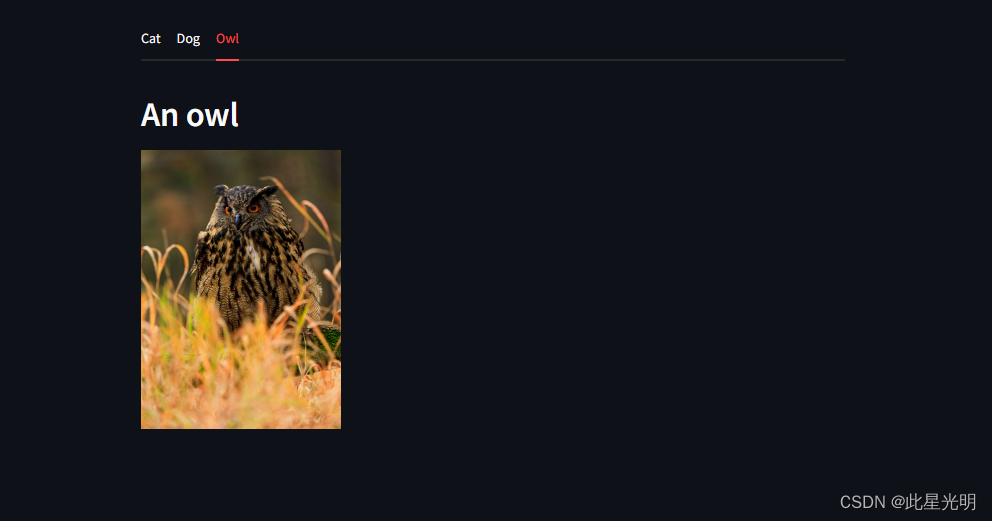
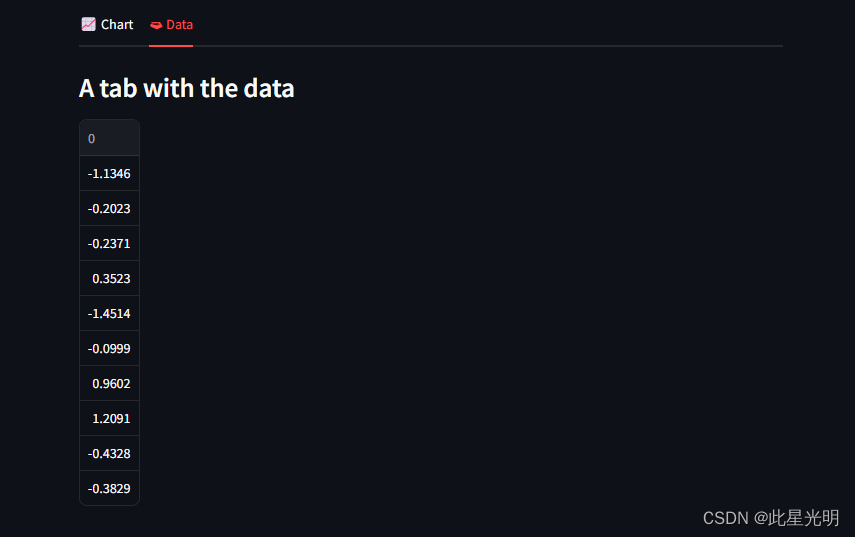
或者,你也可以直接调用返回对象的方法:这里设定一个表格和数据
import streamlit as st
import numpy as np

#这里设定两个tabs并按照列表形式传入
tab1, tab2 = st.tabs(["📈 Chart", "🗃 Data"])

#设定一个随机数列
data = np.random.randn(10, 1)

#设定第一个tab
tab1.subheader("A tab with a chart")
tab1.line_chart(data)
#设定第二个tab
tab2.subheader("A tab with the data")
tab2.write(data)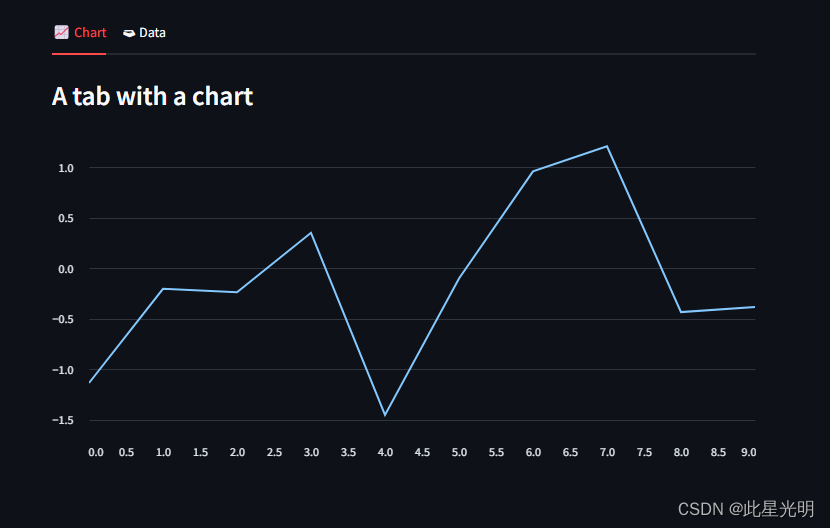


 1483
1483

 被折叠的 条评论
为什么被折叠?
被折叠的 条评论
为什么被折叠?
 到【灌水乐园】发言


