


前提条件安装有cartographer算法,这个算法安装官网上有,网上教程也有很多。
1.cartographer算法文件修改
进入安装cartographer算法的工作空间,并激活环境:
cd ~/catkin_google_ws/
source install_isolated/setup.bash
进入下图所示的launch文件夹,并创建一个launch文件,我创建的命名为create_house_and_car_map.launch :

create_house_and_car_map.launch 代码如下 :
注意点:-configuration_basename create_house_and_car_map.lua" 注意这个lua文件的路径要正确,并且注意lua文件名正确,我所创建的为create_house_and_car_map.lua,因此把这个名字换上去,因为我是在它原来lua文件路径下创的,因此只需要改名字就可以了。
还有 <remap from="scan" to="scan" /> 这个scan是激光雷达的话题名称,如果不一样也是需要改的。
<launch>

  <param name="/use_sim_time" value="true" />

  <node name="cartographer_node" pkg="cartographer_ros"
        type="cartographer_node" args="
            -configuration_directory $(find cartographer_ros)/configuration_files
            -configuration_basename create_house_and_car_map.lua"
        output="screen">
    <remap from="scan" to="scan" />
  </node>

  <node name="rviz" pkg="rviz" type="rviz" required="true"
        args="-d $(find cartographer_ros)/configuration_files/demo_2d.rviz" />
</launch>
在lua文件路径下创建一个 create_house_and_car_map.lua文件,内容如下:
需要修改的是下面这两行:
tracking_frame = "laser",
published_frame = "laser",
启动小车和场景模型后(这点是关键,这就是相当于把小车放在真实的场景中,并且打开了各种传感器就等着操作这个小车了),会发布很多话题,包括雷达话题,可以通过以下获取话题名称和这个话题的frame_id:
获取话题名称:
rostopic list获取/scan这个话题的frame_id,可以根据话题名不同来修改:
rostopic echo /scan | grep frame_idcreate_house_and_car_map.lua:
-- Copyright 2016 The Cartographer Authors
--
-- Licensed under the Apache License, Version 2.0 (the "License");
-- you may not use this file except in compliance with the License.
-- You may obtain a copy of the License at
--
--      http://www.apache.org/licenses/LICENSE-2.0
--
-- Unless required by applicable law or agreed to in writing, software
-- distributed under the License is distributed on an "AS IS" BASIS,
-- WITHOUT WARRANTIES OR CONDITIONS OF ANY KIND, either express or implied.
-- See the License for the specific language governing permissions and
-- limitations under the License.

include "map_builder.lua"
include "trajectory_builder.lua"

options = {
  map_builder = MAP_BUILDER,
  trajectory_builder = TRAJECTORY_BUILDER,
  map_frame = "map",
  tracking_frame = "laser",
  published_frame = "laser",
  odom_frame = "odom",
  provide_odom_frame = true,
  publish_frame_projected_to_2d = false,
  use_pose_extrapolator = true,
  use_odometry = false,
  use_nav_sat = false,
  use_landmarks = false,
  num_laser_scans = 1,
  num_multi_echo_laser_scans = 0,
  num_subdivisions_per_laser_scan = 1,
  num_point_clouds = 0,
  lookup_transform_timeout_sec = 0.2,
  submap_publish_period_sec = 0.3,
  pose_publish_period_sec = 5e-3,
  trajectory_publish_period_sec = 30e-3,
  rangefinder_sampling_ratio = 1.,
  odometry_sampling_ratio = 1.,
  fixed_frame_pose_sampling_ratio = 1.,
  imu_sampling_ratio = 1.,
  landmarks_sampling_ratio = 1.,
}

MAP_BUILDER.use_trajectory_builder_2d = true

TRAJECTORY_BUILDER_2D.submaps.num_range_data = 35
TRAJECTORY_BUILDER_2D.min_range = 0.3
TRAJECTORY_BUILDER_2D.max_range = 8.
TRAJECTORY_BUILDER_2D.missing_data_ray_length = 1.
TRAJECTORY_BUILDER_2D.use_imu_data = false
TRAJECTORY_BUILDER_2D.use_online_correlative_scan_matching = true
TRAJECTORY_BUILDER_2D.real_time_correlative_scan_matcher.linear_search_window = 0.1
TRAJECTORY_BUILDER_2D.real_time_correlative_scan_matcher.translation_delta_cost_weight = 10.
TRAJECTORY_BUILDER_2D.real_time_correlative_scan_matcher.rotation_delta_cost_weight = 1e-1

POSE_GRAPH.optimization_problem.huber_scale = 1e2
POSE_GRAPH.optimize_every_n_nodes = 35
POSE_GRAPH.constraint_builder.min_score = 0.65

return options
2. 启动仿真模型
这个仿真模型的创建在我的上一篇文章中有大幅的描述,这里就不赘述了。
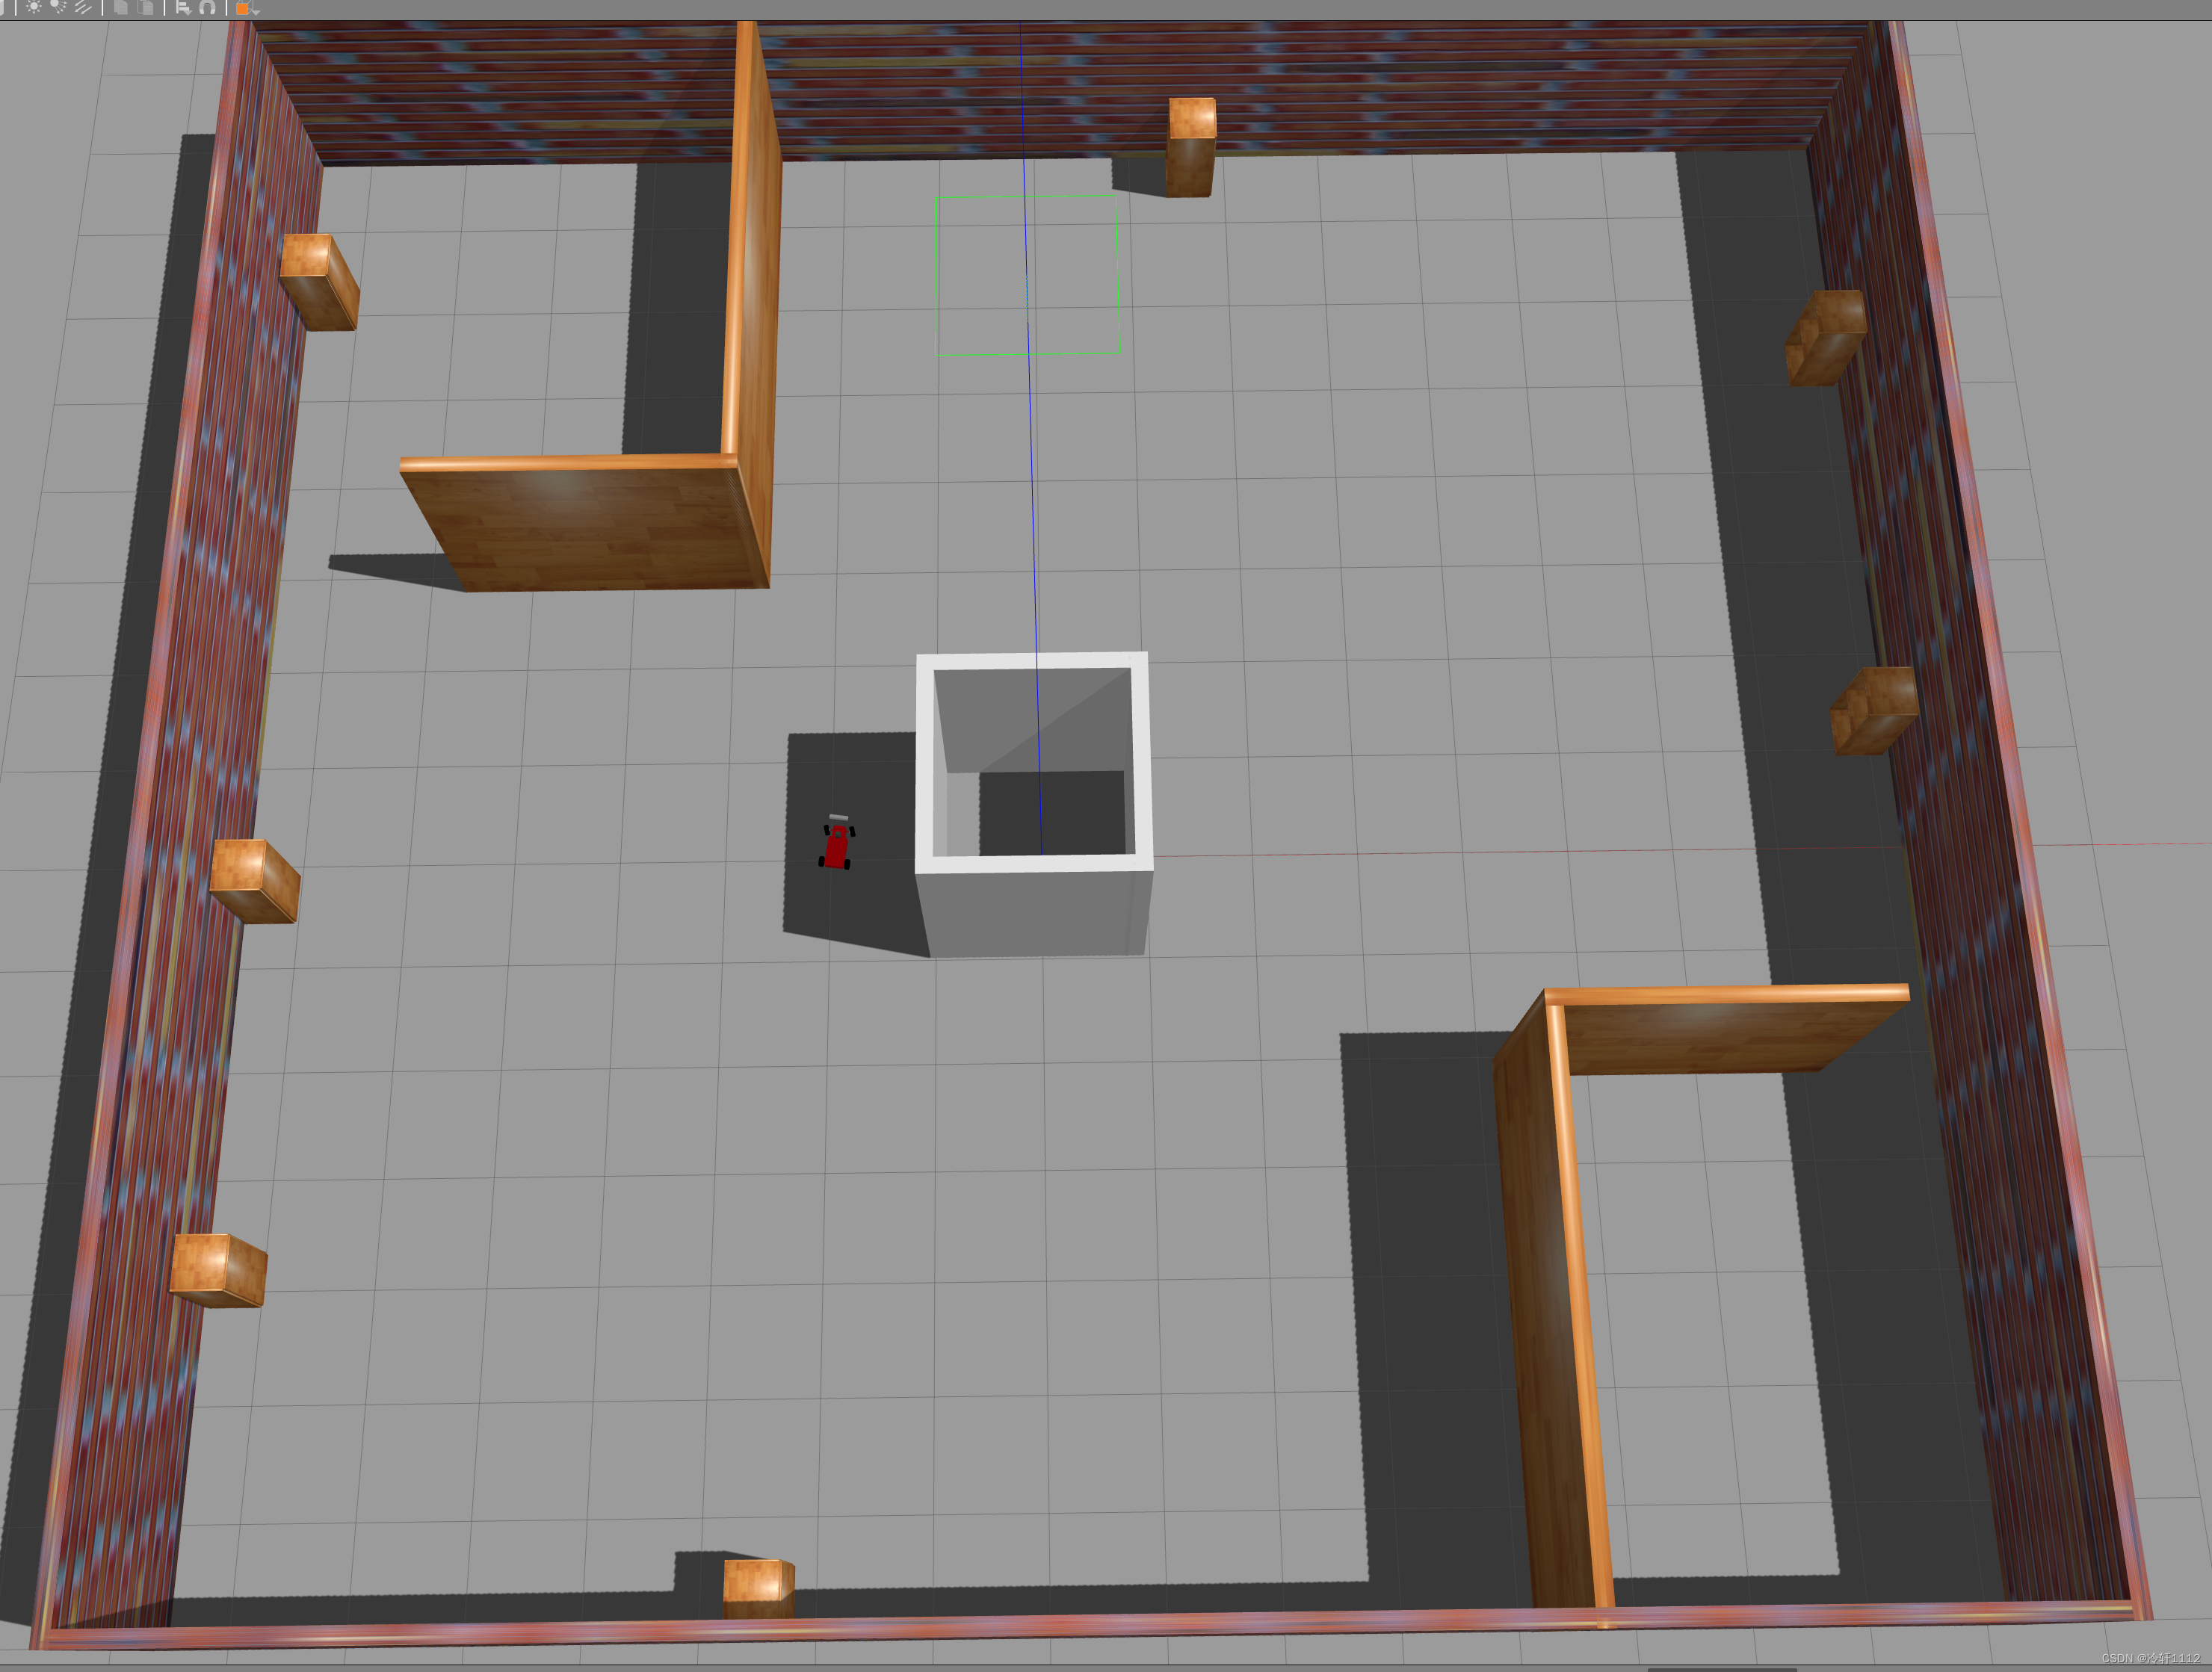
进入gazebo仿真环境,并激活环境,最后启动launch文件来显示小车和环境模型,这一步就相当于把所有事情都干好了放小车在一个环境中,接下来就等着移动控制建图就可以了
(base) hjb@jl16k:~$ cd catkin_gazebo_ws/
(base) hjb@jl16k:~/catkin_gazebo_ws$ source devel/setup.bash
(base) hjb@jl16k:~/catkin_gazebo_ws$ roslaunch racecar_gazebo display_house_world_and_car_in_gazebo.launch
3. 启动算法完成建图
(base) hjb@jl16k:~$ cd catkin_google_ws/
(base) hjb@jl16k:~/catkin_google_ws$ source install_isolated/setup.bash
(base) hjb@jl16k:~/catkin_google_ws$ roslaunch cartographer_ros create_house_and_car_map.launch 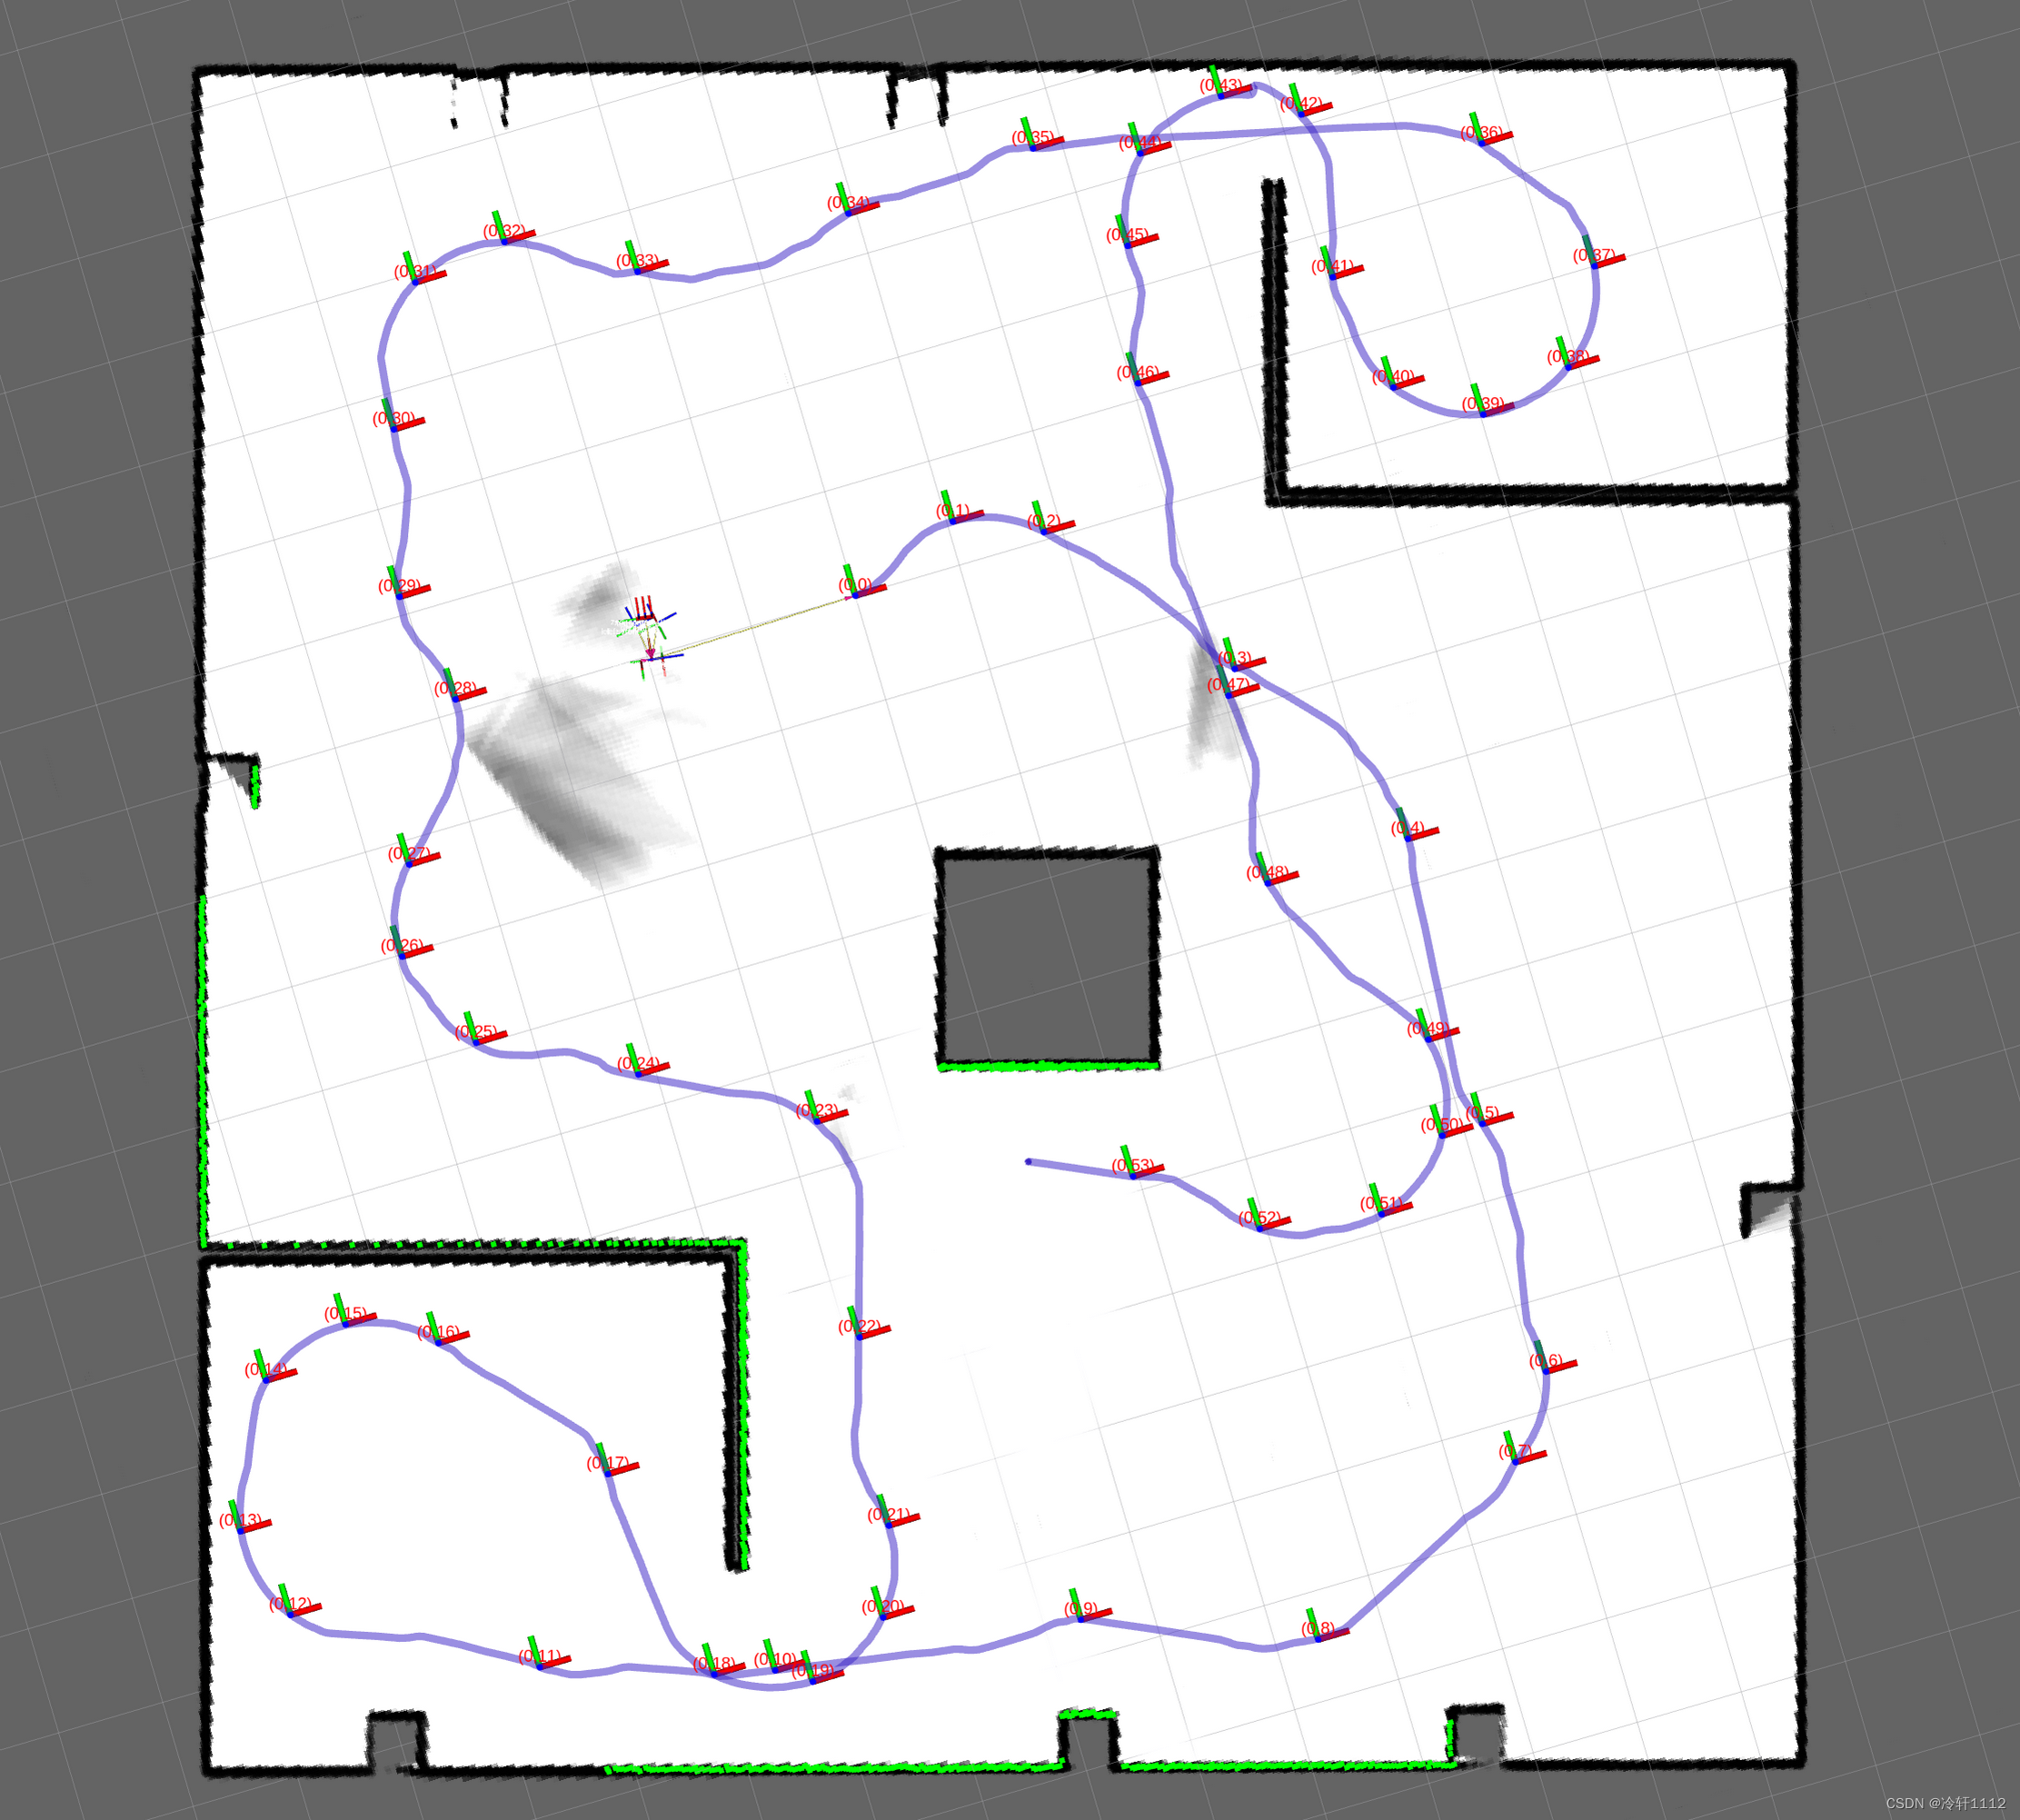
需要注意的是控制移动点击在下图这个界面才能移动,控制建wasd:

4.保存图片
打开新的终端:
(base) hjb@jl16k:~$ cd catkin_google_ws/
(base) hjb@jl16k:~/catkin_google_ws$ source install_isolated/setup.bash
完成轨迹,不接受进一步数据:
(base) hjb@jl16k:~/catkin_google_ws$ rosservice call /finish_trajectory 0

序列化保存其当前状态(地址根据自己需求改,我喜欢存到仿真环境中的map中,方便后续使用):
(base) hjb@jl16k:~/catkin_google_ws$ rosservice call /write_state "{filename: '${HOME}/catkin_gazebo_ws/src/racecar/racecar_gazebo/map/house2.pbstream'}"
将pbstream转换为pgm和yaml:
(base) hjb@jl16k:~/catkin_google_ws$ rosrun cartographer_ros cartographer_pbstream_to_ros_map -map_filestem=${HOME}/catkin_gazebo_ws/src/racecar/racecar_gazebo/map/house2 -pbstream_filename=${HOME}/catkin_gazebo_ws/src/racecar/racecar_gazebo/map/house2.pbstream -resolution=0.05 5. 导航
5. 导航


 883
883


 被折叠的 条评论
为什么被折叠?
被折叠的 条评论
为什么被折叠?
 到【灌水乐园】发言


