file转byte数组_unity截图保存-RenderTexture转Texture2D

本文介绍了在Unity项目中如何实现系统截图功能,具体步骤包括将RenderTexture转换为Texture2D,然后转换为byte数组,最终保存为PNG图片文件。示例代码展示了该过程,包括激活RenderTexture,读取像素,编码为PNG,写入内存文件。

摘要生成于 C知道 ,由 DeepSeek-R1 满血版支持, 前往体验 >

89ddb897333163f732efd0dcaf91c19c.png

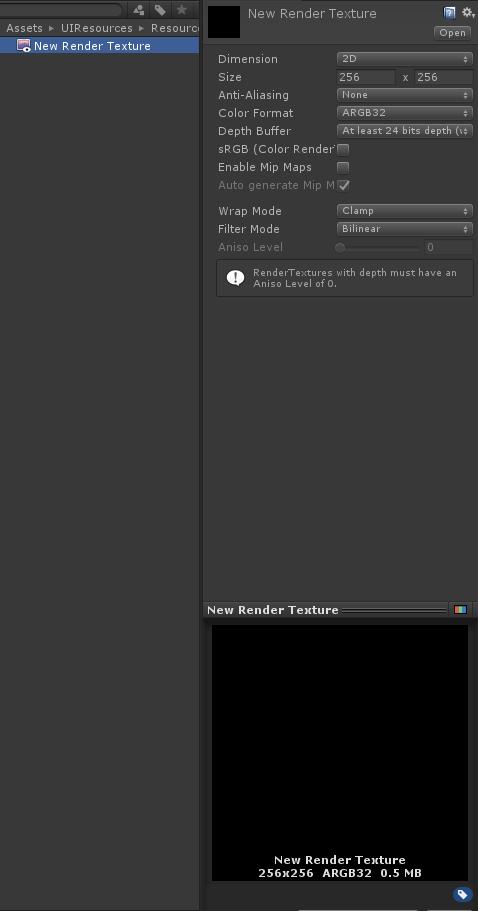
使用unity项目开发过程中需要用到系统截图功能时,其实主要的做法是将RenderTexture转换为Texture2D,然后再转为byte数组,最后创建图片文件,写入内存。下面是代码演示:

public static bool SaveRenderTextureToPNG(RenderTexture rt, string contents, string pngName)

{

Debug.Log("正在保存PNG图片...." + contents + "....." + pngName);

RenderTexture prev = RenderTexture.active;

RenderTexture.active = rt;

Texture2D png = new Texture2D(rt.width, rt.height, TextureFormat.ARGB32, false);

png.ReadPixels(new Rect(0, 0, rt.width, rt.height), 0, 0);

byte[] bytes = png.EncodeToPNG();

// if (!Directory.Exists(contents))

// Directory.CreateDirectory(contents);

string path = Path.Combine(Application.dataPath, pngName + ".jpeg");

FileStream file = File.Open(path, FileMode.Create);

BinaryWriter writer = new BinaryWriter(file);

writer.Write(bytes);

file.Close();

Texture2D.DestroyImmediate(png);

png = null;

RenderTexture.active = prev;

return true;

}

}

Unity中,如果你想要从RenderTexture上移除白色的背景并将其保存为PNG图片,你可以通过以下步骤操作: 1. 首先,确保你有一个渲染到RenderTexture的游戏物体,这个物体通常会有一个Camera组件用于捕获画面。 2. 创建一个脚本来处理RenderTexture。你可以创建一个新的C#脚本,例如`RemoveBackgroundScript.cs`,然后添加以下内容: ```csharp using UnityEngine; using System.IO; using UnityEngine.UI; public class RemoveBackgroundScript : MonoBehaviour { public RenderTexture renderTexture; // 你的RenderTexture组件 private Texture2D texture; void Start() { // 获取RenderTexture的内容并换为Texture2D if (renderTexture != null) { texture = new Texture2D(renderTexture.width, renderTexture.height, TextureFormat.RGB24, false); texture.ReadPixels(new Rect(0, 0, renderTexture.width, renderTexture.height), 0, 0); texture.Apply(); } } public void SaveAsPNG(string filePath) { // 如果有白色背景,可以尝试将Alpha通道设置为非透明 Color[] colors = texture.GetPixels32(); for (int i = 0; i < colors.Length; i++) { if (colors[i].a == 1 && Vector3接近白色(colors)) { colors[i].a = 0; } } texture.SetPixels32(colors); texture.Apply(); // 保存为PNG文件 byte[] bytes = texture.EncodeToPNG(); File.WriteAllBytes(filePath, bytes); } private bool Vector3接近白色(Color color) { float r = Mathf.Abs(color.r - 1); float g = Mathf.Abs(color.g - 1); float b = Mathf.Abs(color.b - 1); return r <= 0.05 && g <= 0.05 && b <= 0.05; } } ``` 3. 将此脚本附加到游戏中的某个物体上,并在SaveAsPNG()方法中指定你想要保存的文件路径。 4. 使用的时候,可以在适当的时间调用`SaveAsPNG(path)`函数,其中`path`是你希望保存的PNG文件的完整路径,比如`"Assets/ExportedImages/myImage.png"`。 注意:这种方法可能并不能完美地移除所有的白色背景,特别是如果背景中的白点不是纯白色的情况。对于更复杂的需求,你可能需要使用专门的图像处理库或算法来精确处理。
评论
添加红包

请填写红包祝福语或标题

红包个数最小为10个

红包金额最低5元

当前余额3.43前往充值 >
需支付:10.00
成就一亿技术人!
领取后你会自动成为博主和红包主的粉丝 规则
hope_wisdom
发出的红包
实付
使用余额支付
点击重新获取
扫码支付
钱包余额 0

抵扣说明:

1.余额是钱包充值的虚拟货币,按照1:1的比例进行支付金额的抵扣。
2.余额无法直接购买下载,可以购买VIP、付费专栏及课程。

余额充值