


背景
当前处于戴眼镜与口罩识别头部位姿分支

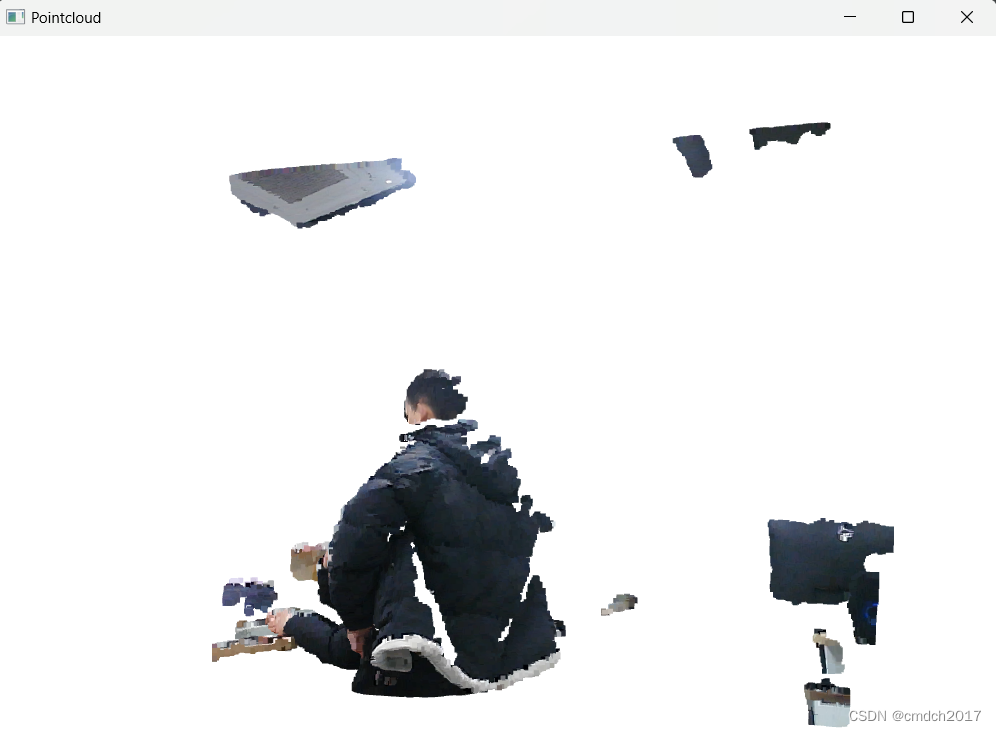
github上找到的python读取点云的代码
import time

import cv2 as cv
import numpy as np
import open3d
from openni import _openni2
from openni import openni2

SAVE_POINTCLOUDS = True  # 是否保存点云数据


def get_rgbd(color_capture, depth_stream, depth_scale=1000, depth_trunc=4, convert_rgb_to_intensity=False):
    # 获取彩色图像
    _, color_image = color_capture.read()
    color_image = color_image[:, ::-1, ::-1]

    # 获取深度图像
    depth_frame = depth_stream.read_frame()
    depth_image = np.frombuffer(depth_frame.get_buffer_as_uint16(), np.uint16)
    depth_image = depth_image.reshape(depth_frame.height, depth_frame.width)
    depth_image = depth_image.astype(np.float32)

    # 从深度和彩色图像创建RGBD图像
    color_image = np.ascontiguousarray(color_image)
    depth_image = np.ascontiguousarray(depth_image)
    rgbd = open3d.geometry.RGBDImage.create_from_color_and_depth(
        open3d.geometry.Image(color_image),
        open3d.geometry.Image(depth_image),
        depth_scale=depth_scale,
        depth_trunc=depth_trunc,
        convert_rgb_to_intensity=convert_rgb_to_intensity
    )

    return rgbd


def main():
    # 初始化OpenNI
    openni2.initialize()

    # 打开Astra彩色流(使用OpenCV)
    color_capture = cv.VideoCapture(1)
    color_capture.set(cv.CAP_PROP_FPS, 5)

    # 打开Astra深度流(使用OpenNI)
    depth_device = openni2.Device.open_any()
    depth_stream = depth_device.create_depth_stream()
    depth_stream.start()
    depth_stream.set_video_mode(
        _openni2.OniVideoMode(pixelFormat=_openni2.OniPixelFormat.ONI_PIXEL_FORMAT_DEPTH_1_MM,
                              resolutionX=640,
                              resolutionY=480,
                              fps=5))
    depth_device.set_image_registration_mode(openni2.IMAGE_REGISTRATION_DEPTH_TO_COLOR)

    # 创建点云可视化器
    visualizer = open3d.visualization.Visualizer()
    visualizer.create_window("Pointcloud", width=1000, height=700)

    # Astra Pro相机的相机内参
    astra_camera_intrinsics = open3d.camera.PinholeCameraIntrinsic(
        width=640,
        height=480,
        fx=585,
        fy=585,
        cx=320,
        cy=250)

    # 创建初始点云
    pointcloud = open3d.geometry.PointCloud()
    visualizer.add_geometry(pointcloud)

    first = True
    prev_timestamp = 0
    num_stored = 0

    while True:
        rgbd = get_rgbd(color_capture, depth_stream)

        # 将图像转换为点云
        new_pointcloud = open3d.geometry.PointCloud.create_from_rgbd_image(
            rgbd,
            intrinsic=astra_camera_intrinsics,
        )
        # 翻转点云
        new_pointcloud.transform([[1, 0, 0, 0], [0, -1, 0, 0], [0, 0, -1, 0], [0, 0, 0, 1]])
        # 设置渲染的点云为记录的点云
        pointcloud.points = new_pointcloud.points
        pointcloud.colors = new_pointcloud.colors

        # 每n秒保存一次点云
        if SAVE_POINTCLOUDS and time.time() > prev_timestamp + 5:
            filename = "pointcloud-%r.pcd" % num_stored
            open3d.io.write_point_cloud(filename, new_pointcloud)
            num_stored += 1
            print("已保存: %s" % filename)
            prev_timestamp = time.time()

        # 在第一帧中重置视点,以正确查看场景
        if first:
            visualizer.reset_view_point(True)
            first = False

        # 更新可视化器
        visualizer.update_geometry(pointcloud)
        visualizer.poll_events()
        visualizer.update_renderer()


if __name__ == "__main__":
    main()


 1277
1277


 被折叠的 条评论
为什么被折叠?
被折叠的 条评论
为什么被折叠?
 到【灌水乐园】发言


