


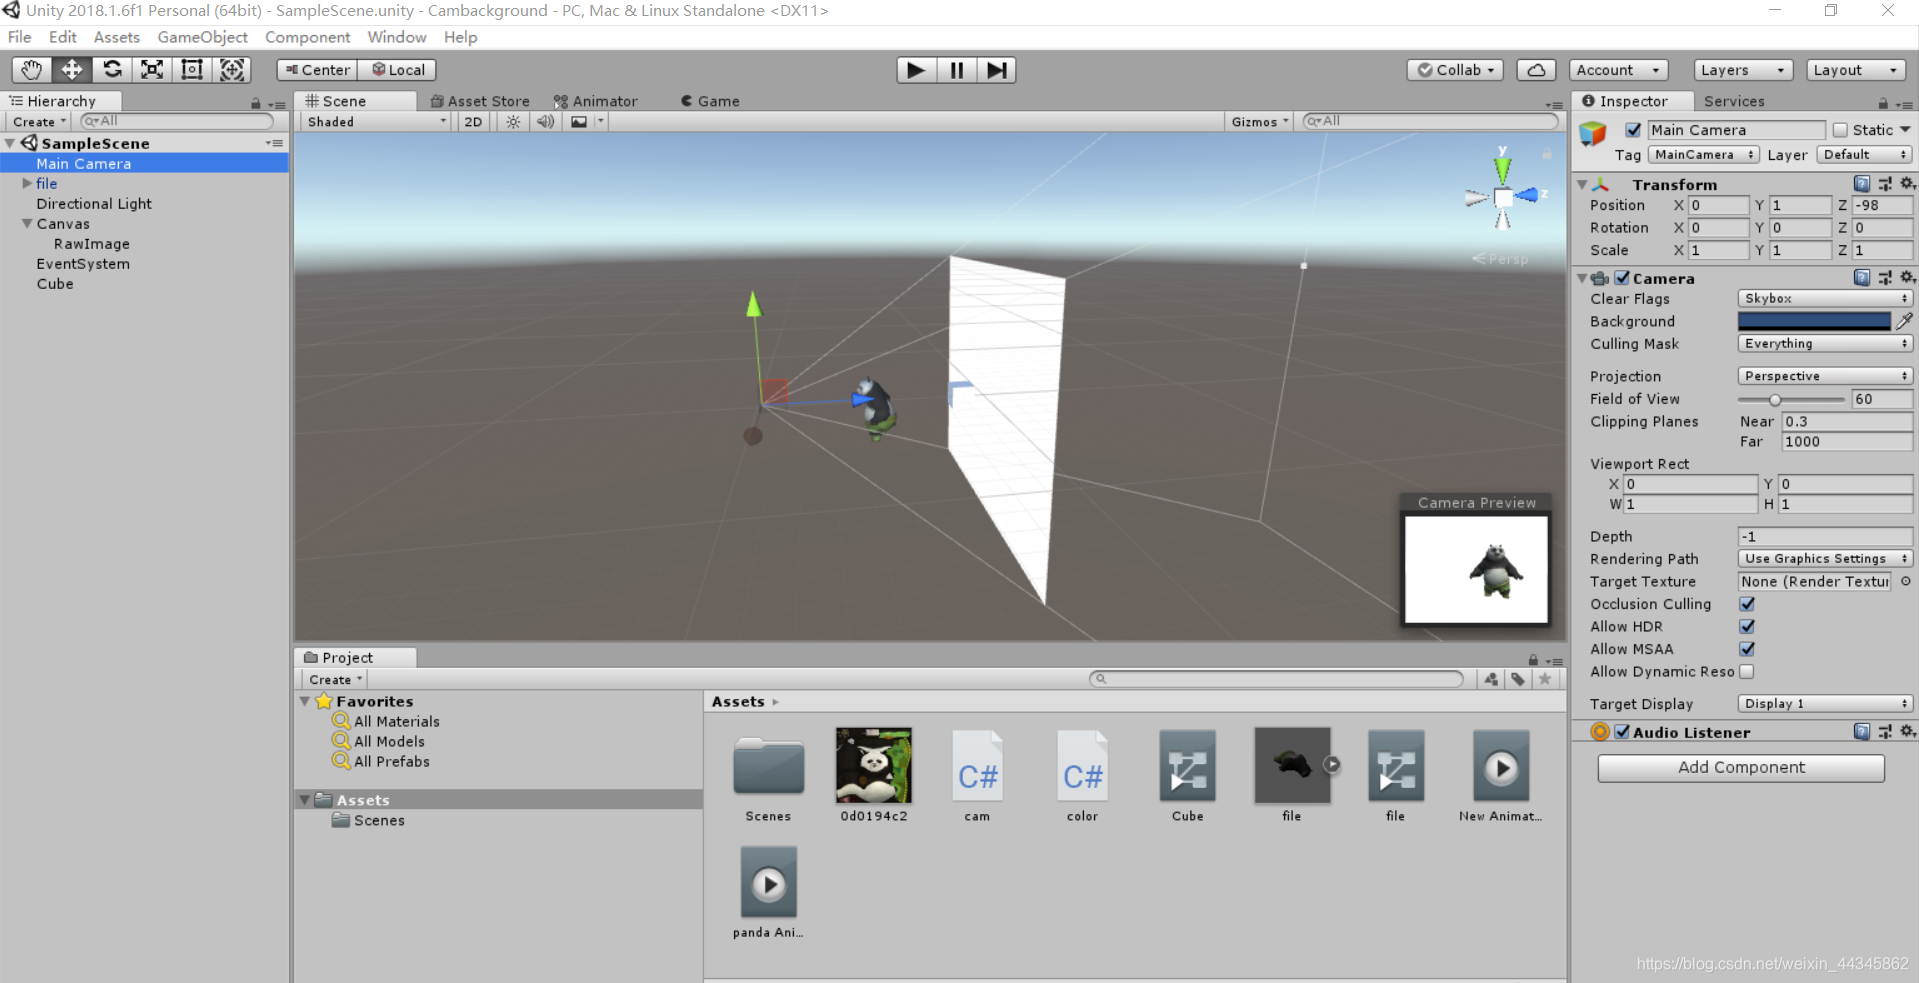
整体如图所示,白色的平面是raw image,摄像头的代码要托到它上面,熊猫就是file,为fbx格式的文件,它和贴图文件(这里是dds文件,一般为图片文件如png等)直接拖进到assets窗口即可,主摄像机不用设置,默认即可。这里有两端代码,一段是摄像头的cam,一段是给cube物体上色用到,同时这里给熊猫和cube添加了旋转的动画(选择相应的物体,window->Animation添加属性,编辑rotation即可)
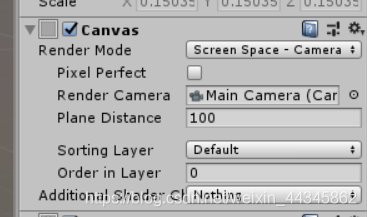
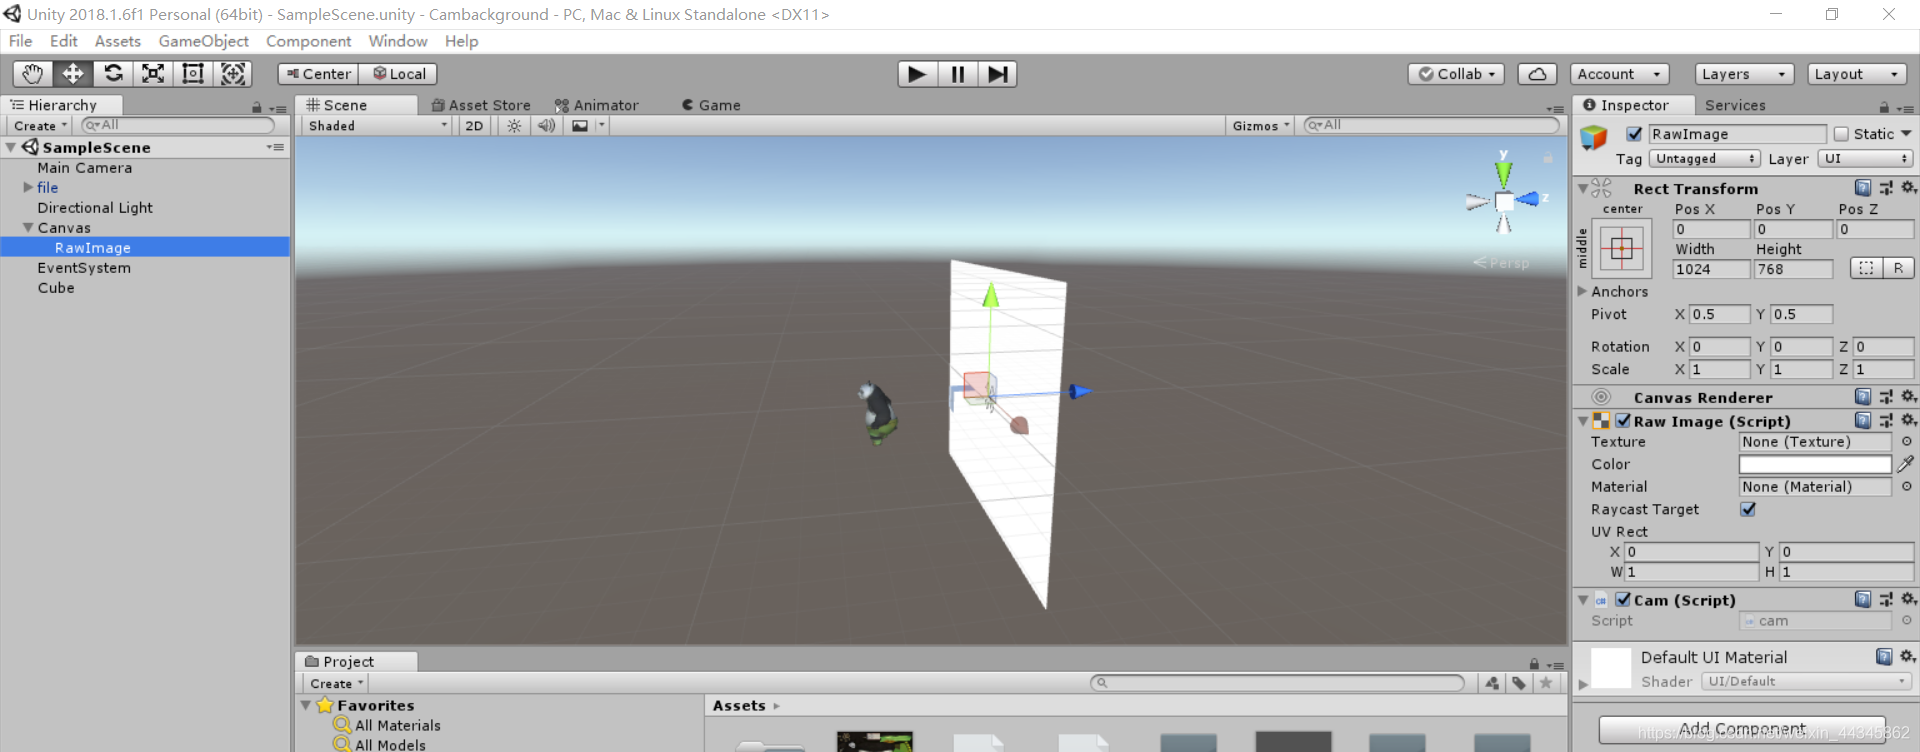
添加Canvas(GameObject->UI->Canvas)和Cube(GameObject->3dobject->cube)。Canvas下面添加Raw image(也在UI的子菜单中),然后开始设置。首先设置Canvas,其属性中的Render mode 和render camera以及plane distance,如下图:
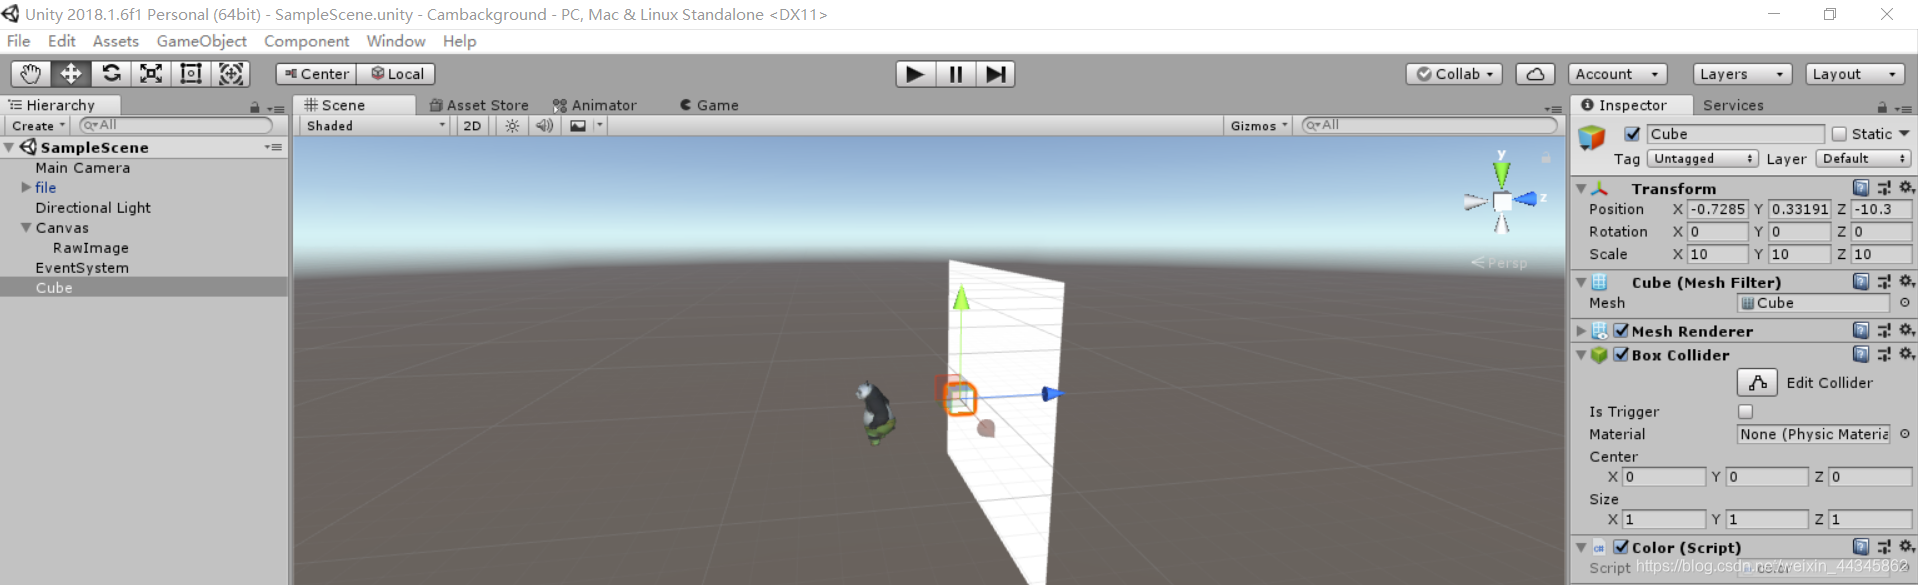
cube上色即COLOR代码:
using UnityEngine;
using System.Collections;
public class color : MonoBehaviour
{
// Use this for initialization
void Start()
{
    GameObject cube = GameObject.Find("Cube");
    if (cube != null)
    {
        Renderer render = cube.GetComponent<Renderer>();
        render.material.color = Color.green;
    }
}
// Update is called once per frame
void Update()
{
}
}
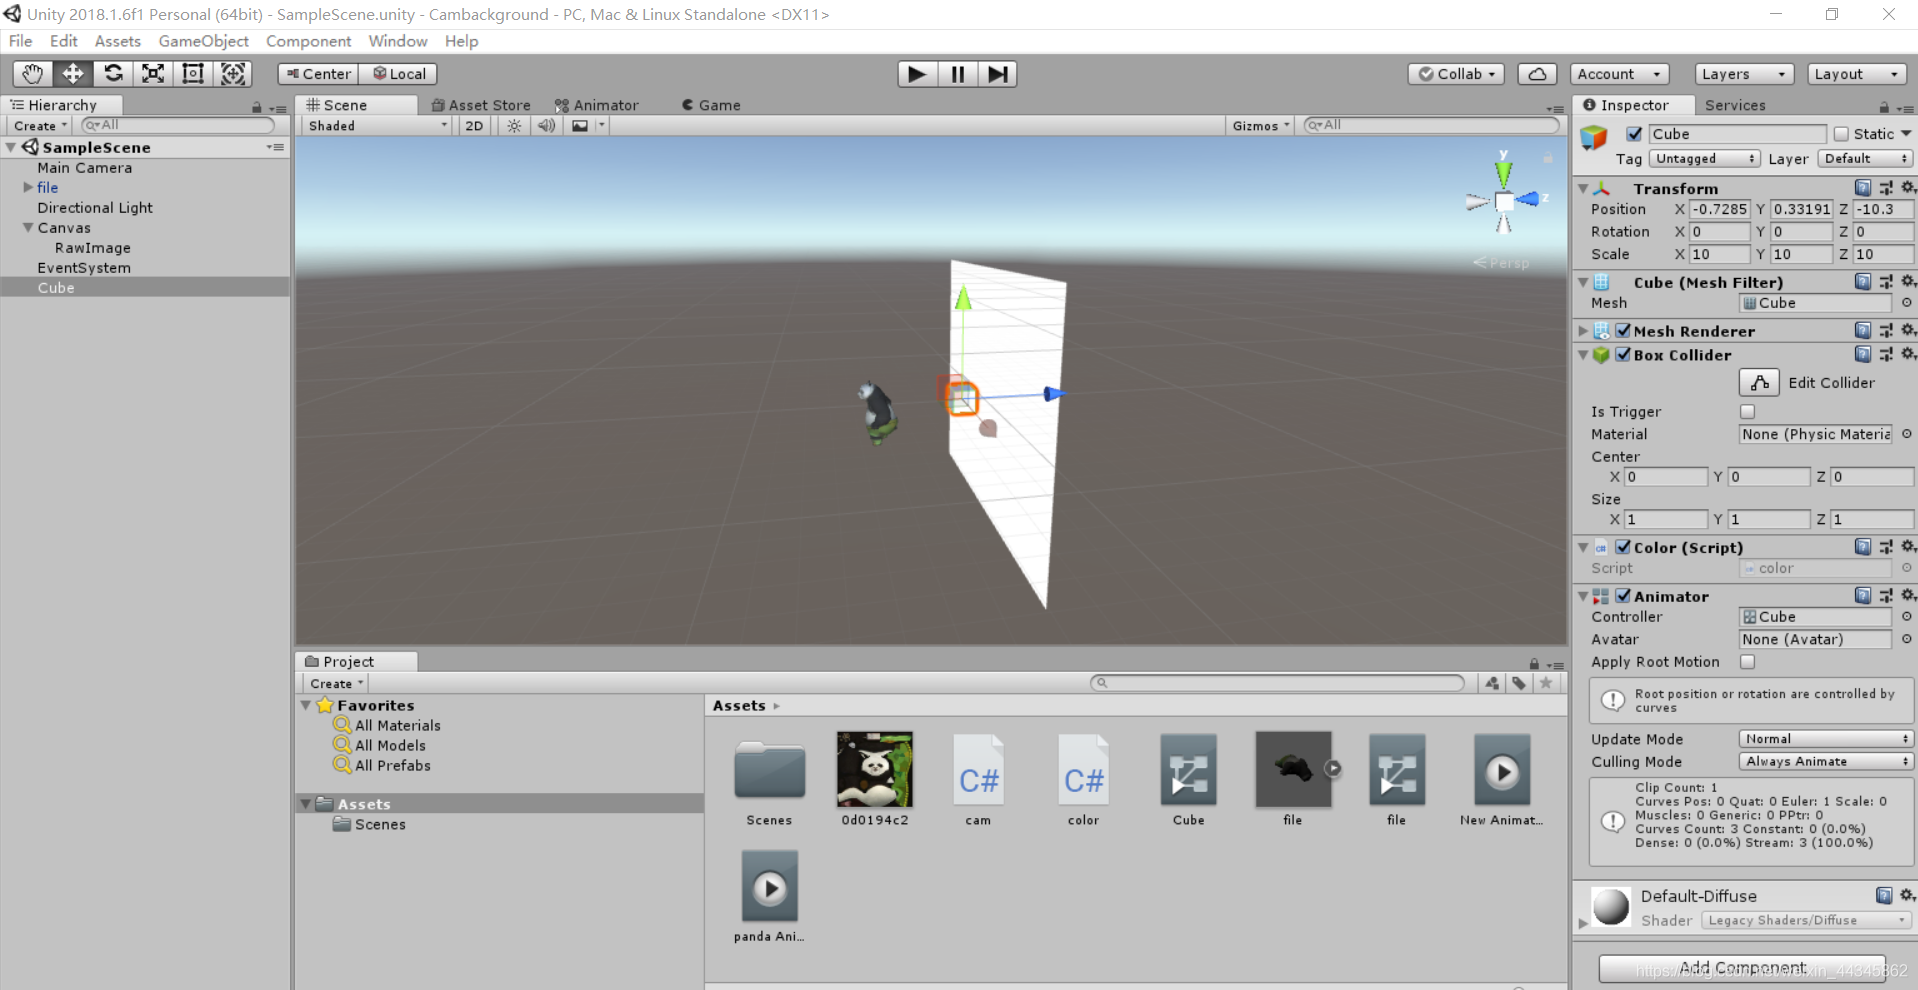
记得分别拖到cube上。添加后,右下角会多出color(script)一栏,如下图;
添加动画后,右下角会多出animator一栏,如下图:
摄像头即cam代码:
using System.Collections;
using System.Collections.Generic;
using UnityEngine;
using UnityEngine.UI;
public class cam : MonoBehaviour
{
RawImage cameraImage;
private WebCamTexture webCamTex;

IEnumerator Start()
{
    cameraImage = GetComponent<RawImage>();

    // 请求摄像头权限
    yield return Application.RequestUserAuthorization(UserAuthorization.WebCam);
    // 如果获取到摄像头权限
    if (Application.HasUserAuthorization(UserAuthorization.WebCam))
    {
        // 获取所有的摄像头设备
        WebCamDevice[] devices = WebCamTexture.devices;
        if (devices != null)
        {
            // 索引为0的摄像头一般为后置摄像头,参数分别为设备名称、图像宽度、高度、刷新率
            webCamTex = new WebCamTexture(devices[0].name, 800, 1280, 30);
            // 实时获取摄像头的画面
            webCamTex.Play();

            cameraImage.texture = webCamTex;
        }
    }
}
// Update is called once per frame
void Update()
{

}
}
记得分别拖到raw image上,添加后,右下角会多出cam(script)一栏,如下图;
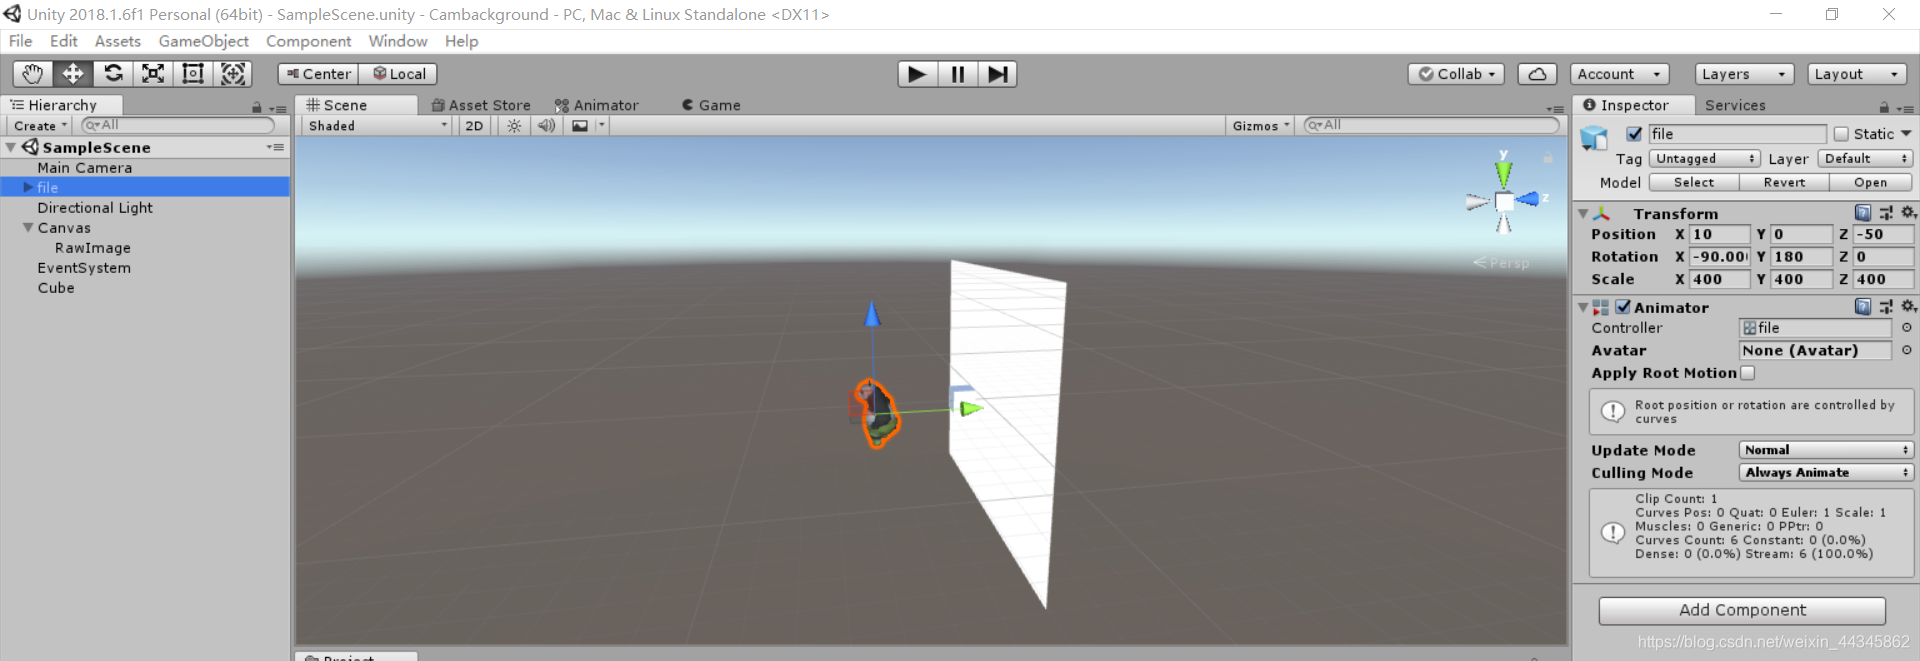
熊猫添加动画后,右下角会多出animator一栏,如下图:
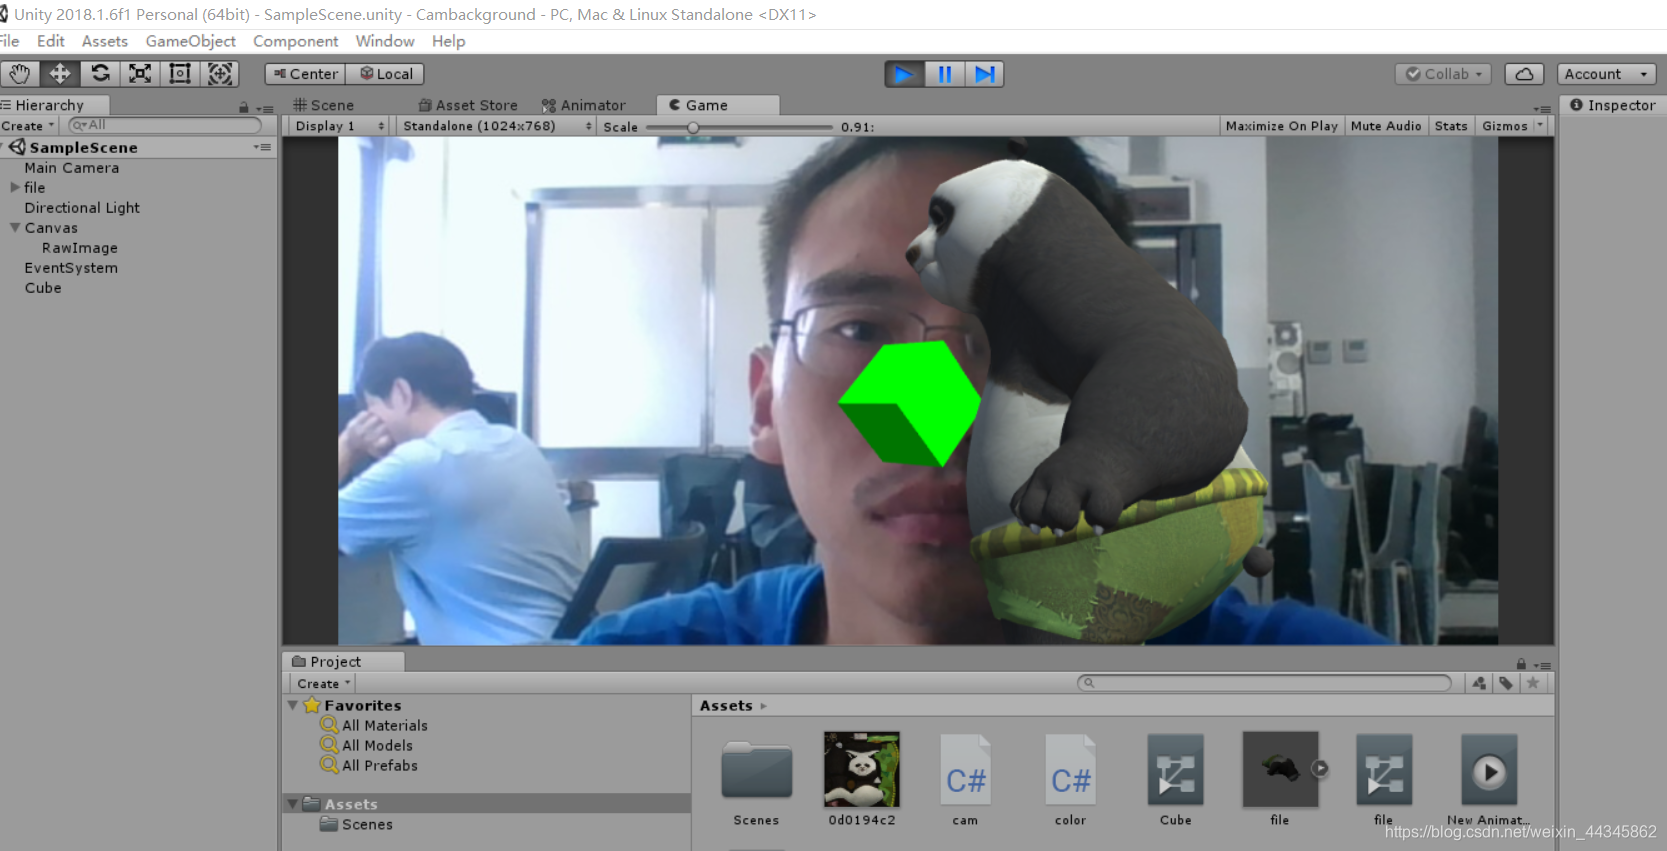
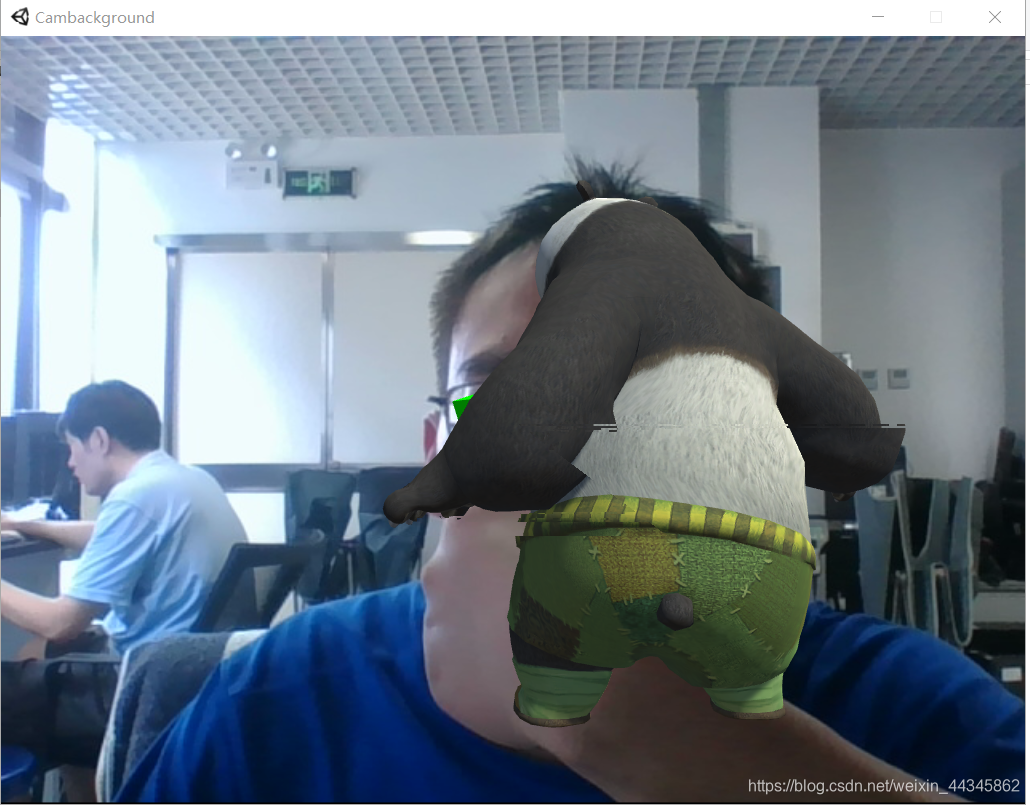
效果如下,旋转的熊猫和立方体,熊猫会一直变换大小且会遮挡立方体的:
可以发布file->build setting…然后选择windows平台,即可生成单独运行的.exe程序,可以分享给任何人了,对方不需要安装unity3D可以看到你的美。


 2万+
2万+

 被折叠的 条评论
为什么被折叠?
被折叠的 条评论
为什么被折叠?
 到【灌水乐园】发言


