


1.加载模型
// load image from file
    cv::Mat img = cv::imread("./images/img1.png");
    //传入图片

    // load class names from file
    string yoloBasePath = "./dat/yolo/";
    string yoloClassesFile = yoloBasePath + "coco.names";
    string yoloModelConfiguration = yoloBasePath + "yolov3.cfg";
    string yoloModelWeights = yoloBasePath + "yolov3.weights";
    //加载类别名
    vector<string> classes;
    ifstream ifs(yoloClassesFile.c_str());
    string line;
    while (getline(ifs, line)) classes.push_back(line);

    // load neural network
    cv::dnn::Net net = cv::dnn::readNetFromDarknet(yoloModelConfiguration, yoloModelWeights);    net.setPreferableBackend(cv::dnn::DNN_BACKEND_OPENCV);
net.setPreferableTarget(cv::dnn::DNN_TARGET_CPU);
1.首先传入需要检测的图片
2.加载一系列yolo权重文件,分别是基础路径+yolo种类+模型配置+模型权重
3.加载类别名
4.加载darknet网络,因为OpenCV DNN模块支持常见深度学习框架如TensorFlowCaffe、Darknet等,对应的函数:readNetFromDarknet
5.加载网络后,DNN后端将设置为DNN_BACKEND_OPENCV。如果OpenCV是使用英特尔的推理引擎构建的,则应改用DNN_BACKEND_INFERENCE_ENGINE。DNN_TARGET_OPENCL是(Intel)GPU可用时的选择方法,代码中默认是CPU。
2.加载并处理图片
    // generate 4D blob from input image
    cv::Mat blob;
    double scalefactor = 1/255.0;
    cv::Size size = cv::Size(416, 416);
    cv::Scalar mean = cv::Scalar(0,0,0);
    bool swapRB = false;
    bool crop = false;
    cv::dnn::blobFromImage(img, blob, scalefactor, size, mean, swapRB, crop);
cv::dnn::blobFromImage()函数的用法:
作用:
对图像进行预处理,包括减均值,比例缩放,裁剪,交换通道等,返回一个4通道的blob(blob可以理解为一个N维的数组,用于神经网络的输入)
参数:
- image:输入图像(1,3或者4通道)
- scalefactor:图像通道数值的缩放比例
- size:输出图像的空间尺寸,如size(416,416)表示高h=416,宽w=416
- mean:用于各通道减去的值,以降低光照的影响(image为bgr3通道图像,mean=[0,0,0]表示b通道的值-0,g-0,r-0)
- swapRB:交换RB通道,默认为False(cv2.imread读取的彩图是bgr通道)
- crop:图像裁剪,默认为False,当值为True时,先按比例缩放,然后从中心裁剪成size尺寸
3.前向传播
// Get names of output layers
    vector<cv::String> names;
    vector<int> outLayers = net.getUnconnectedOutLayers(); // get indices of output layers, i.e. layers with unconnected outputs
    vector<cv::String> layersNames = net.getLayerNames(); // get names of all layers in the network

    names.resize(outLayers.size());
    for (size_t i = 0; i < outLayers.size(); ++i) // Get the names of the output layers in names
    {
        names[i] = layersNames[outLayers[i] - 1];
    }

    // invoke forward propagation through network
    vector<cv::Mat> netOutput;
    net.setInput(blob);
    net.forward(netOutput, names);
我们需要将刚创建的Blob作为输入传递给网络,将彩色图像过卷积层----->池化层变成一个771024的featuremap,把这个featuremap放入4096维全连接层中生成7730的一个张量。这可以通过使用OpenCV函数“ getUnconnectedOutLayers”来完成,该函数给出所有未连接输出层的名称,这些输出层实际上是网络的最后一层。
 // Scan through all bounding boxes and keep only the ones with high confidence
    float confThreshold = 0.20;
    vector<int> classIds;
    vector<float> confidences;
    vector<cv::Rect> boxes;
    for (size_t i = 0; i < netOutput.size(); ++i)
    {
        float* data = (float*)netOutput[i].data;
        for (int j = 0; j < netOutput[i].rows; ++j, data += netOutput[i].cols)
        {
            cv::Mat scores = netOutput[i].row(j).colRange(5, netOutput[i].cols);
            cv::Point classId;
            double confidence;

            // Get the value and location of the maximum score
            cv::minMaxLoc(scores, 0, &confidence, 0, &classId);
            if (confidence > confThreshold)
            {
                cv::Rect box; int cx, cy;
                cx = (int)(data[0] * img.cols);
                cy = (int)(data[1] * img.rows);
                box.width = (int)(data[2] * img.cols);
                box.height = (int)(data[3] * img.rows);
                box.x = cx - box.width/2; // left
                box.y = cy - box.height/2; // top

                boxes.push_back(box);
                classIds.push_back(classId.x);
                confidences.push_back((float)confidence);
            }
        }
    }
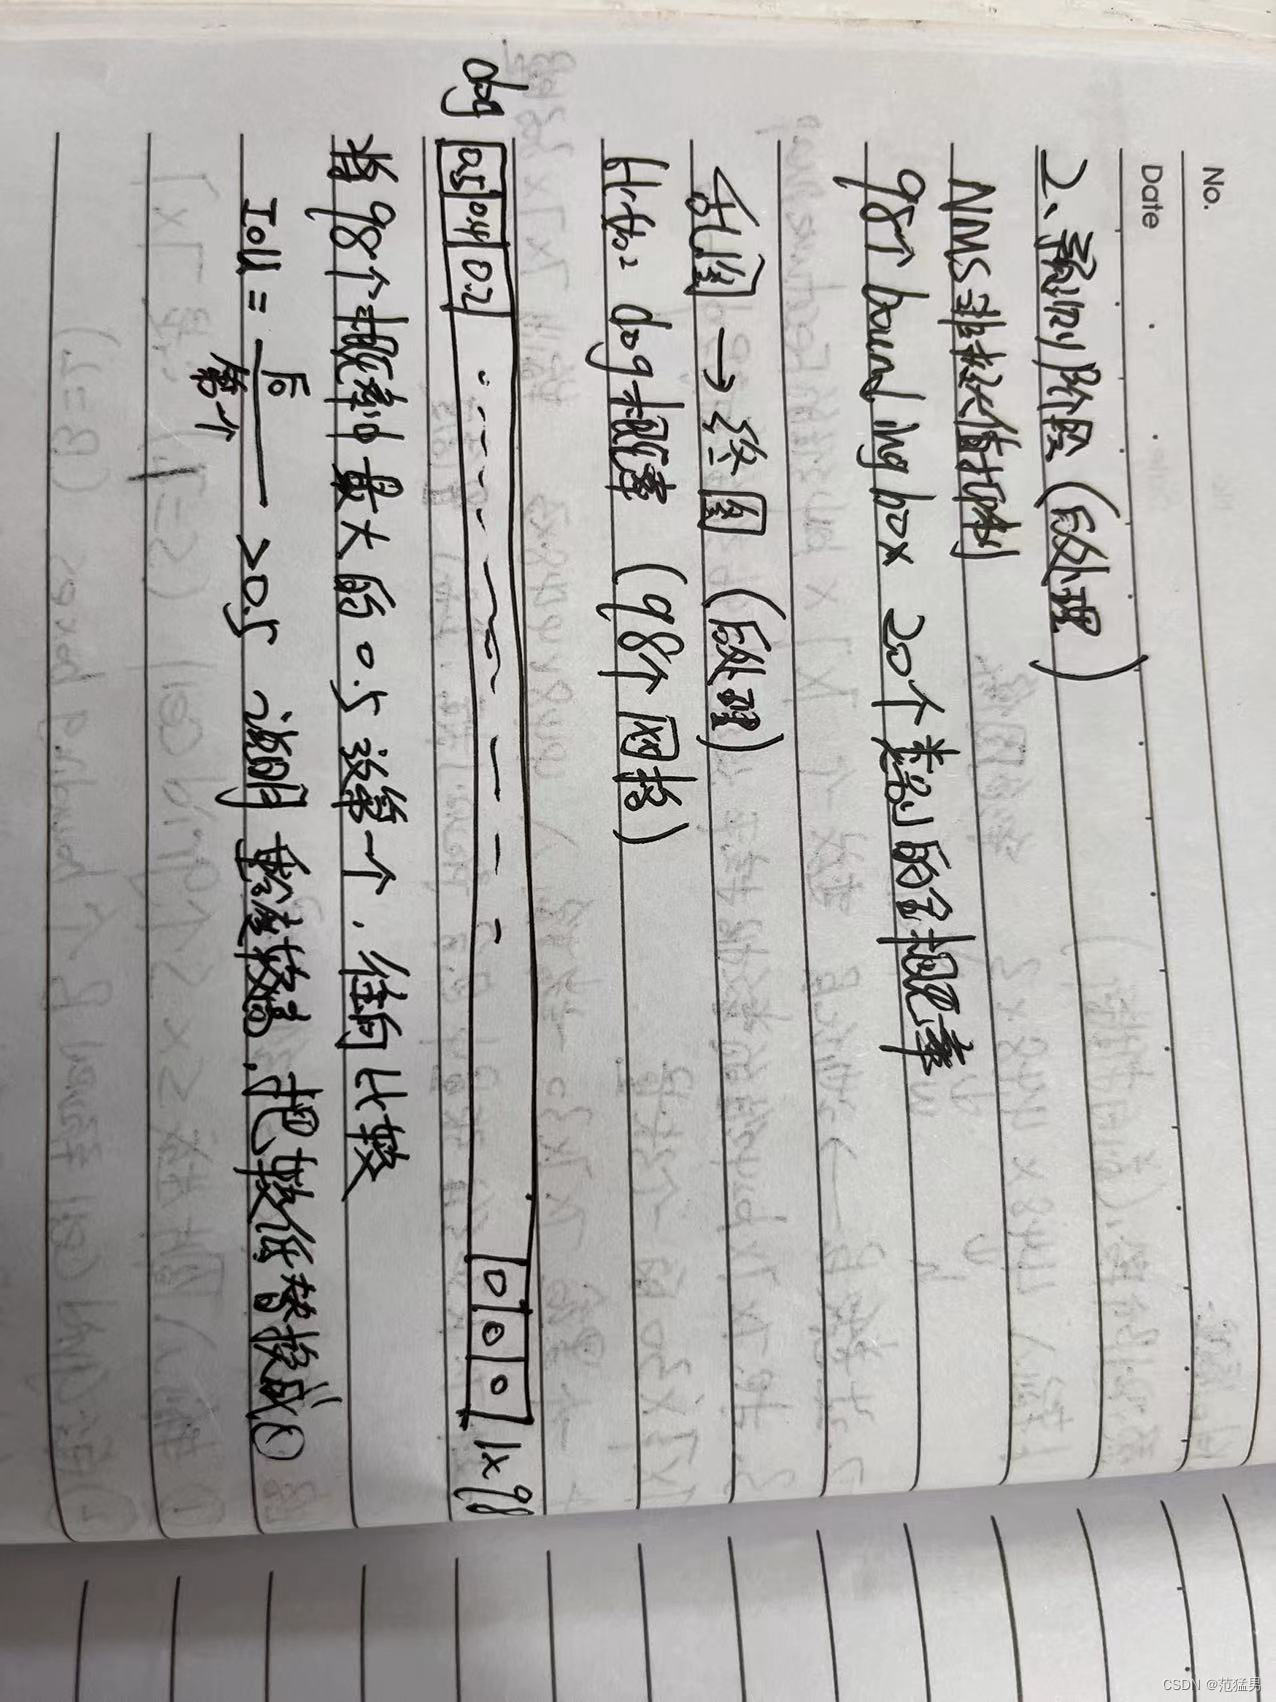
上文说到这个张量,我们要解析这一张量,7*7表示一张彩色图片中包含49个gridcell,每个gridcell生成2个预测框(boundingbox),一共96个boundingbox,每个boundingbox中包含(x,y,w,h,c)分别是x,y坐标,宽高和置信度五个元素信息。
以下代码显示了如何扫描网络结果以及如何将具有足够高置信度得分的边界框组装到向量中。该函数cv::minMaxLoc使用在整个数组中搜索的极值来找到最小和最大元素值及其位置。
4.后处理阶段(NMS)
 // perform non-maxima suppression
    float nmsThreshold = 0.4;  // Non-maximum suppression threshold
    vector<int> indices;
    cv::dnn::NMSBoxes(boxes, confidences, confThreshold, nmsThreshold, indices);
后处理阶段(NMS)就是把生成的98个预测框减少到只剩图片物体预测框。
使用非极大值抑制删除多余边框,主要使用库函数NMSBoxes。
比如要计算一只dog的概率
98个预测框中都具备dog的概率


 3716
3716


 被折叠的 条评论
为什么被折叠?
被折叠的 条评论
为什么被折叠?
 到【灌水乐园】发言


