


如何训练收集的无人机影像松材线虫病害数据集数据集 通过深度学习框架目标检测算法识别检测松材线虫病害检测识别
以下文字及代码仅供参考。
使用YOLOv8作为主要模型如何训练收集的无人机影像松材线虫病害数据集数据集 通过深度学习框架目标检测算法识别检测松材线虫病害检测识别
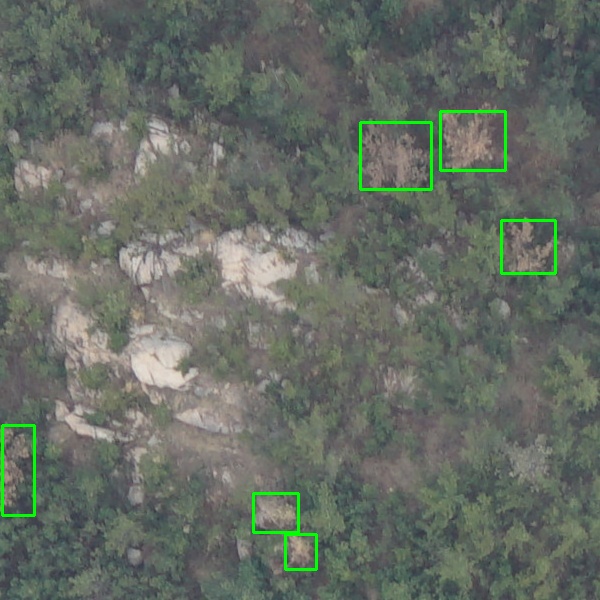
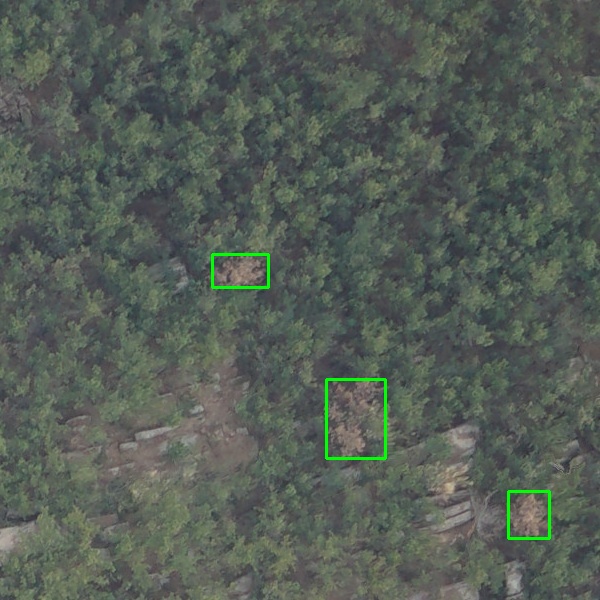
无人机影像松材线虫目标检测数据集

采集100余幅大尺寸航空影像(50004000左右),voc和yolo两种标注,在此基础上切分为640640小图(共4000余幅图),VOC和yolo标注,3GB数据量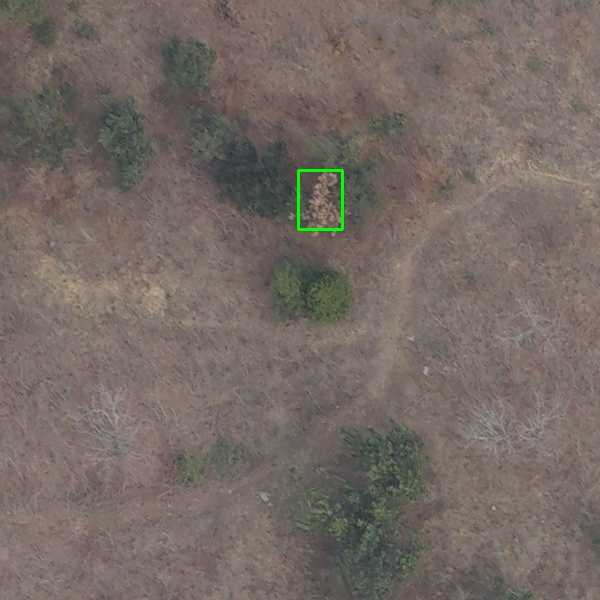
1
1
基于深度学习的松材线虫检测系统,使用YOLOv8作为主要模型,
1. 数据准备
首先确保你的数据集已经按照要求被分割成640x640的小图,并拥有对应的VOC和YOLO格式的标注文件。
格式转换(如果需要从VOC转YOLO)
数据集中只有VOC格式的标签,你需要将其转换为YOLO格式。这里有一个简单的Python脚本示例:
import xml.etree.ElementTree as ET
from os import listdir, path

def convert_voc_to_yolo(voc_dir, yolo_dir, img_width, img_height):
    for xml_file in listdir(voc_dir):
        if not xml_file.endswith('.xml'): continue
        tree = ET.parse(path.join(voc_dir, xml_file))
        root = tree.getroot()

        with open(path.join(yolo_dir, xml_file.replace('.xml', '.txt')), 'w') as f:
            for obj in root.iter('object'):
                cls = obj.find('name').text
                if cls != "PineWiltDisease": continue  // 假设类别名为"PineWiltDisease"
                xmlbox = obj.find('bndbox')
                b = (float(xmlbox.find('xmin').text), float(xmlbox.find('xmax').text),
                     float(xmlbox.find('ymin').text), float(xmlbox.find('ymax').text))
                xc = ((b[0] + b[1]) / 2) / img_width
                yc = ((b[2] + b[3]) / 2) / img_height
                w = (b[1] - b[0]) / img_width
                h = (b[3] - b[2]) / img_height
                f.write(f"0 {xc} {yc} {w} {h}\n")
2. 环境搭建
安装必要的依赖包:
pip install ultralytics opencv-python
3. 数据划分与配置
创建一个data.yaml文件来定义数据集路径和类别信息:
train: path/to/train/images
val: path/to/val/images

nc: 1  # 类别数量
names: ['PineWiltDisease']  # 类别名称
4. 模型选择与训练
选择YOLOv8进行训练:
from ultralytics import YOLO

# 加载预训练模型或自定义模型
model = YOLO('yolov8s.yaml')  # 或者'yolov8s.pt'等预训练模型

# 开始训练
results = model.train(
    data='path/to/data.yaml',
    epochs=100,
    imgsz=640,
    batch=16,
    name='pinewilt_detector'
)
5. 推理与可视化
进行推理并可视化结果:
import cv2

model = YOLO('runs/detect/pinewilt_detector/weights/best.pt')

# 单张图片推理
img_path = 'path/to/test_image.jpg'
results = model.predict(source=img_path, save=True)

# 可视化结果
for result in results:
    img = cv2.imread(img_path)
    for box in result.boxes:
        x1, y1, x2, y2 = [int(x) for x in box.xyxy]
        cv2.rectangle(img, (x1, y1), (x2, y2), (0, 255, 0), 2)
    cv2.imshow('Detected Image', img)
    cv2.waitKey(0)
    cv2.destroyAllWindows()
6. 性能评估
在验证集上评估模型性能:
metrics = model.val()
print(f'mAP@0.5: {metrics.box.map50}, mAP@0.5:0.95: {metrics.box.map}')
7. 部署系统
-
导出模型:可以将训练好的模型导出为ONNX或其他格式以方便部署。
model.export(format="onnx") -
Web服务:利用Flask或FastAPI快速构建一个RESTful API服务。
-
移动应用:通过TensorFlow Lite或者ONNX Runtime将模型部署到移动端。
以上文字及代码仅供参考。


 455
455

 被折叠的 条评论
为什么被折叠?
被折叠的 条评论
为什么被折叠?
 到【灌水乐园】发言


