


笔者用的unity版本为2020.3.30f1c1,开一个HDRP模板场景,OK开始我们的操作。
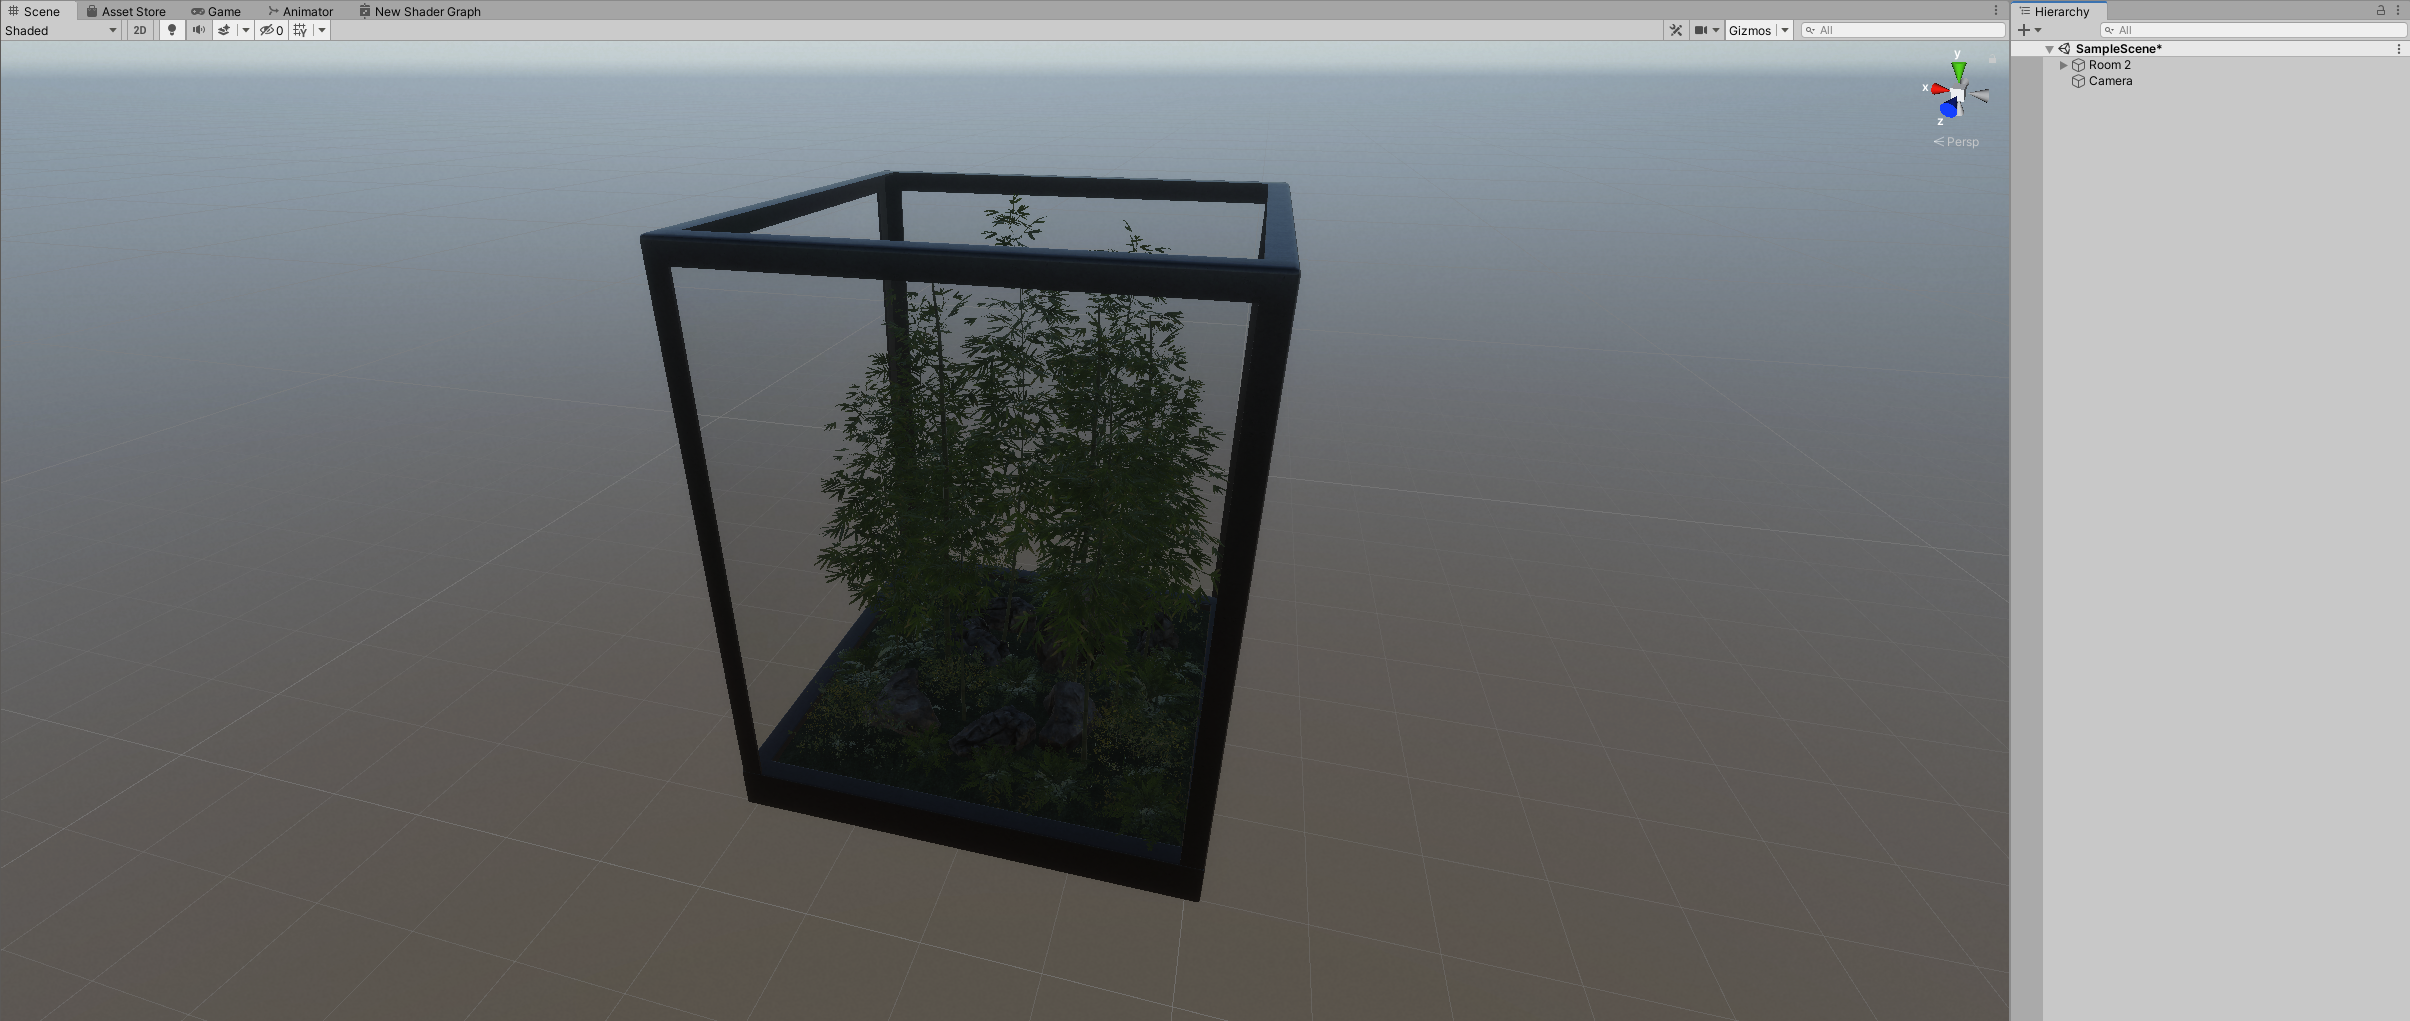
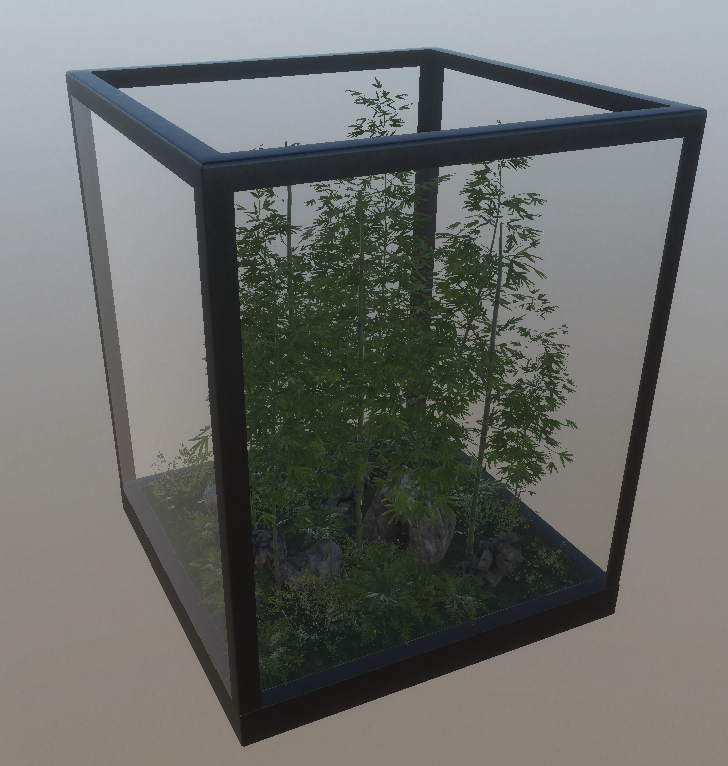
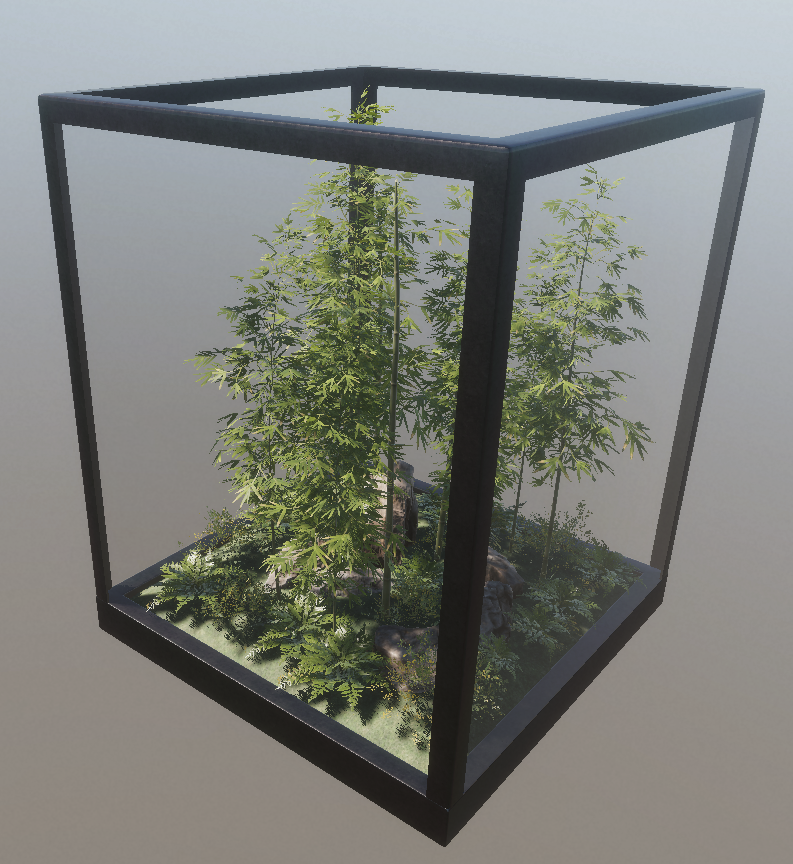
第一步:删除场景中的所有东西只留下竹林玻璃房作为展示场景,将所有物体勾选Static,新增一个摄像机,如下图:
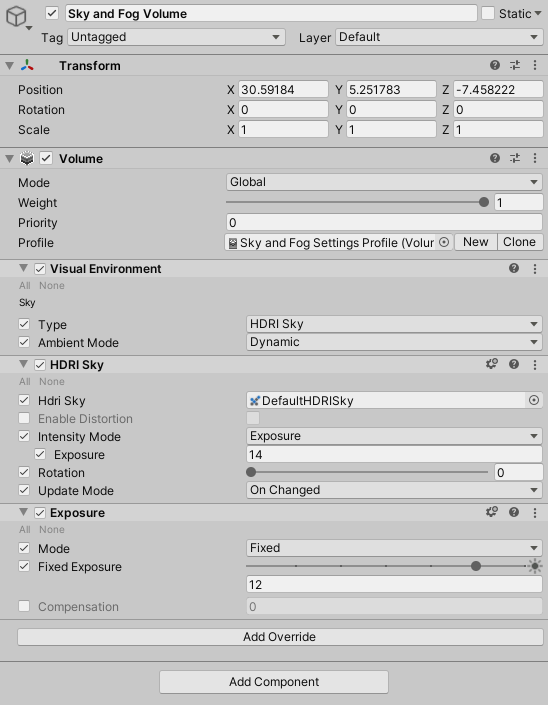
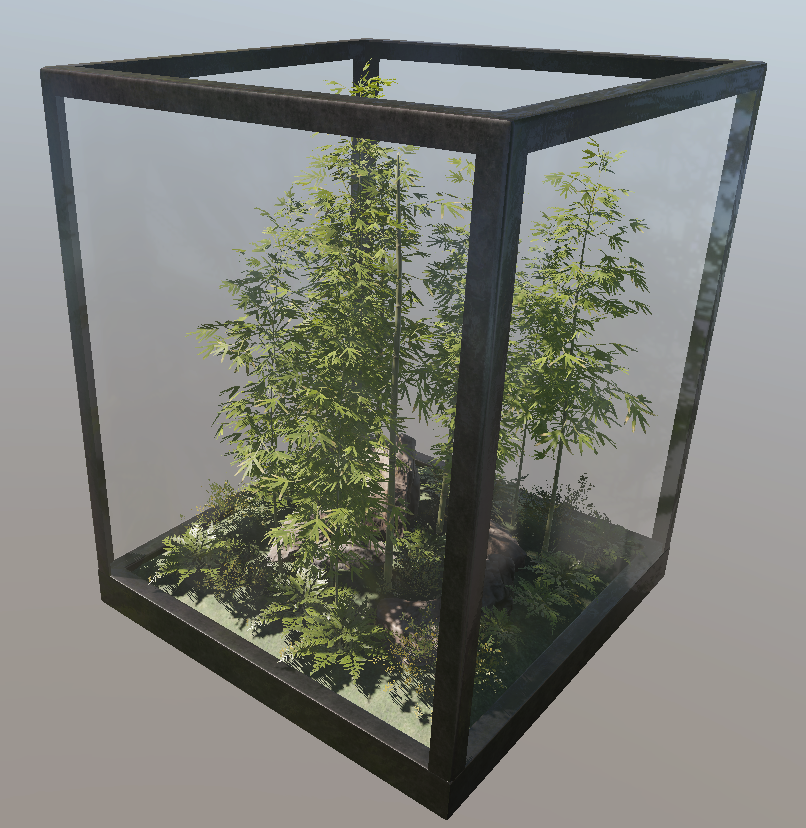
第二步:GameObject > Volume > Sky and Fog Volume来创建一个自带环境光设置的Sky and Fog Volume,此时整个场景会变为全黑。设置Visual Environment-Type-HDRI Sky,勾选Ambient Mode,设置为Dynamic,模拟地球自然光效果,移除Physically Based Sky,然后在Add Override中添加Sky-HDRI Sky。HDRI Sky组件除了Enable Distortion不勾选,其他全部都选上,Hdri Sky选择一个默认天空盒即可,Intensity Mode选择Exposure,强度设置为14。然后在Add Override中添加Exposure,勾选Mode和Fixed Exposure,将Fixed Exposure设置为12。如此便完成了基础环境光得设置,如下图是窗口信息和场景效果:
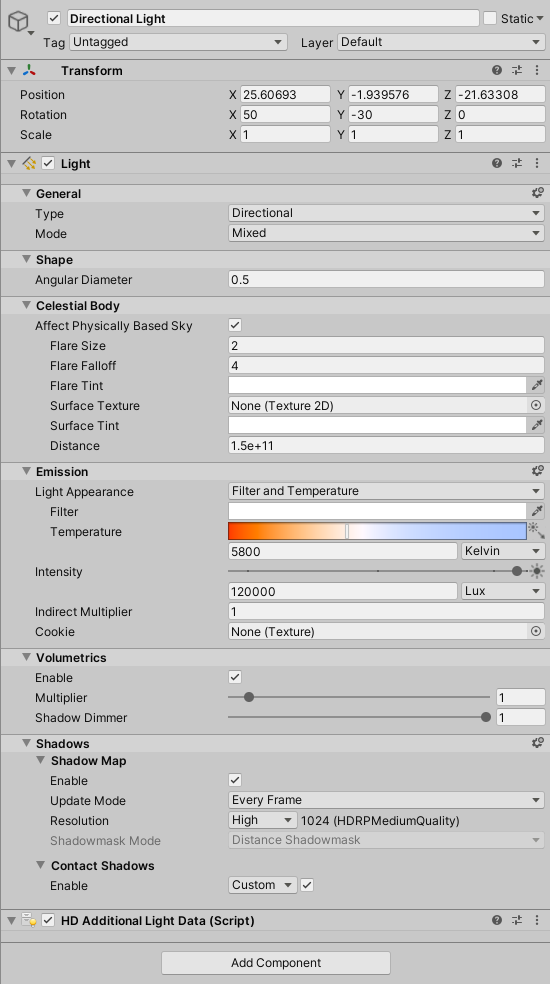
第三步:添加一个平行光Directional Light,参数设置如下图:
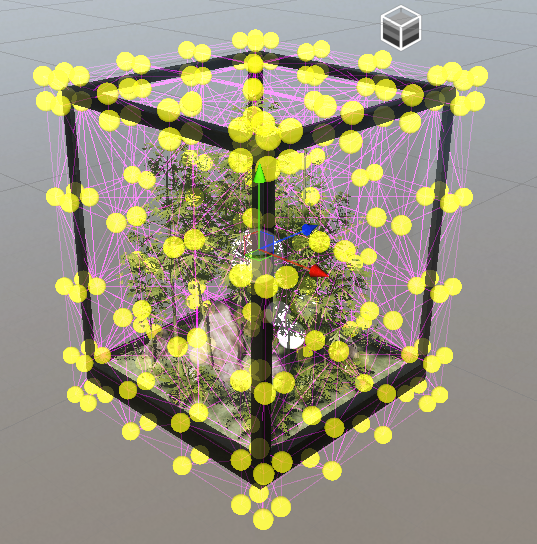
第四步:添加反射探针Reflection Probe,将整个玻璃房包裹住即可,点击反射探针上的bake,你可以发现玻璃上出现竹子的虚影。然后添加Light Probe Group,设置好光照探针组的位置。
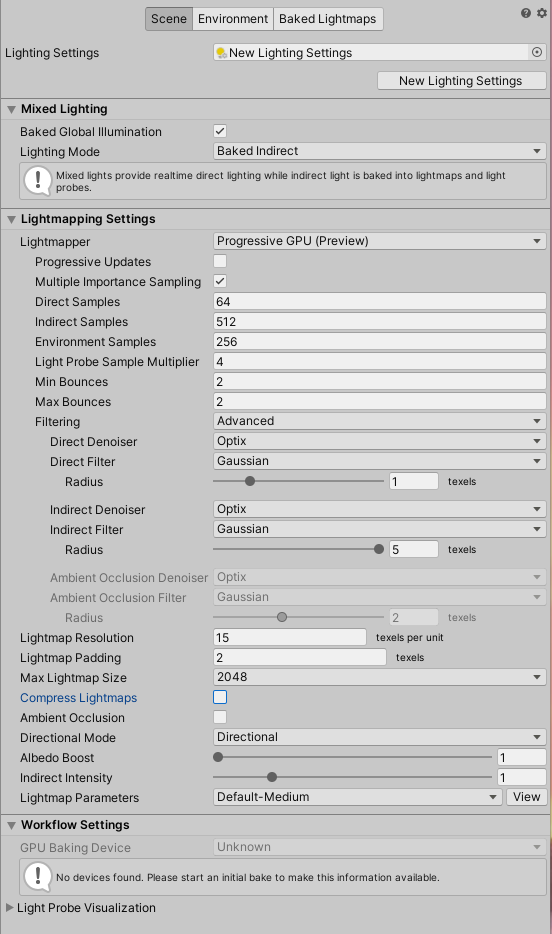
第五步:光照烘培,Lighting窗口Environment-Profile关联了当前场景所用的Volume Profile,并把HDRI Sky关联到Static Lighting Sky参数上。Lighting窗口Sceen-Lighting Settings选择New Lighting Settings新建一个灯光设置。点击烘培场景,灯光设置如下图所示设置:
第六步:添加添加Fog(雾效),Shadows(平行光阴影控制),Contact Shadow(接触阴影)等其他效果,这些参数自行调整到一个个人认为好看的效果即可。

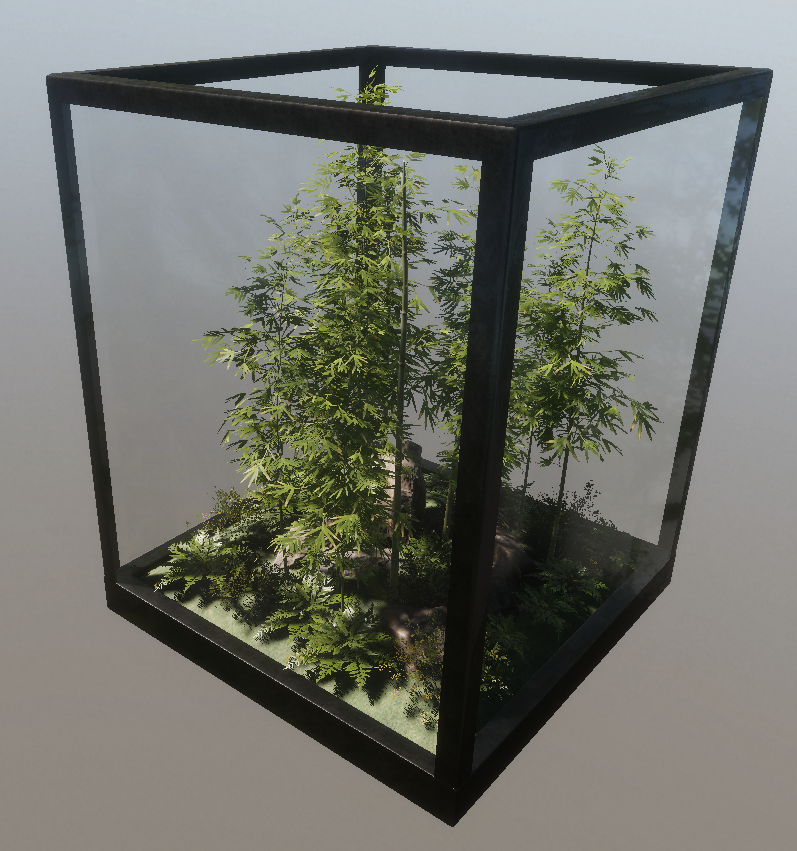
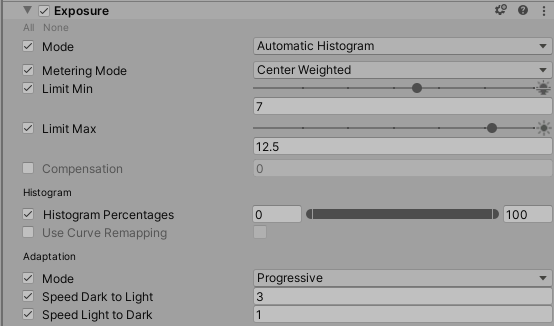
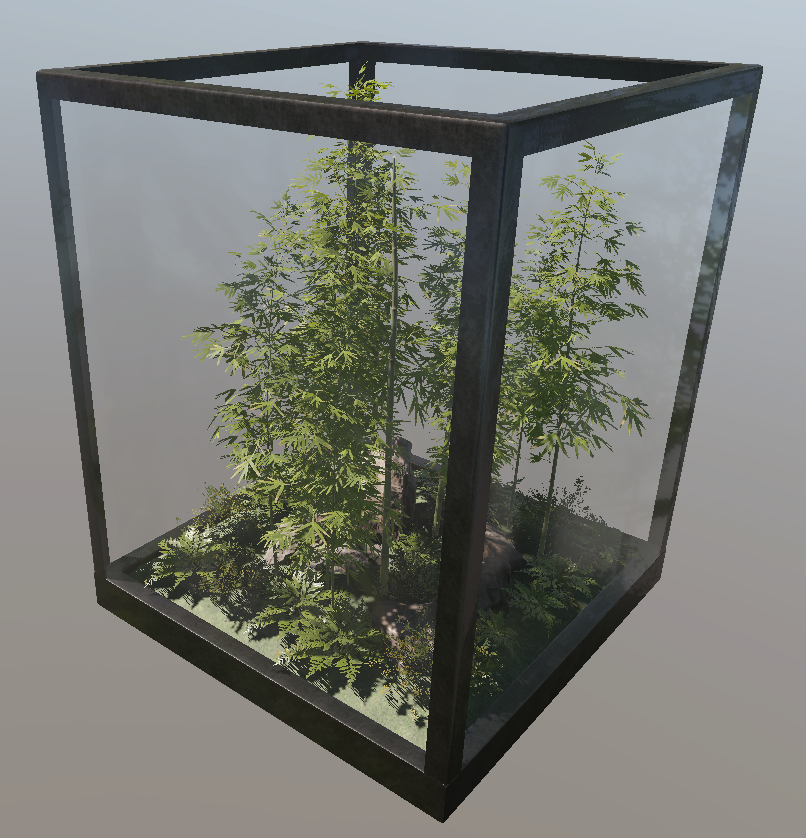
最后:设置自动曝光,一个室外白天自然光场景便完成了


 1406
1406


 被折叠的 条评论
为什么被折叠?
被折叠的 条评论
为什么被折叠?
 到【灌水乐园】发言


