


0 Qwen3
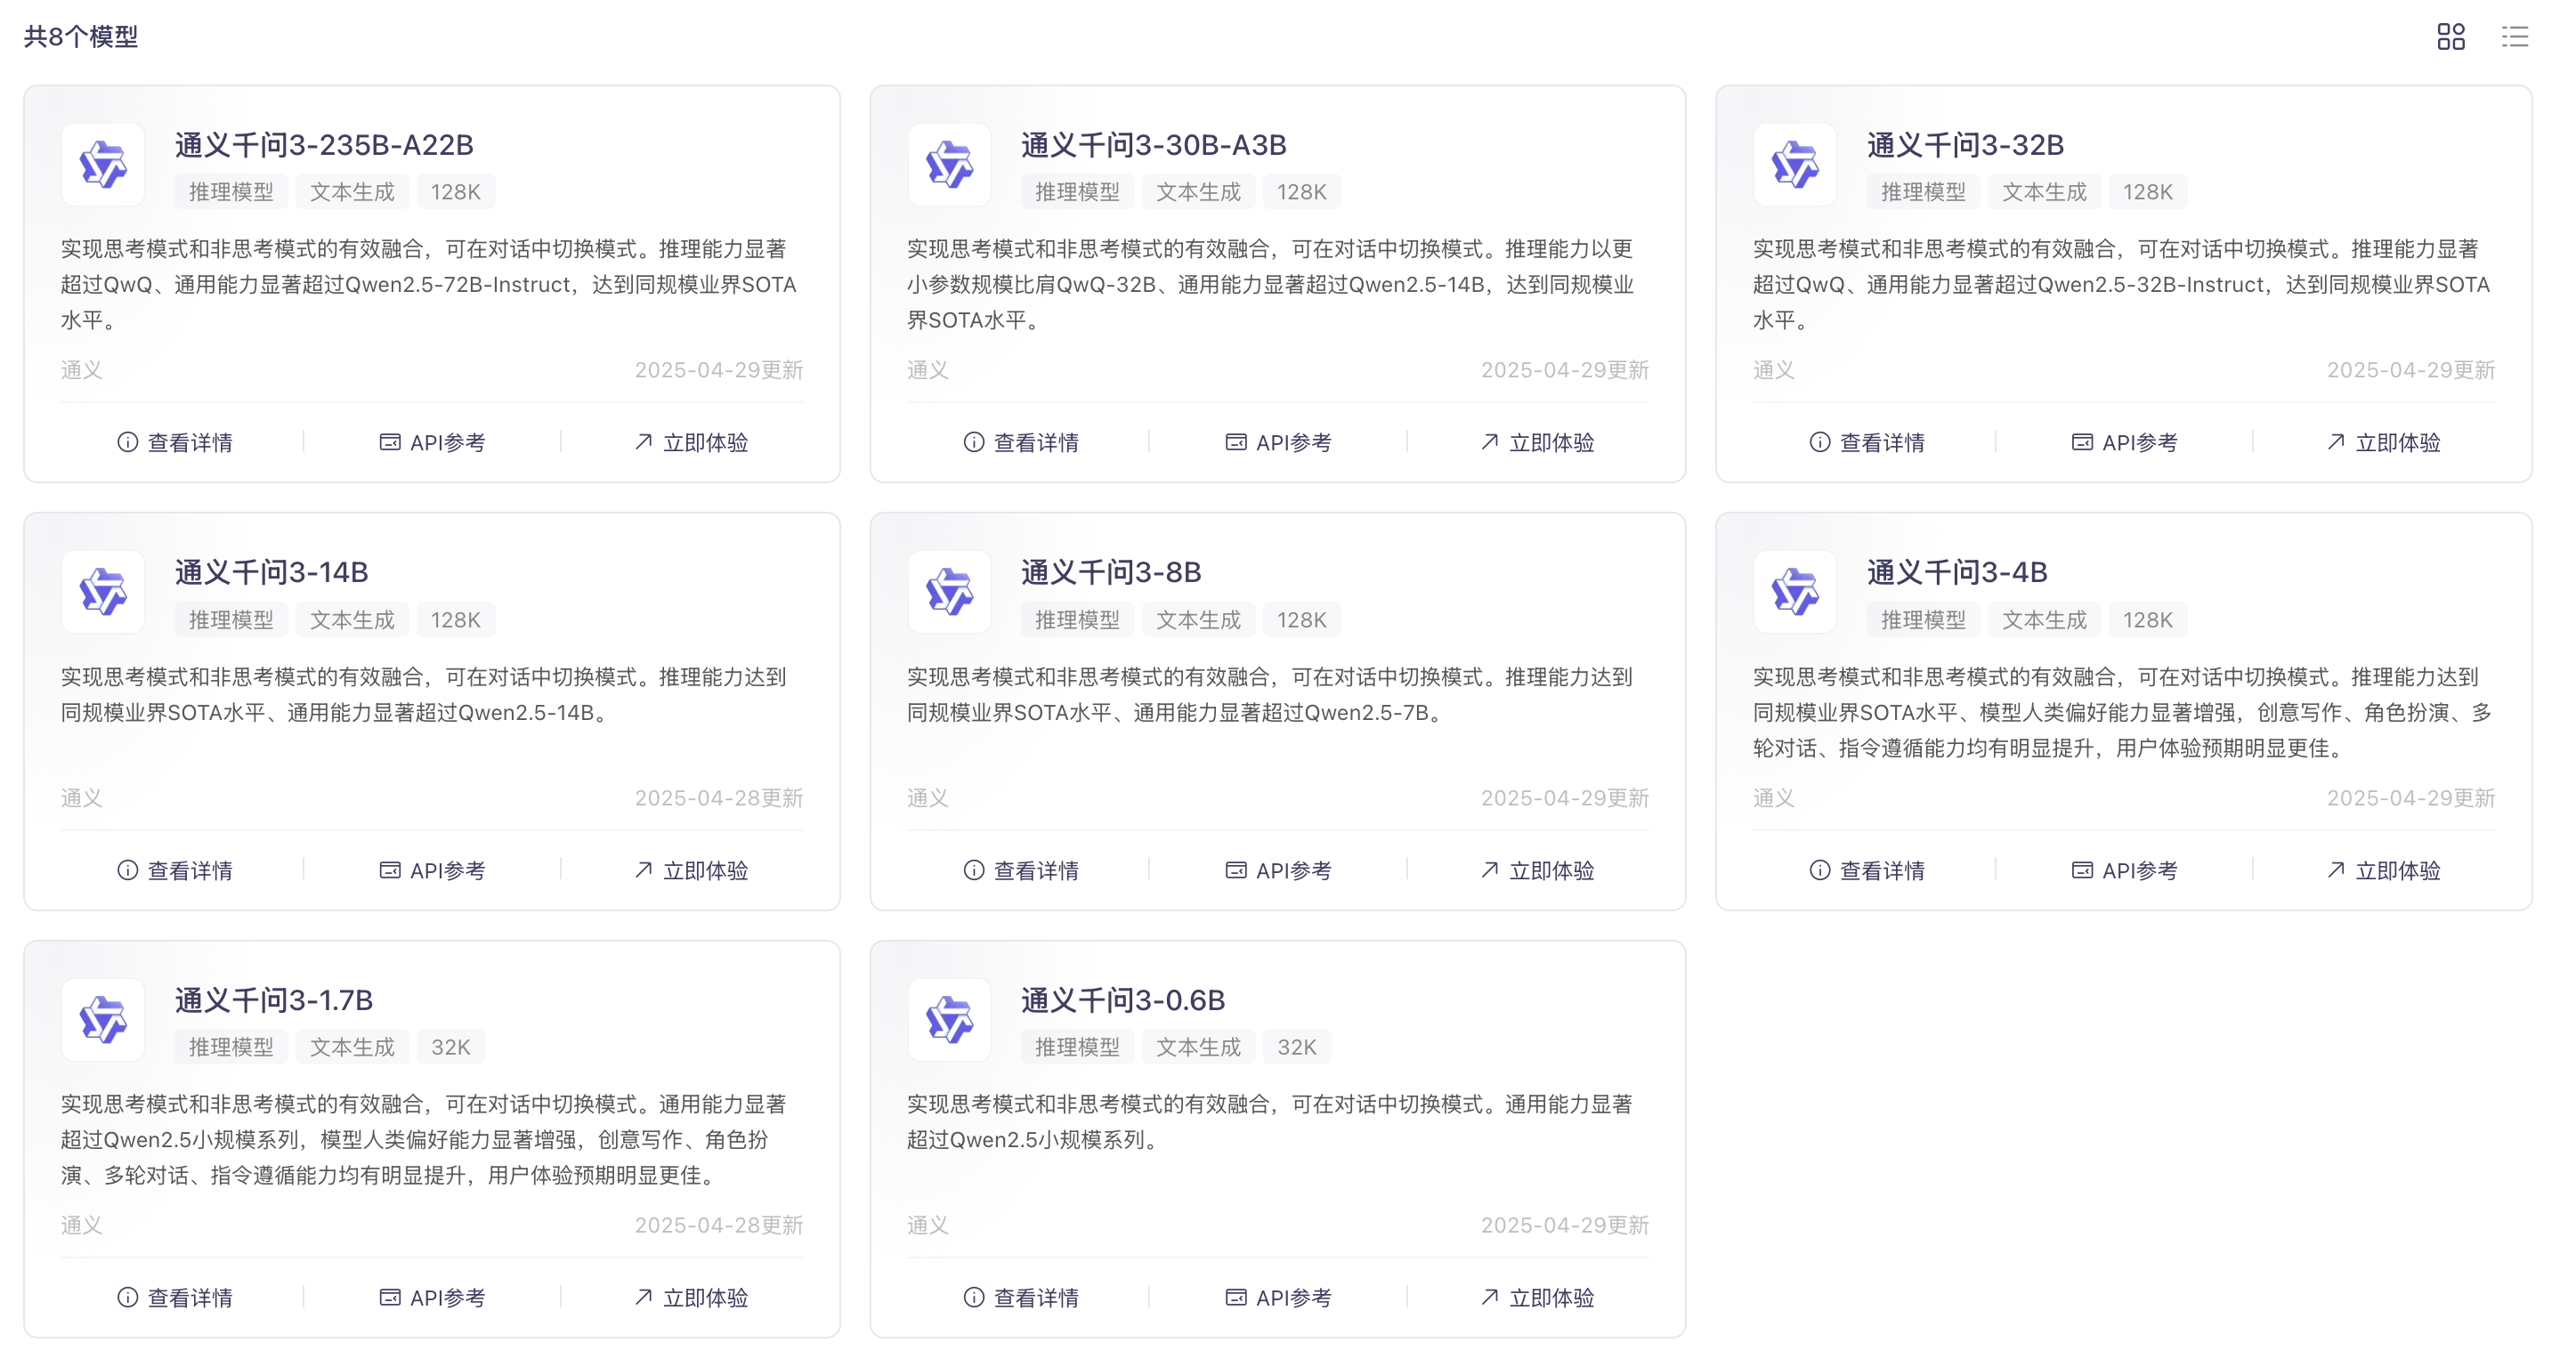
今天,通义千问Qwen团队正式开源推出 Qwen3,这是 Qwen 系列大型语言模型的最新成员。最新的Qwen3系列模型具备双模推理能力(深入思考/快速响应)、支持119种语言及方言,并强化了Agent功能与代码执行能力,全面满足复杂问题处理与全球化应用需求。
Github: https://github.com/QwenLM/Qwen3
Blog:https://qwenlm.github.io/zh/blog/qwen3/
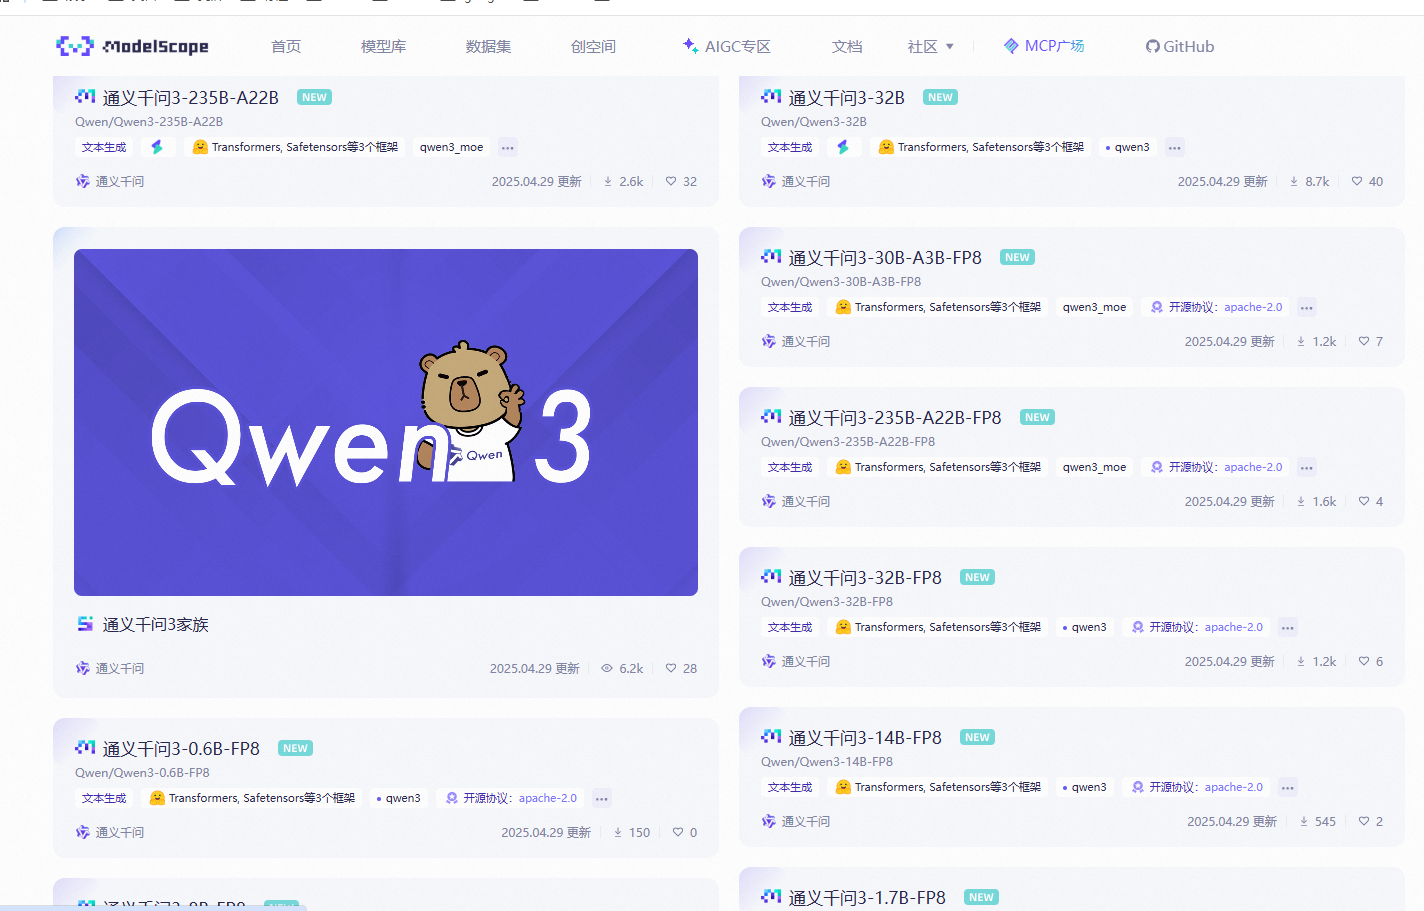
模型合集:https://www.modelscope.cn/collections/Qwen3-9743180bdc6b48
b站视频:https://www.bilibili.com/video/BV1spG1zEEYR
1 平台与环境安装
使用GPU平台: https://www.autodl.com/home
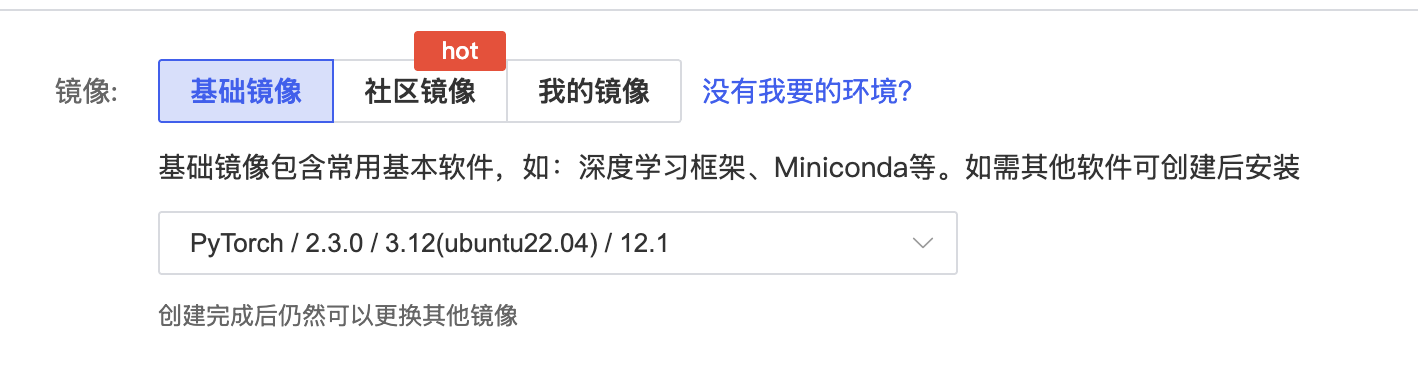
PyTorch / 2.3.0 / 3.12(ubuntu22.04) / 12.1
安装transformers、accelerate
source /etc/network_turbo

pip install transformers

pip install accelerate
1 模型下载
Qwen3 模型广场:https://bailian.console.aliyun.com/?tab=model#/model-market
通过魔塔社区下载模型:https://www.modelscope.cn/collections/Qwen3-9743180bdc6b48
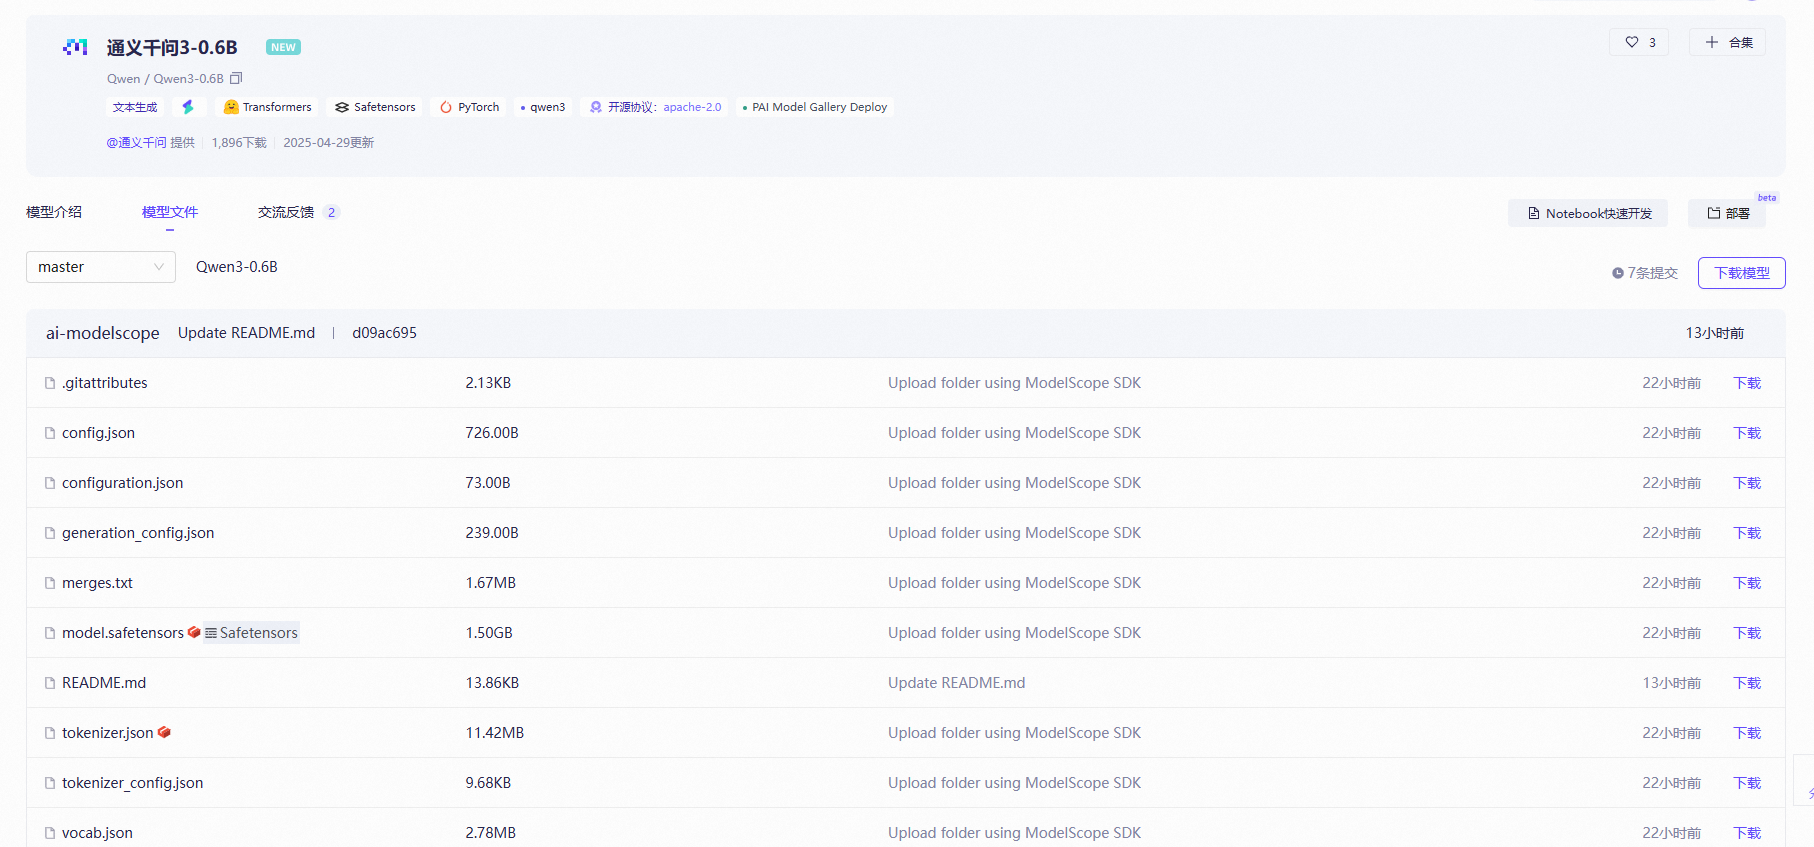
选择一个模型Qwen3-0.6B:https://www.modelscope.cn/models/Qwen/Qwen3-0.6B/files
使用SDK下载下载:
开始前安装
source /etc/network_turbo

pip install modelscope
# source /etc/network_turbo
from modelscope import snapshot_download

# 指定模型的下载路径
cache_dir = '/root/autodl-tmp'
# 调用 snapshot_download 函数下载模型
model_dir = snapshot_download('Qwen/Qwen3-0.6B', cache_dir=cache_dir)
# model_dir = snapshot_download('Qwen/Qwen3-8B', cache_dir=cache_dir)
# model_dir = snapshot_download('Qwen/Qwen3-14B', cache_dir=cache_dir)

print(f"模型已下载到: {model_dir}")
或者:
modelscope download --model Qwen/Qwen3-0.6B

mv /root/.cache/modelscope/hub/models/Qwen/ /root/autodl-tmp/Qwen
2 模型测试
from transformers import AutoModelForCausalLM, AutoTokenizer
model_name = "Qwen/Qwen3-0.6B"
# model_name = "Qwen/Qwen3-8B"
# model_name = "Qwen/Qwen3-14B"
# load the tokenizer and the model
tokenizer = AutoTokenizer.from_pretrained(model_name)
model = AutoModelForCausalLM.from_pretrained(
model_name,
torch_dtype="auto",
device_map="auto"
)
# prepare the model input
prompt = "Give me a short introduction to large language models."
messages = [
{"role": "user", "content": prompt}
]
text = tokenizer.apply_chat_template(
messages,
tokenize=False,
add_generation_prompt=True,
enable_thinking=True # Switches between thinking and non-thinking modes. Default is True.
)
model_inputs = tokenizer([text], return_tensors="pt").to(model.device)
# conduct text completion
generated_ids = model.generate(
**model_inputs,
max_new_tokens=32768
)
output_ids = generated_ids[0][len(model_inputs.input_ids[0]):].tolist()
# the result will begin with thinking content in <think></think> tags, followed by the actual response
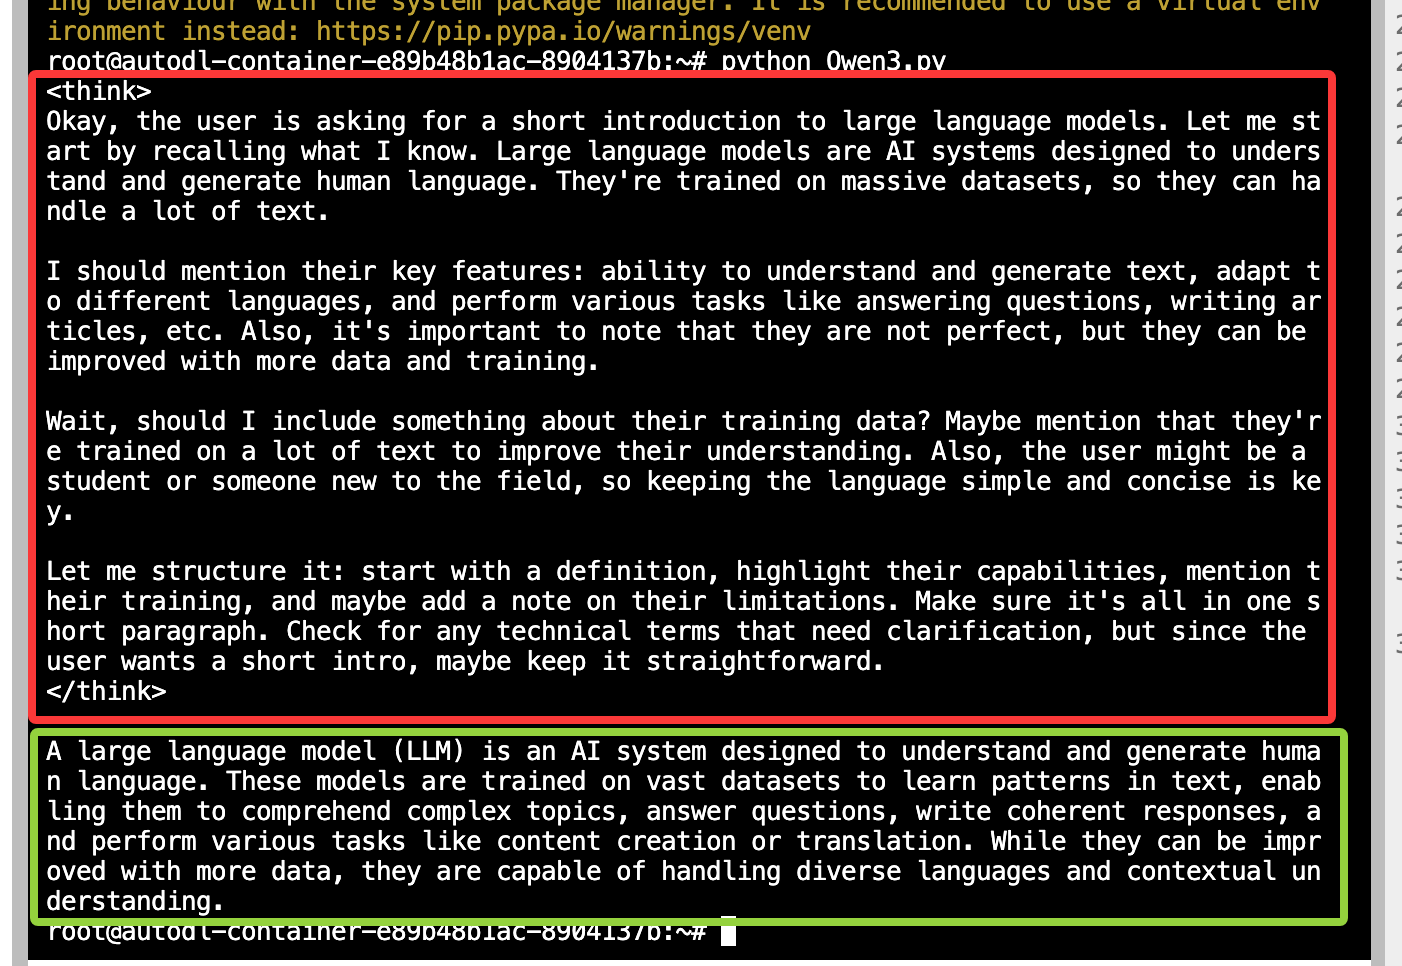
print(tokenizer.decode(output_ids, skip_special_tokens=True))
enable_thinking=True的结果
enable_thinking=False的结果

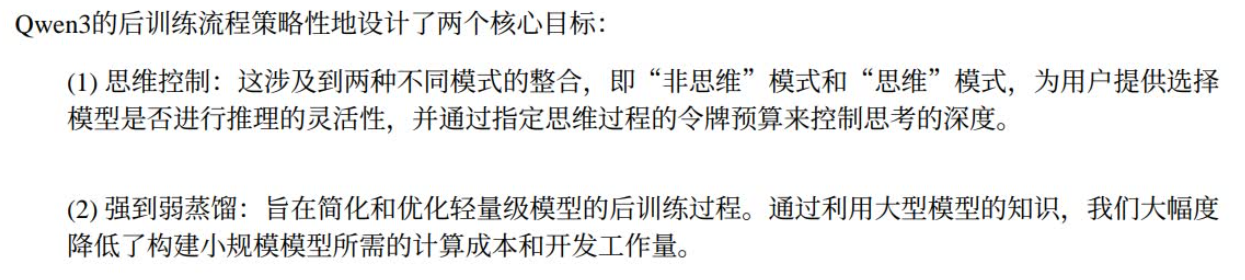
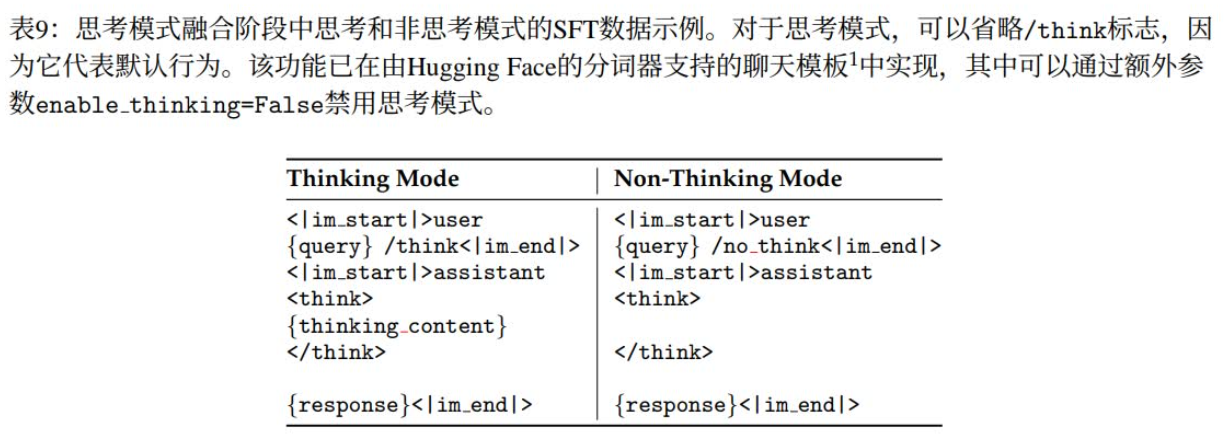
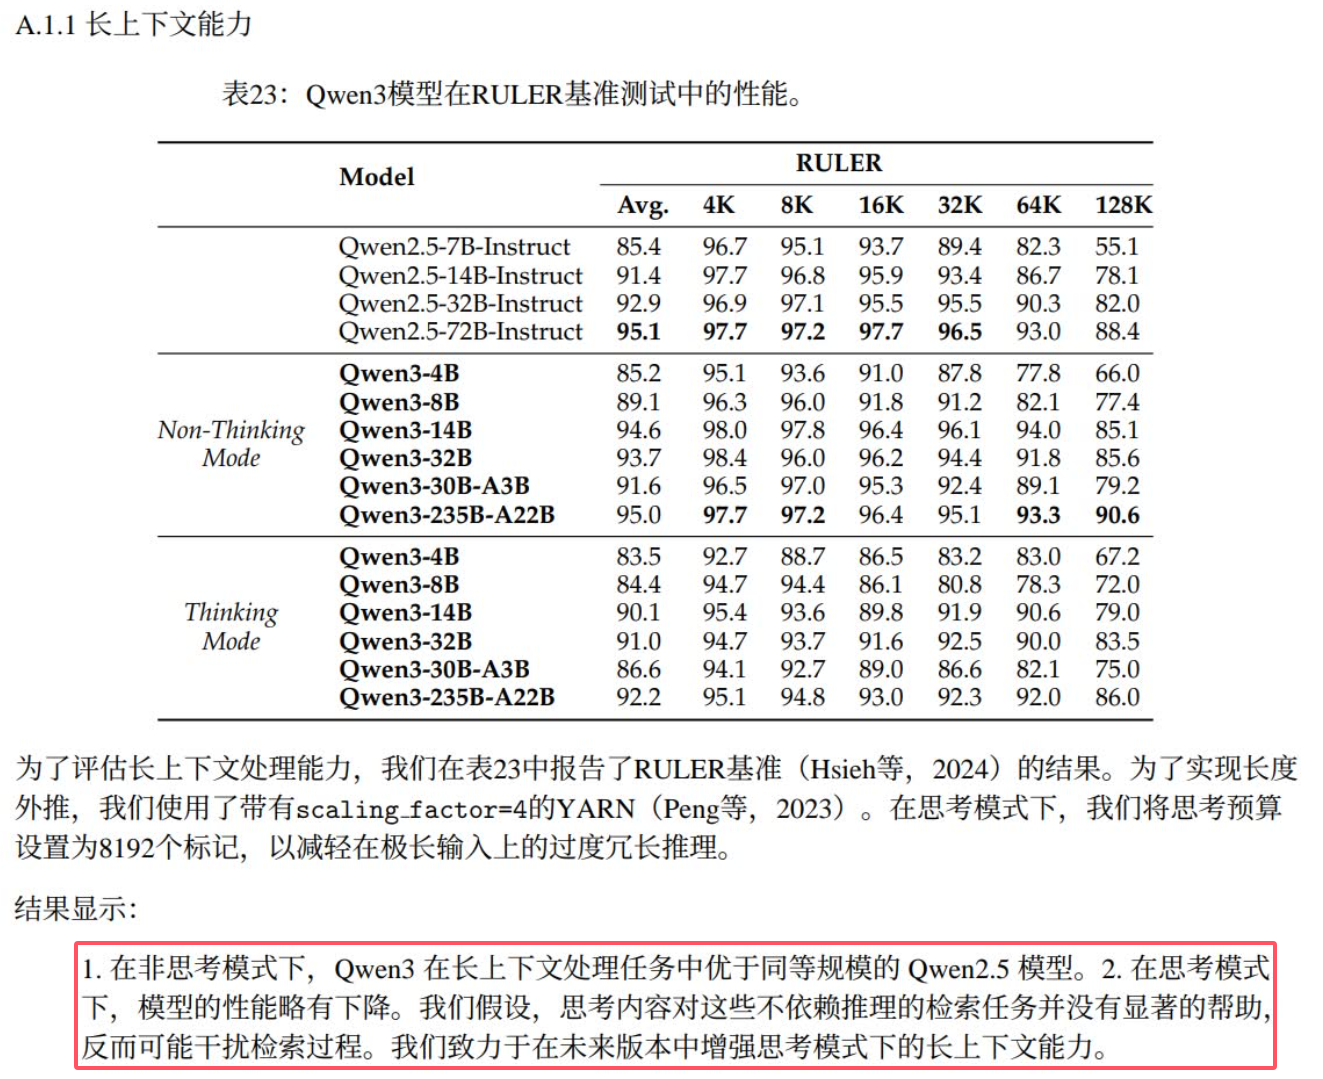
3 技术报告
Qwen3技术报告英中对照版.pdf
https://zhuanlan.zhihu.com/p/1905925706623489947
https://pan.baidu.com/link/zhihu/7ghzzXuah1ilVzpE9VeVB2QkbuQUFmZQUZdz==
10
11
20

21

23


 2万+
2万+

 被折叠的 条评论
为什么被折叠?
被折叠的 条评论
为什么被折叠?
 到【灌水乐园】发言


