


目录
4.4 MyCommandSub和MyCommandAdd脚本
前言
在做实际项目的时候想做低耦合的代码,将程序各部分拆分,故使用了pureMVC框架。在查找资料的时候发现现有资料版本过低,有些部分有更改,因此写本文记录一下整个操作过程。
一、下载框架并编译生成dll文件
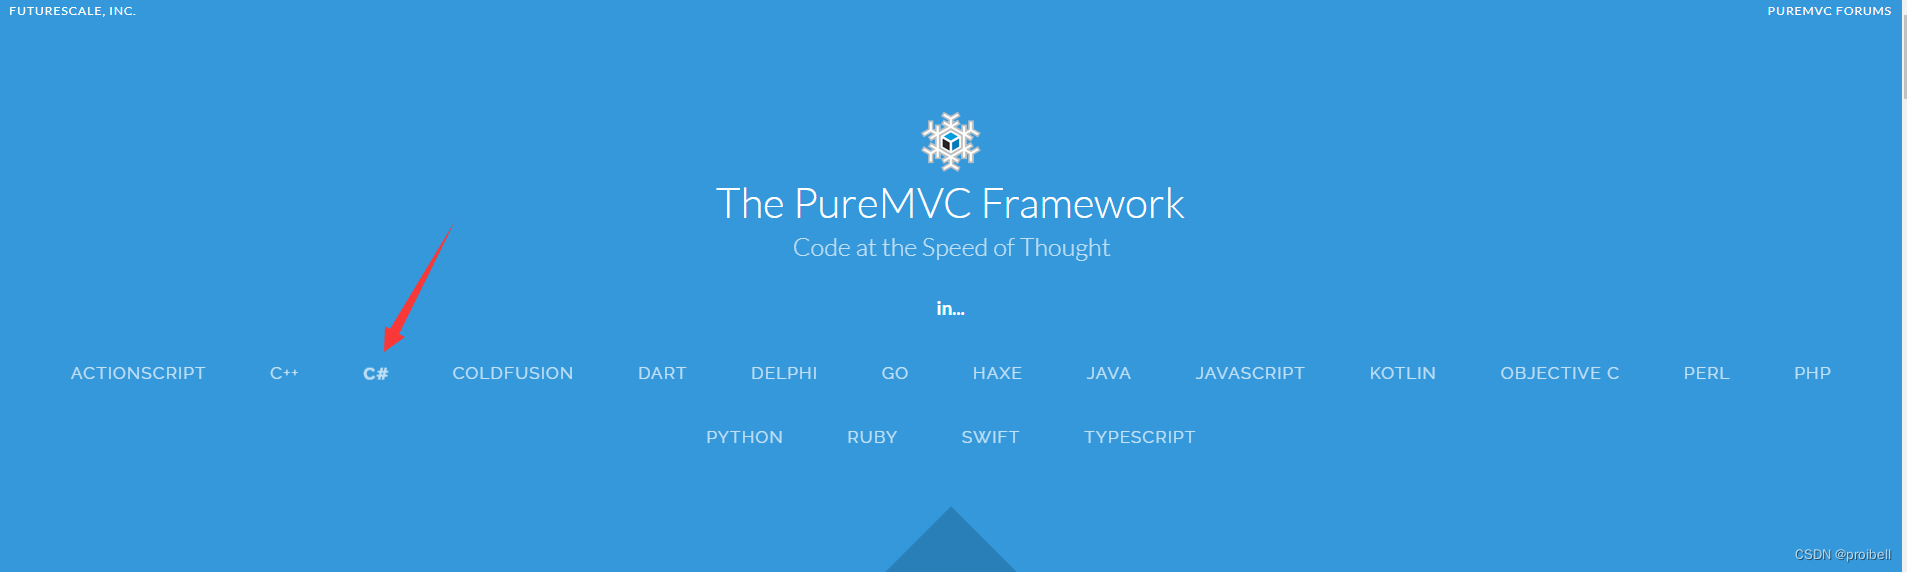
1.1 登录pureMVC.org,点击C#跳转至github下载

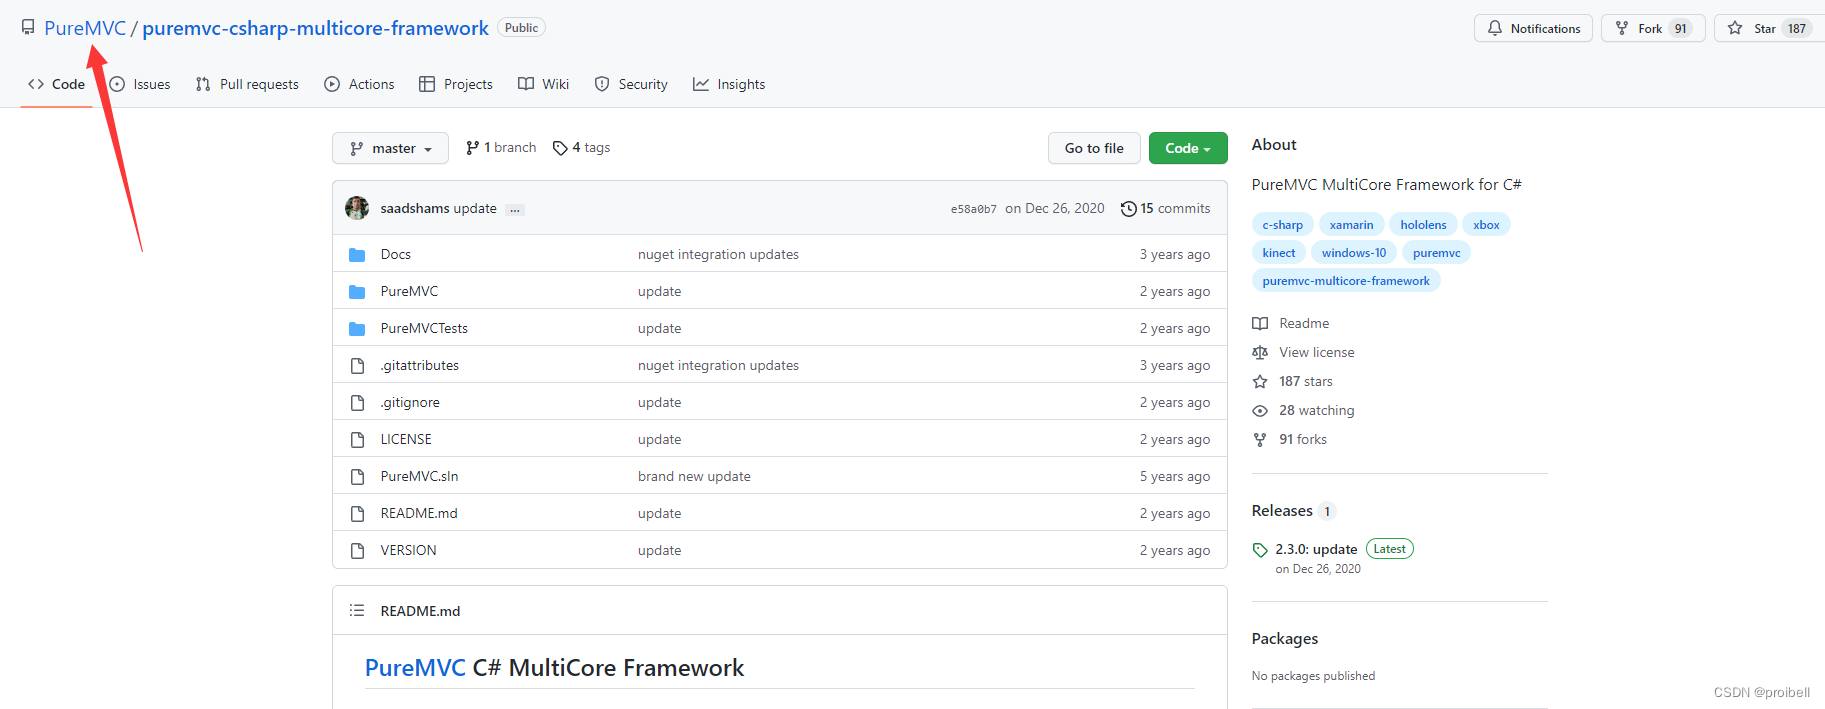
1.2 点击 code
此时需要注意默认跳转的是multicore版本,属于多线程,暂时不需要使用这个,所以点击跳转至上一级页面重新选择
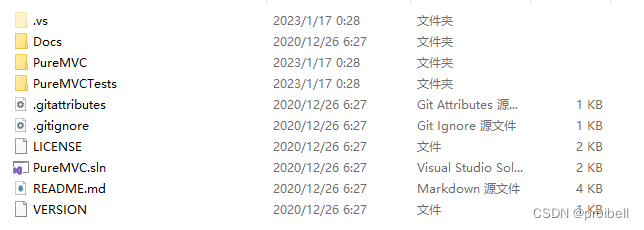
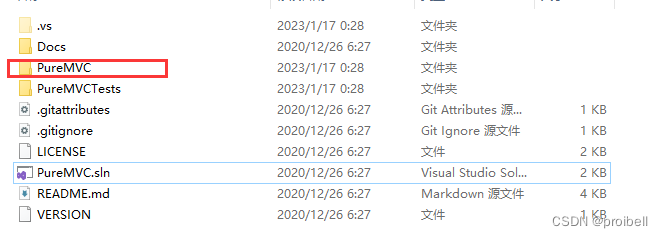
1.3 点击 repositories,选择puremvc-csharp-standard-framework下载并解压


包含以下几个文件:
1.4 选择PureMVC.sln文件使用VS打开(我使用的是VS2019版本)
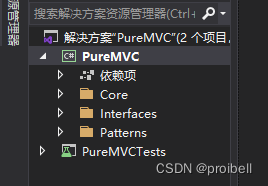
PureMVC右键点击“属性”,在目标框架中选择.NET Core 2.0
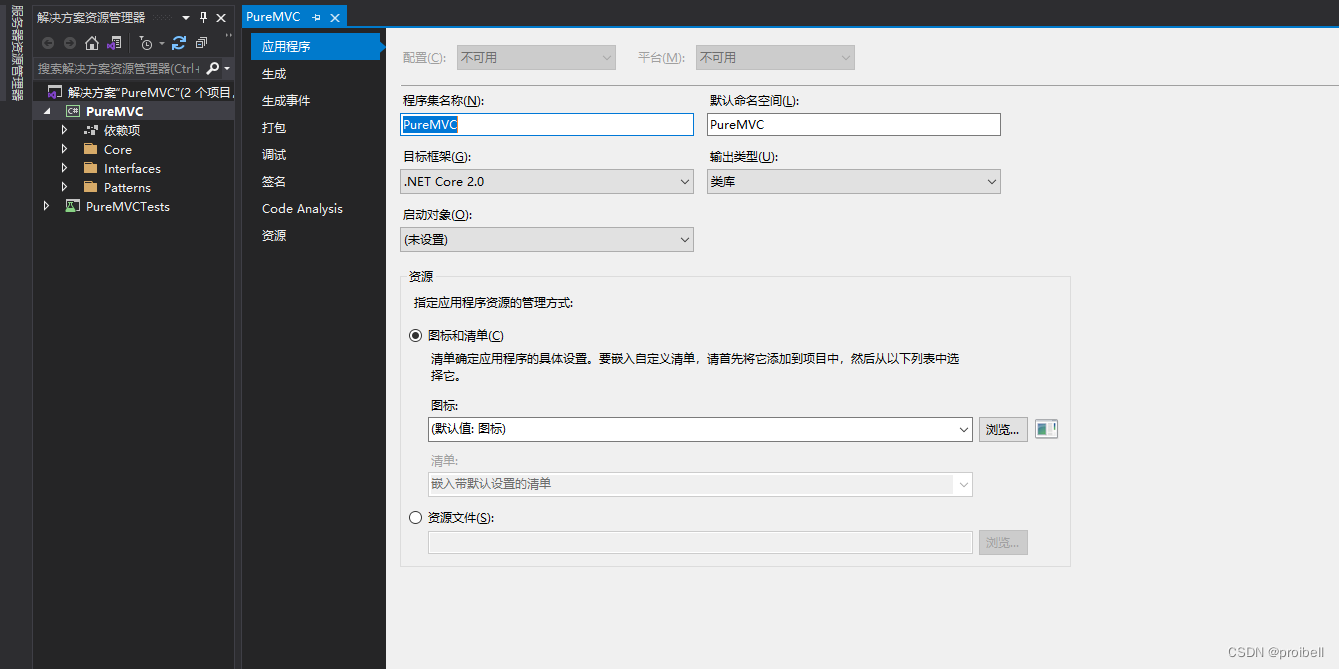
(这里有一个疑问,默认打开时是.NET 5.0,这个框架编译后导入Unity使用时会报错,使用core 2.0编译使用亲测可行)
在PureMVC上右键点击“生成”,等待编译完成 。完成后dll文件会在这里:


至此dll文件编译完成,下一步是将其导入Unity调用。
二、Unity搭建基本要素
根据B站上找到的教程:
 https://www.bilibili.com/video/BV1K4411G7Jr/?spm_id_from=333.337.search-card.all.click
搭建测试demo
2.1 导入pureMVC.dll
在新文件下创建以下文件夹:

将dll文件直接拖到Plugins下

2.2 在窗口新建以下控件

一个名为Add的按钮,一个名为Sub的按钮,一个名为txtValue的TextMeshPro
(说明:原版教程中使用的均为Text组件,在新版Unity中已经很少使用,因此本次demo中使用的均为TextMeshPro(TMP))
呈现效果如下:

以上准备工作已完成,下一步为脚本编写
三、pureMVC简要说明
这里记录一下本人对pureMVC框架的简单理解。
pureMVC框架是一种多脚本代码的组织形式,使用的目的在于“解耦”。
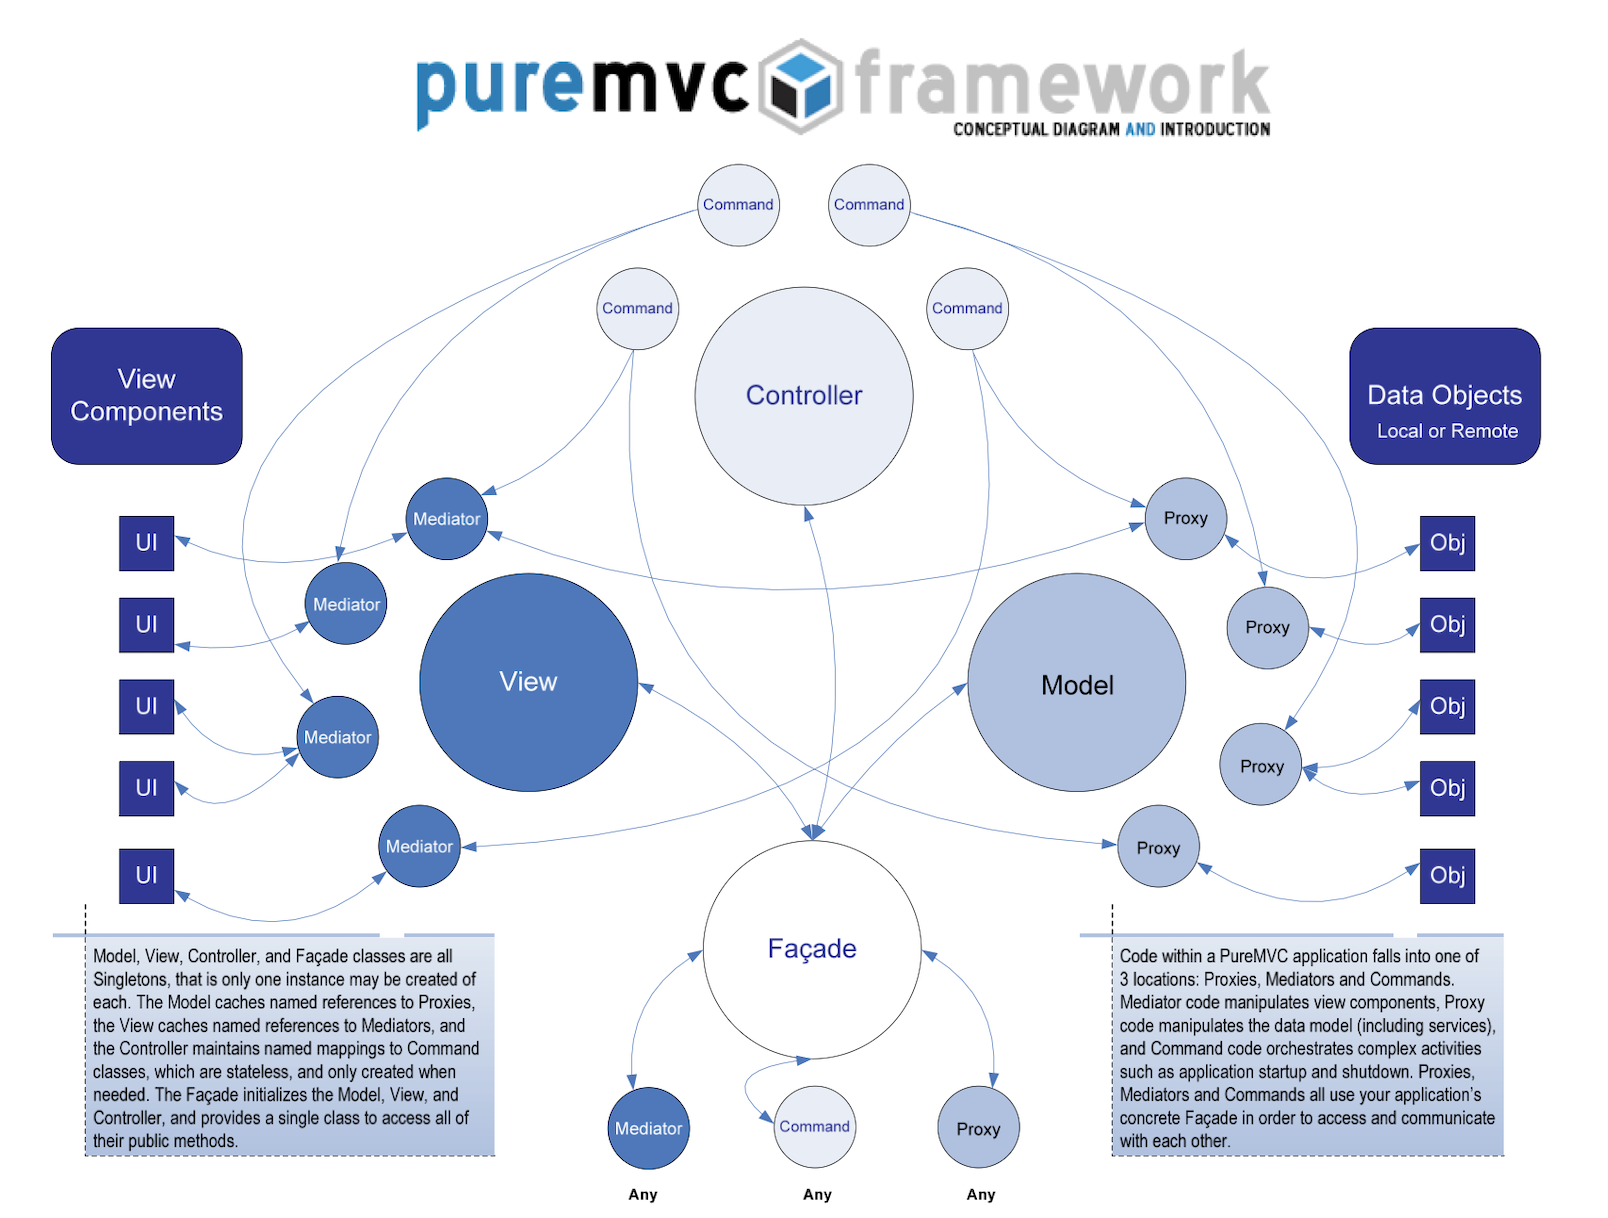
(官网架构图)
- Model 与 Proxy
Model保存对Proxy对象的引用,Proxy负责操作数据模型,存取数据。这样保证了Model层的可移植性。 - View 与 Mediator
View保存对Mediator对象的引用。由Mediator对象来操作具体的视图组件(View Component),包括:添加事件监听器,发送或接收Notification ,直接改变视图组件的状态。这样做实现了把视图和控制它的逻辑分离开来。 - Controller 与 Command
Controller保存所有Command的映射。Command类是无状态的,只在需要时才被创建。
Command可以获取Proxy对象并与之交互,发送Notification,执行其他的Command。经常用于复杂的或系统范围的操作,如应用程序的“启动”和“关闭”。应用程序的业务逻辑应该在这里实现。 - Facade 与 Model,View和Controller
Facade类应用单例模式,它负责初始化核心层(Model,View和Controller),并能访问它们的Public方法。在实际的应用中,只需继承Facade类创建一个具体的Facade类就可以实现整个MVC模式,并不需要在代码中导入编写Model,View和Controller类。
Proxy、Mediator和Command就可以通过创建的Facade类来相互访问通信。 -
(消息类型)
四、pureMVC脚本编写
4.1 MyData脚本
这里创建需要操作的核心变量
using System.Collections;
using System.Collections.Generic;
using UnityEngine;

public class MyData
{
    public int dataValue;
}
4.2 MyDataProxy脚本
可以理解为对dataValue的代理并操作
using System.Collections;
using System.Collections.Generic;
using UnityEngine;
using PureMVC.Patterns.Proxy;

public class MyDataProxy : Proxy
{
    public const string proxyName = "MyData01";
    public MyData myData = null;
    public MyDataProxy() : base(proxyName) {
        myData = new MyData();
    }

    public void addValue() {
        myData.dataValue++;
        SendNotification("msg_add", myData);
    }

    public void subValue() {
        myData.dataValue--;
        SendNotification("msg_sub", myData);
    }
}
4.3 MyMediator脚本
最关键的操作部分都写在这里。由于Text组件在最新Unity中几乎弃用,因此这里改用了TMP。需要注意的是,TMP的文字在程序化修改时需要使用<TMP_Text>组件获取。
using System.Collections;
using System.Collections.Generic;
using UnityEngine;
using PureMVC.Patterns.Mediator;
using UnityEngine.UI;
using PureMVC.Interfaces;
using TMPro;

public class MyMediator : Mediator
{
    public const string mediatorName = "myMediator";
    //public Text txtNumber;
    public TMP_Text txtNum;
    public Button btnAdd;
    public Button btnSub;

    public MyMediator(GameObject root) : base(mediatorName) {
        //txtNumber = root.transform.Find("txtValue").GetComponent<Text>();
        txtNum = root.transform.Find("txtValue").GetComponent<TMP_Text>();
        btnAdd = root.transform.Find("Add").GetComponent<Button>();
        btnSub = root.transform.Find("Sub").GetComponent<Button>();

        btnAdd.onClick.AddListener(addBtn);
        btnSub.onClick.AddListener(subBtn);

    }
    /// <summary>
    /// 接受什么消息
    /// </summary>
    public override string[] ListNotificationInterests() {
        string[] list = new string[2];
        list[0] = "msg_add";
        list[1] = "msg_sub";
        return list;
    }
    /// <summary>
    /// 得到消息后执行什么
    /// </summary>
    /// <param name="notification"></param>
    public override void HandleNotification(INotification notification) {
        Debug.Log(notification.Name);
        switch (notification.Name) {
            case "msg_add":
                display(notification.Body as MyData);
                break;
            case "msg_sub":
                display(notification.Body as MyData);
                break;
            default:
                break;
        }
    }

    public void display(MyData myData) {
        //txtNumber.text = myData.dataValue.ToString();
        txtNum.text = myData.dataValue.ToString();
    }

    public void addBtn() {
        SendNotification("cmd_add");
    }

    public void subBtn() {
        SendNotification("cmd_sub");
    }
}
4.4 MyCommandSub和MyCommandAdd脚本
using System.Collections;
using System.Collections.Generic;
using UnityEngine;
using PureMVC.Patterns.Command;
using PureMVC.Interfaces;

public class MyCommandSub : SimpleCommand
{

    public override void Execute(INotification notification) {
        MyDataProxy myDataProxy = Facade.RetrieveProxy("MyData01") as MyDataProxy;
        myDataProxy.subValue();
    }
}
using System.Collections;
using System.Collections.Generic;
using UnityEngine;
using PureMVC.Patterns.Command;
using PureMVC.Interfaces;
public class MyCommandAdd : SimpleCommand
{
public override void Execute(INotification notification) {
MyDataProxy myDataProxy = Facade.RetrieveProxy("MyData01") as MyDataProxy;
myDataProxy.addValue();
}
}4.5 MyFacade脚本
这里用于注册各命令、代理、中介等
using System.Collections;
using System.Collections.Generic;
using UnityEngine;
using PureMVC.Patterns.Facade;

public class MyFacade : Facade
{
    public MyFacade(GameObject root) : base() {
        RegisterCommand("cmd_add", () => { return new MyCommandAdd(); });
        RegisterCommand("cmd_sub", () => { return new MyCommandSub(); });

        RegisterMediator(new MyMediator(root));
        RegisterProxy(new MyDataProxy());
    }
}
4.6 GManager脚本
给整个框架赋上物体,这里要把这个脚本挂在Unity的Canvas上
using System.Collections;
using System.Collections.Generic;
using UnityEngine;

public class GManager : MonoBehaviour
{

    // Start is called before the first frame update
    void Start()
    {
        MyFacade myFacade = new MyFacade(gameObject);
    }

    // Update is called once per frame
    void Update()
    {

    }
}
五、运行效果
点击Add时数字会加一,点击Sub时数字会减一
六、小结
在使用pureMVC框架时,代码编写可以遵循“主体变量”—“变量代理”—“操作中介”—“指令选择”—“注册”—“物体传递”的思路进行。这种框架下,各项功能的修改只需要更改很小一部分代码即可,降低了代码修改导致风险的可能性。


 2235
2235


 被折叠的 条评论
为什么被折叠?
被折叠的 条评论
为什么被折叠?
 到【灌水乐园】发言


