


 本文档详细介绍了如何在Linux环境下安装CUDA 10.1.243和CUDNN 7.6.5,以及如何通过pip和conda两种方式安装PyTorch。提供了官方安装文档链接、下载地址和具体步骤,包括conda配置加速源以及解决安装不匹配问题。此外,还涉及了spconv的安装、openpcdet环境配置以及TensorRT 6.0.1的安装方法。
版本确定
驱动,cuda,cudnn
cuda与cudnn
官方
安装文档
https://docs.nvidia.com/cuda/cuda-installation-guide-linux/index.html#runfile-installation
安装包下载地址
https://developer.nvidia.com/rdp/cudnn-archive
安装cuda10.1.243,cudnn7.6.5
pip安装pytorch
https://blog.csdn.net/qq_37541097/article/details/114896215
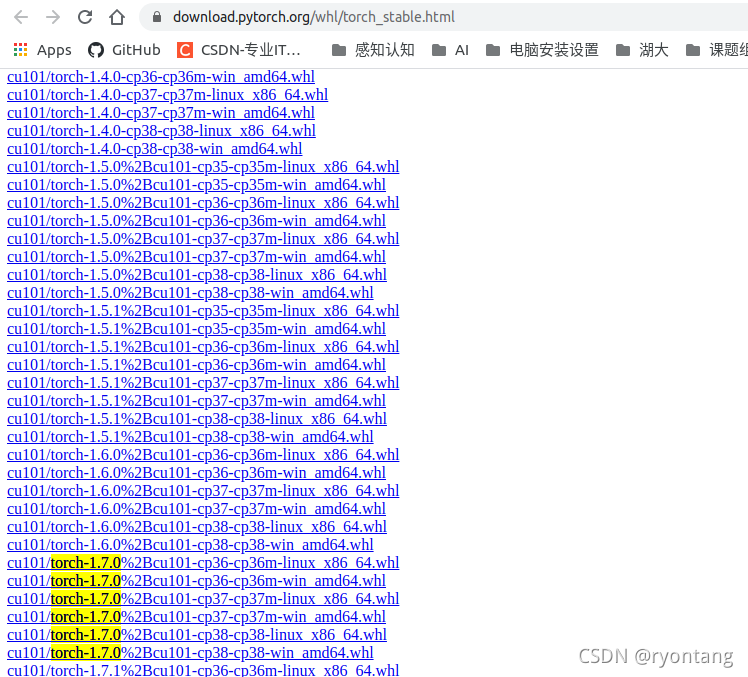
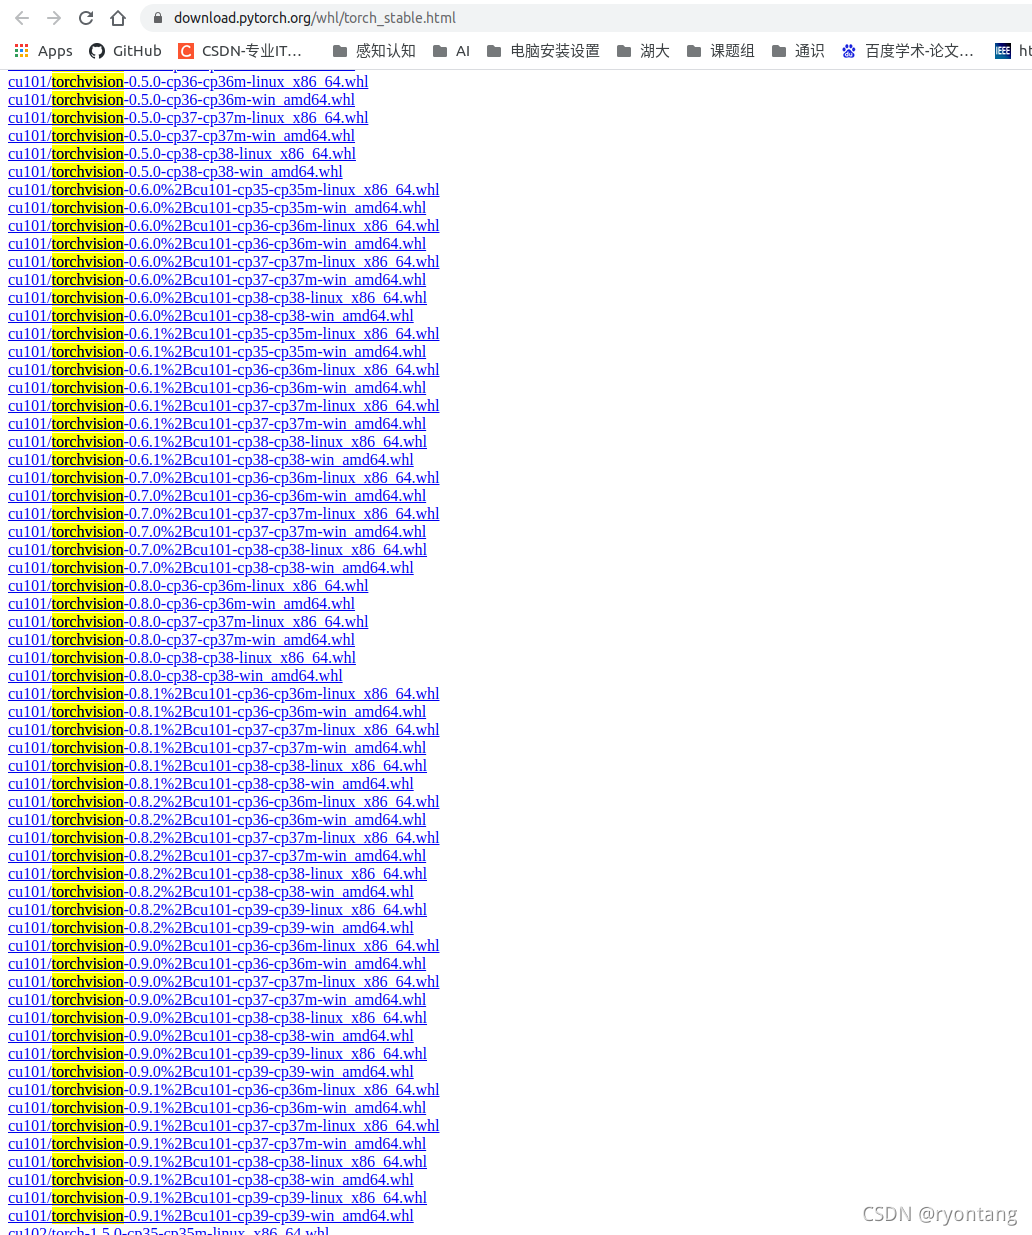
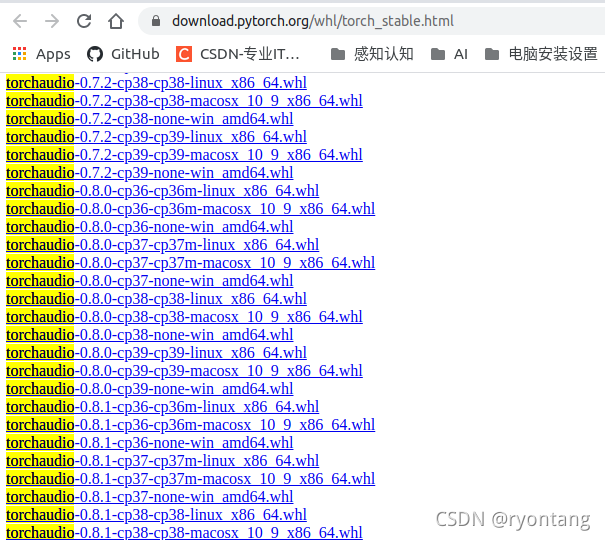
通过网址直接下载轮子:
https://download.pytorch.org/whl/torch_stable.html
pip与conda安装pytorch都ok
用pip安装甚至速度会更快一些,使用命令:
pip install torch==1.7.0+cu101 torchvision torchaudio -f https://download.pytorch.org/whl/torch_stable.html
提示安装不匹配:自己从官网下载whl文件本地安装
关于conda安装pytorch
因为源的原因,导致下载速度很慢
我们需要配置conda清华源,中科院源,阿里源
在conda里面装pytorch用conda install和pip install是同样的功能:
我最初装pytorch1.8通过这个命令成功:
conda install pytorch==1.8.0 torchvision==0.9.0 torchaudio==0.8.0 cudatoolkit=10.2 -c pytorch
后面通过pip也可以装:
pip install torch==1.7.0+cu101 torchvision torchaudio -f https://download.pytorch.org/whl/torch_stable.html
conda环境之外的cuda cudnn安装的是:

其实pytorch依赖的cuda自己已经通过conda环境中的cudatoolkit安装,但是在装openpcdet环境中的库安装需要用cmake使用外面的cuda编译。
openpcdet环境安装
- requiments.txt
- spconv:
装的是spconv1.2:
git clone XXX --recursive
然后按照spconv中的README,先编译再安装,没问题
sudo apt-get install libboost-all-dev
python setup.py bdist_wheel
cd ./dist
- 安装openpcdet
pip install -r requirements.txt
python setup.py develop
tensorrt的安装
- 首先还是按照官方文档,下载6.0.1.zip
- 解压后选择链接到 tensorrt/bin/lib
- pip3 -m pip install cp36(记住你环境是哪个版本的选择哪个).whl(期间遇到一个库没有安装,直接搜索whl文件进行本地安装)


 934
934

 被折叠的 条评论
为什么被折叠?
被折叠的 条评论
为什么被折叠?
 到【灌水乐园】发言


