


原文网站: Verilog 文件操作-$fdisplay,$fwrite,$fstrobe,$fmonitor – 芯片天地
在Verilog 仿真中, 我们有时需要将仿真得到的数据回写到文件中去,在Verilog 语法中提供$fdisplay,$fwrite,$fstrobe,$fmonitor 等系统函数,帮助开发者将数据写回到文件中。
$display 函数使用:
语法解析:
$fdisplay(<file_desc>, "<string>", variables);

file_desc :文件句柄,表示要对哪个文件进行写操作
string:为写入文件的格式
variables: 为写入的数值。
$fdisplay 的使用方法和$display系统函数的使用方法很类似,$display是将格式化的结果输出到控制台上,而$fdisplay 是将格式化的输出结果写入到文件中。
打开一个文本文件,并写入相关的数据:
`timescale 1ns / 1ps
module sim_top( );
localparam FILE_NAME = "../../../led_sim.txt";
integer file_handle = 0;
initial begin
file_handle = $fopen(FILE_NAME,"w");
if(!file_handle)
begin
$display("Could not open File \r");
$stop;
end
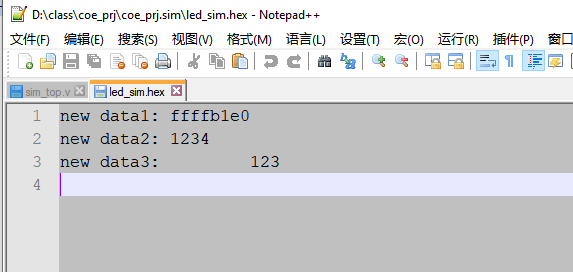
$fdisplay (file_handle, "new data1: %h", file_handle);
$fdisplay (file_handle, "new data2: %h", 16'h1234);
$fdisplay (file_handle, "new data3: %d", 123);
$fclose(file_handle);
#200;
$stop;
end
endmodule$fopen 用来打开操作系统上的文件,$fdisplay 将数据格式化写入到文件中去。$fclose 用于将文件关闭。由于打开的文件为文本格式的。 所以存储的文件也是可以被文本工具打开的。
`timescale 1ns / 1ps
module sim_top( );


wire [3:0] y;
reg  [2:0] a = 1, b = 2;

assign y = a + b;

localparam FILE_NAME = "../../../led_sim.txt";
integer file_handle = 0;
initial begin
    file_handle = $fopen(FILE_NAME,"w");
    if(!file_handle)
    begin
        $display("Could not open File \r");
        $stop;
    end

    $fdisplay (file_handle, "new data1: %h", file_handle);
    $fdisplay (file_handle, "new data2: %h", 16'h1234);
    $fdisplay (file_handle, "new data3: %d", y);
    #10;
    $fdisplay (file_handle, "new data3: %d", y);

    $fclose(file_handle);
    #200;
    $stop;
end

endmodule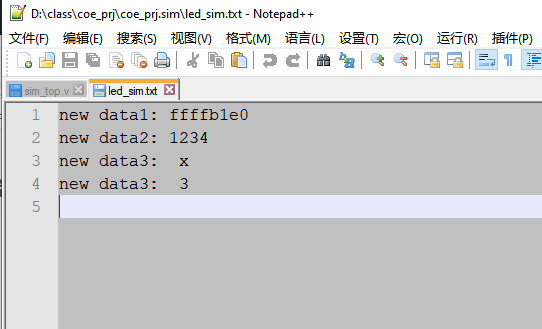
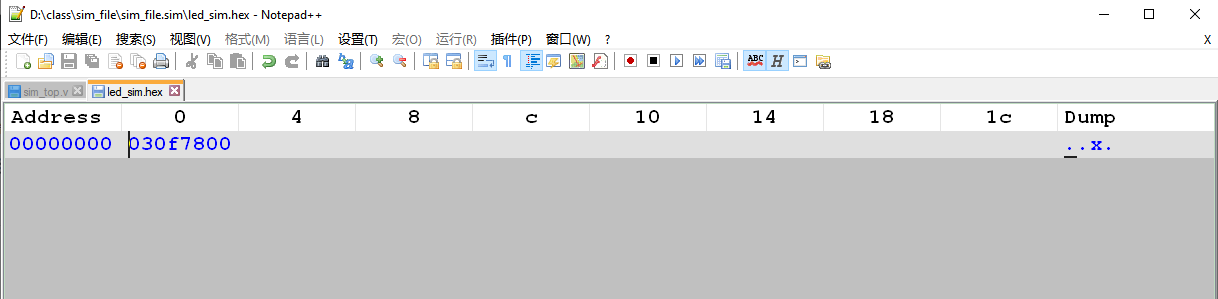
打开一个二进制文件,并写入相关的数据:
`timescale 1ns / 1ps

module sim_top( );

wire [3:0] y;
reg  [2:0] a = 1, b = 2;
assign y = a + b;

localparam FILE_NAME = "../../../led_sim.hex";
integer file_handle = 0;
initial begin
    file_handle = $fopen(FILE_NAME,"wb+");

    if(!file_handle)
    begin
        $display("Could not open File \r");
        $stop;
    end
    $fdisplay (file_handle, "%c", $time);
    $fdisplay (file_handle, "%c", 16'h5678);
    $fdisplay (file_handle, "%c", y);
    #10;
    $fdisplay (file_handle, "%c", y);

    $fclose (file_handle);

    #200;
    $stop;
end

endmodule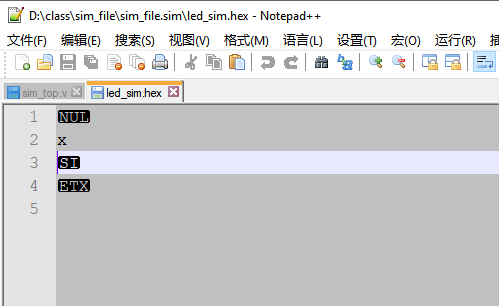
使用$fwrite 系统函数
$fwrite(<file_desc>, "<string>", variables);

file_desc:文件句柄, 指示需要被写入的文件。
string:文件写入格式
variables:写入文件的内容。
$fwrite 和$write 的使用也是很类似的,和$display,$fdisplay 系统函数比较,但没有自动换行操作。
$fwrite 函数的使用方法与$fdisplay 类似, 只是$fwrite 信号没有缺省的换行操作。
`timescale 1ns / 1ps
module sim_top( );

wire [3:0] y;
reg  [2:0] a = 1, b = 2;
assign y = a + b;

localparam FILE_NAME = "../../../led_sim.hex";
integer file_handle = 0;
initial begin
    file_handle = $fopen(FILE_NAME,"wb+");

    if(!file_handle)
    begin
        $display("Could not open File \r");
        $stop;
    end
    $fwrite(file_handle, "%c", $time);
    $fwrite(file_handle, "%c", 16'h5678);
    $fwrite(file_handle, "%c", y);
    #10;
    $fwrite(file_handle, "%c", y);

    $fclose (file_handle);
    #200;
    $stop;
end


endmodule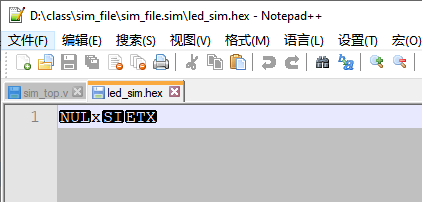
$fstrobe 使用
$fstrobe(<file_desc>, "<string>", variables);

file_desc: 文件句柄,表示对哪个文件进行写操作
string:输出文件的格式,可以参考$display 的格式用法
variables:准备写入的变量
$fstrobe 和 $strobe 使用函数使用类似,都是在时间节点到达时,执行函数。
`timescale 1ns / 1ps
module sim_top( );

wire [3:0] y;
reg  [2:0] a = 1, b = 2;
assign y = a + b;

localparam FILE_NAME = "../../../led_sim.hex";
integer file_handle = 0;
initial begin
    file_handle = $fopen(FILE_NAME,"wb+");

    if(!file_handle)
    begin
        $display("Could not open File \r");
        $stop;
    end

    $fstrobe (file_handle, "%h", $time);
    $fstrobe (file_handle, "%h", 16'h5678);
    $fstrobe (file_handle, "%h", y);
    a = 5;
    $fstrobe (file_handle, "%h", y);
    #10;
    a = 9;
    $fstrobe (file_handle, "%c", y);

    $fclose (file_handle);
    #200;
    $stop;
end

endmodule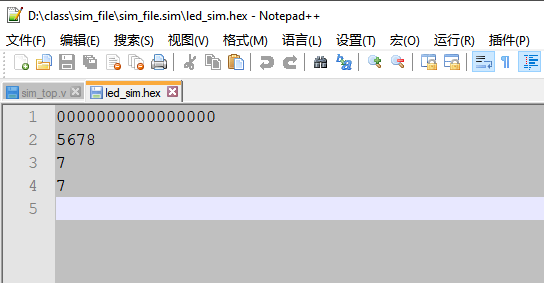
从上面的仿真结果可以看出:$fstrobe 系统函数的使用和$strobe 函数的使用非常类似, 也就是说只有到得了时间节点后,才进行统一的赋值输出(a= 1是作废了)。当 a = 9时,虽然后面还有$fstrobe 函数, 但是这时文件已经关闭了, 所以 最新的y 值并没有被写入到文件中去。
$fmonitor函数使用
$fmonitor(<file_desc>, "<string>", variables);

file_desc: 文件句柄,需要写入的文件
string:字符表达式,具体可以参考$display
variables:写入的数据
$fmonitor和$monitor 系统函数的使用类似,只有但variables 列表中发生变化,时间节点到达时,才执行函数。优点是,不必纠结在那里打印输出, 只要出发条件,就可以自动打印输出。
`timescale 1ns / 1ps

module sim_top( );

wire [3:0] y;
reg  [2:0] a = 1, b = 2;
assign y = a + b;

localparam FILE_NAME = "../../../led_sim.hex";
integer file_handle = 0;
initial begin
    file_handle = $fopen(FILE_NAME,"wb+");

    if(!file_handle)
    begin
        $display("Could not open File \r");
        $stop;
    end

    $fmonitor (file_handle, "%h", $time);
    $fmonitor (file_handle, "%h", 16'h5678);
    $fmonitor (file_handle, "%h", y);
    a = 5;
    #10;
    a = 3;
    #10;
    a = 4;

    $fclose (file_handle);
end

endmodule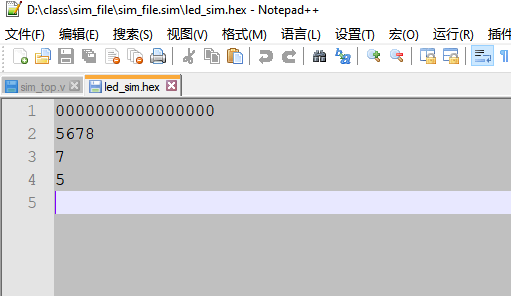
上例中, 我们可以看到,$fmonitor 可以监控数据的改变,不需要每次都调用$fmonitor。 注意当a = 4时,文件就关闭了, 所以最后一次的计算,并没有写入到文件中。


 2016
2016

 被折叠的 条评论
为什么被折叠?
被折叠的 条评论
为什么被折叠?
 到【灌水乐园】发言


