


小白学Pytorch系列–Torch.nn API Utilities(18)

From the torch.nn.utils module
| 方法 | 注释 |
|---|---|
| clip_grad_norm_ | 剪辑参数迭代对象的梯度范数。 |
| clip_grad_value_ | 在指定值处剪辑参数的可迭代对象的梯度。 |
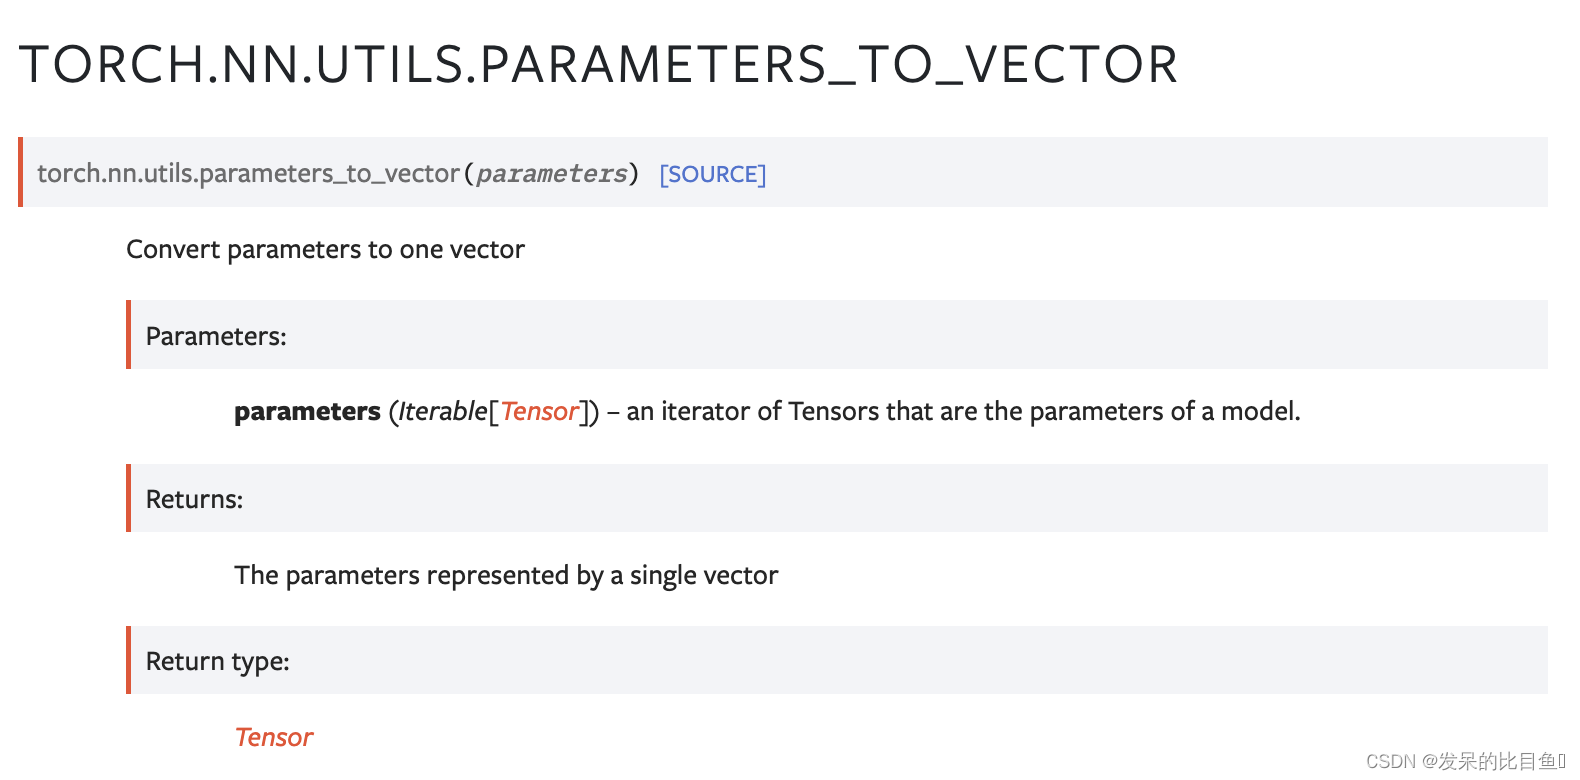
| parameters_to_vector | 将参数转换为一个向量 |
| vector_to_parameters | 将一个向量转换为参数 |
| prune.BasePruningMethod | 抽象基类,用于创建新的修剪技术。 |
| prune.PruningContainer | 容器,包含用于迭代修剪的修剪方法序列。 |
| prune.Identity | 实用修剪方法,不修剪任何单位,但生成带有一掩码的修剪参数化。 |
| prune.RandomUnstructured | 在一个张量中随机修剪(当前未修剪)单位。 |
| prune.L1Unstructured | 通过将l1范数最低的单位归零来修剪(当前未修剪)张量中的单位。 |
| prune.RandomStructured | 在一个张量中随机修剪整个(当前未修剪的)通道。 |
| prune.LnStructured | 在一个张量中根据ln范数修剪整个(目前未修剪的)通道。 |
| prune.CustomFromMask | |
| prune.identity | 对模块中名为name的参数对应的张量应用剪枝重参数化,而不实际剪枝任何单位。 |
| prune.random_unstructured | 通过随机移除指定数量的(当前未修剪的)单元,修剪模块中名为name的参数对应的张量。 |
| prune.l1_unstructured | 通过删除指定数量的(当前未修剪的)具有最低l1范数的单元,修剪模块中名为name的参数对应的张量。 |
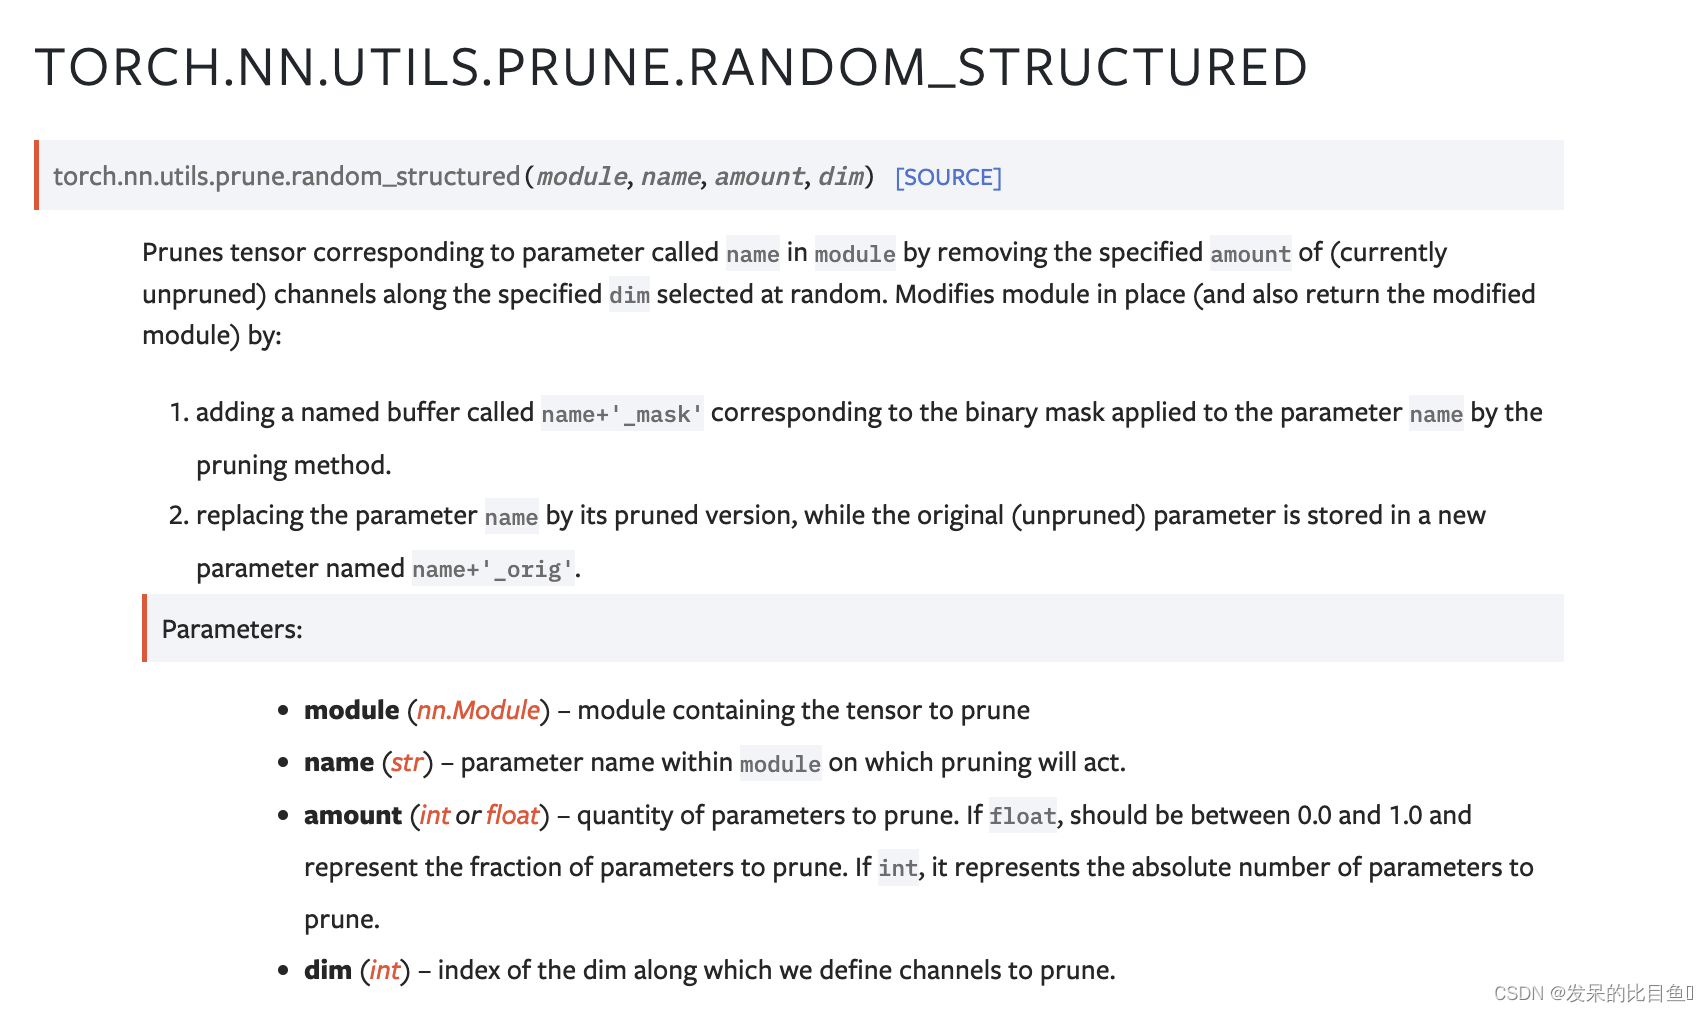
| prune.random_structured | 通过沿着随机选择的指定dim删除指定数量的(当前未修剪的)通道,修剪模块中名为name的参数对应的张量。 |
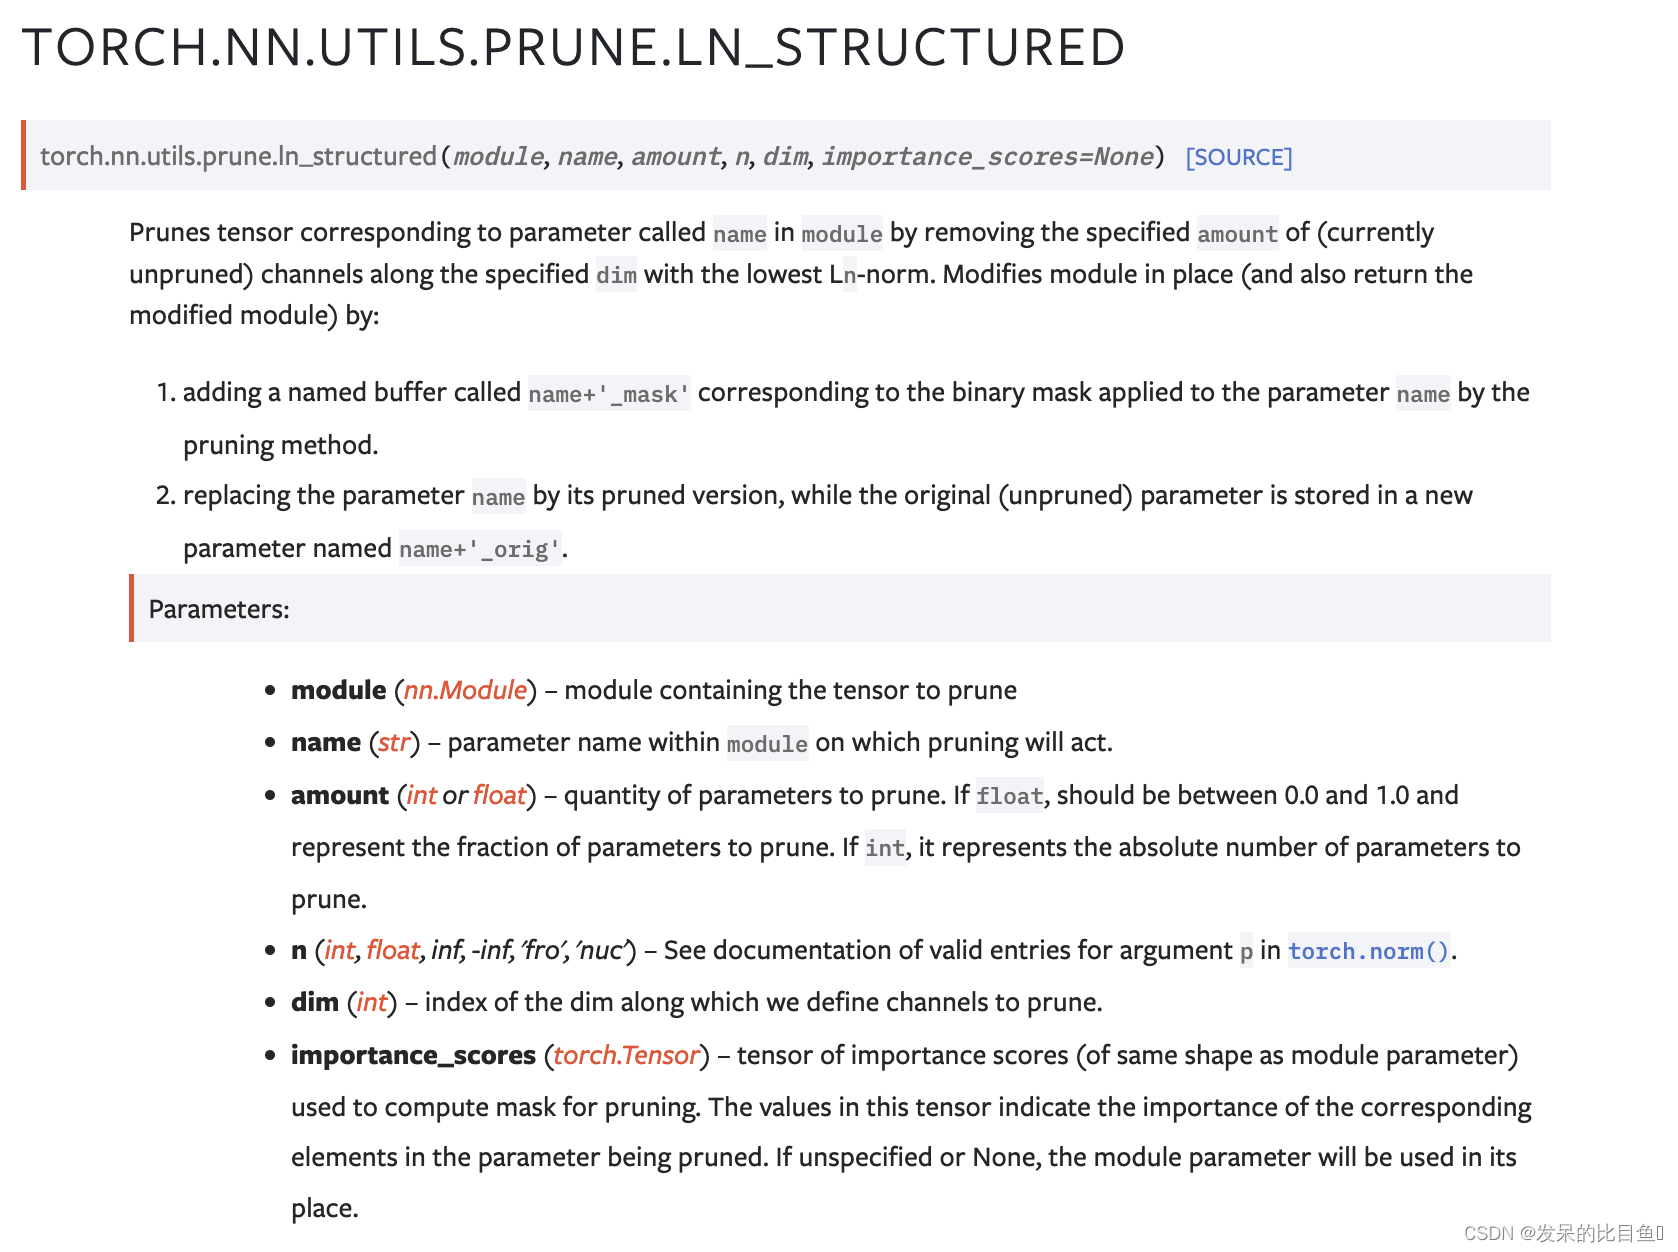
| prune.ln_structured | 删除模块中参数name对应的张量,方法是沿着指定的dim以最低ln范数删除指定数量的(当前未修剪的)通道。 |
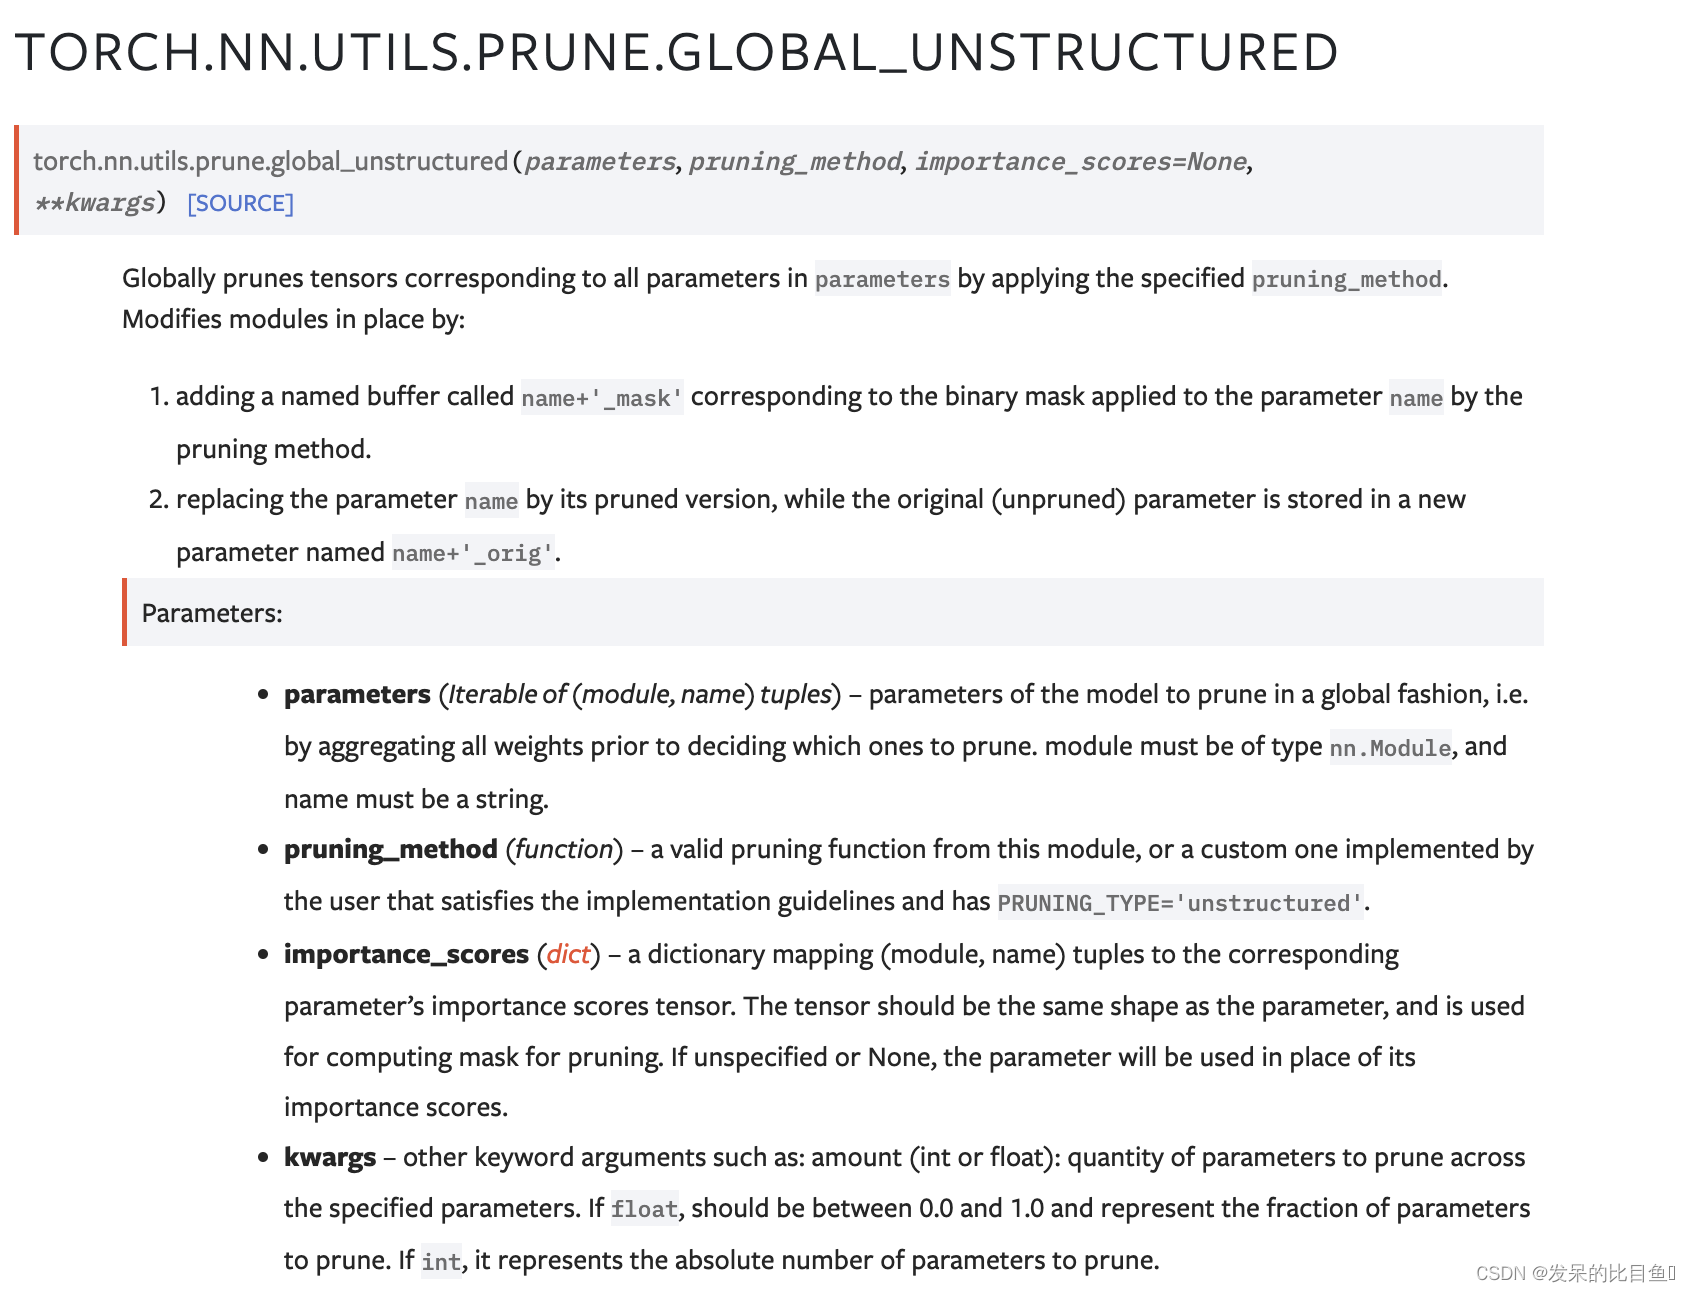
| prune.global_unstructured | 采用指定的剪枝方法对参数中所有参数对应的张量进行全局剪枝。 |
| clipprune.custom_from_mask_grad_norm_ | 通过在掩码中应用预先计算的掩码,修剪模块中参数name对应的张量。 |
| prune.remove | 从模块中移除修剪重参数化,从前向钩子中移除修剪方法。 |
| prune.is_pruned | 通过查找继承自BasePruningMethod的模块中的前向预钩子来检查模块是否被修剪了。 |
| weight_norm | 对给定模块中的参数应用权重归一化。 |
| remove_weight_norm | 从模块中移除权重归一化重新参数化。 |
| spectral_norm | 对给定模块中的参数应用光谱归一化。 |
| remove_spectral_norm | 从模块中移除光谱归一化重新参数化。 |
| skip_init | 给定一个模块类对象和参数,实例化模块而不初始化参数。 |
clip_grad_norm_
参考:https://blog.csdn.net/zhaohongfei_358/article/details/122820992
torch.nn.utils.clip_grad_norm_(parameters, max_norm, norm_type=2)。三个参数:
- parameters:希望实施梯度裁剪的可迭代网络参数
- max_norm:该组网络参数梯度的范数上限
- norm_type:范数类型
重要的事情:clip_grad_norm_要放在backward和step之间。
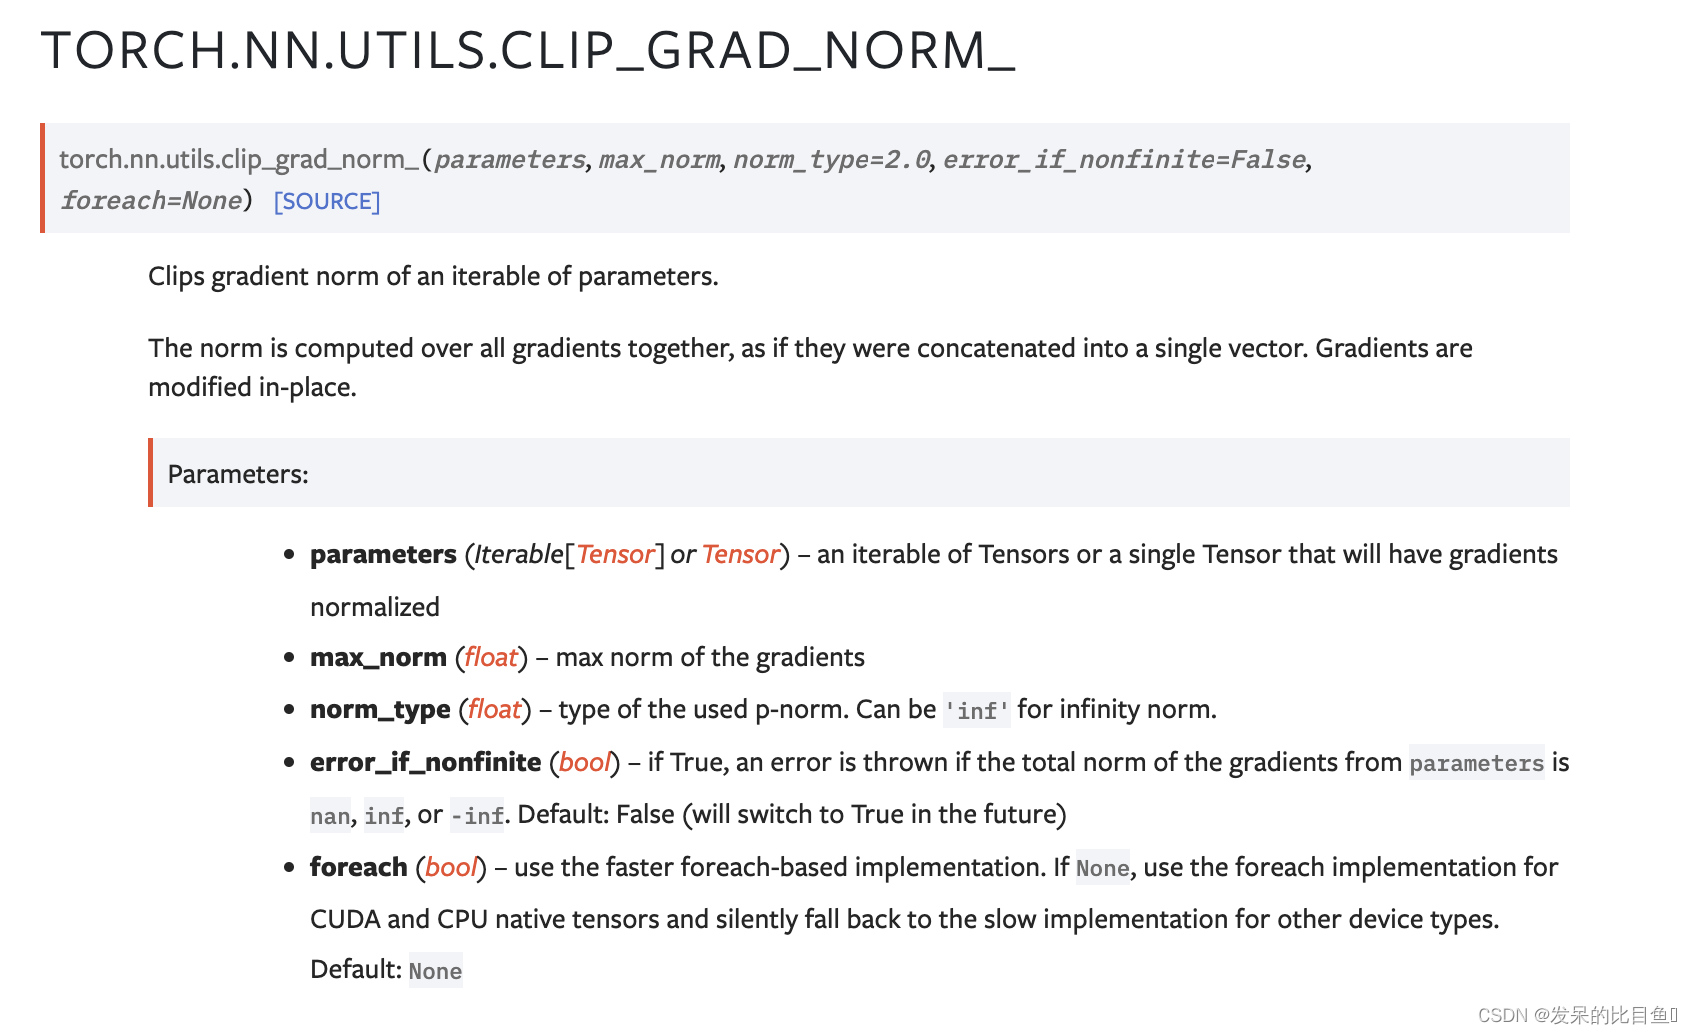


从上面文章可以看到,clip_grad_norm最后就是对所有的梯度乘以一个clip_coef,而且乘的前提是clip_coef一定是小于1的,所以,按照这个情况:clip_grad_norm只解决梯度爆炸问题,不解决梯度消失问题
对源码进行了一些修改,将.grad去掉,增加了一些输出,方便进行实验:
import numpy as np
import torch
from torch import nn

def clip_grad_norm_(parameters, max_norm, norm_type=2):
    if isinstance(parameters, torch.Tensor):
        parameters = [parameters]
    parameters = list(filter(lambda p: p is not None, parameters))
    max_norm = float(max_norm)
    norm_type = float(norm_type)
    if norm_type == np.inf:
        total_norm = max(p.data.abs().max() for p in parameters)
    else:
        total_norm = 0
        for p in parameters:
            param_norm = p.data.norm(norm_type)
            total_norm += param_norm.item() ** norm_type
        total_norm = total_norm ** (1. / norm_type)
    clip_coef = max_norm / (total_norm + 1e-6)
    if clip_coef < 1:
        for p in parameters:
            p.data.mul_(clip_coef)

    print("max_norm=%s, norm_type=%s, total_norm=%s, clip_coef=%s" % (max_norm, norm_type, total_norm, clip_coef))
测试模型: 参考来自https://blog.csdn.net/zhaohongfei_358/article/details/122820992
class TestModel(nn.Module):

    def __init__(self):
        super().__init__()

        self.model = nn.Sequential(
            nn.Linear(1,1, bias=False),
            nn.Sigmoid(),
            nn.Linear(1,1, bias=False),
            nn.Sigmoid(),
            nn.Linear(1,1, bias=False),
            nn.Sigmoid(),
            nn.Linear(1,1, bias=False),
            nn.Sigmoid(),
        )

    def forward(self, x):
        return self.model(x)

model = TestModel()
定义好模型后,固定一下模型参数:
for param in model.parameters():
    param.data = torch.Tensor([[0.5]])
    print("param=%s" % (param.data.item()))

-------------------------------------------
param=0.5
param=0.5
param=0.5
param=0.5
可以看目前四个线性层的权重参数都为0.5。之后对模型进行一轮训练,并进行反向传播:
criterion = nn.MSELoss()
optimizer = torch.optim.SGD(model.parameters(), lr=1)
predict_y = model(torch.Tensor([0.1]))
loss = criterion(predict_y, torch.Tensor([1]))
model.zero_grad()
loss.backward()
反向传播过后,再次打印模型参数,可以看到反向传播后计算好的各个参数的梯度:
for param in model.parameters():
    print("param=%s, grad=%s" % (param.data.item(), param.grad.item()))
----------------------
param=0.5, grad=-3.959321111324243e-05
param=0.5, grad=-0.0016243279678747058
param=0.5, grad=-0.014529166743159294
param=0.5, grad=-0.11987950652837753
重点来了,各个参数的梯度如上图所示(越靠近输入的位置,梯度越小,虽然没有出现梯度爆炸,反而出现了梯度消失,但不影响本次实验),现在对其进行梯度裁剪:
nn.utils.clip_grad_norm_(model.parameters(), max_norm=0.01208, norm_type=2)
-----------------------
tensor(0.1208)
在上面,我传入的max_norm=0.01208,而total_norm=0.1208,所以可得clip_coef=0.1,即所有的梯度都会缩小一倍,此时我们再打印一下梯度:
for param in model.parameters():
    print("param=%s, grad=%s" % (param.data.item(), param.grad.item()))
------------------------------------
param=0.5, grad=-3.960347839893075e-06
param=0.5, grad=-0.00016247491294052452
param=0.5, grad=-0.001453293371014297
param=0.5, grad=-0.01199105940759182
看到没,所有的梯度都减小了10倍。之后我们执行step()操作,其就会将进行param=param-lr*grad操作来进行参数更新。再次打印网络参数:
optimizer.step()

for param in model.parameters():
    print("param=%s, grad=%s" % (param.data.item(), param.grad.item()))

--------------------------------------
param=0.5000039339065552, grad=-3.960347839893075e-06
param=0.5001624822616577, grad=-0.00016247491294052452
param=0.5014532804489136, grad=-0.001453293371014297
param=0.5119910836219788, grad=-0.01199105940759182
可以看到,在执行step后,执行了param=param-grad操作(我设置的lr为1)。同时,grad并没有清0,所以这也是为什么要显式的调用zero_grad的原因。
clip_grad_value_
在指定值处剪辑参数的可迭代对象的梯度。
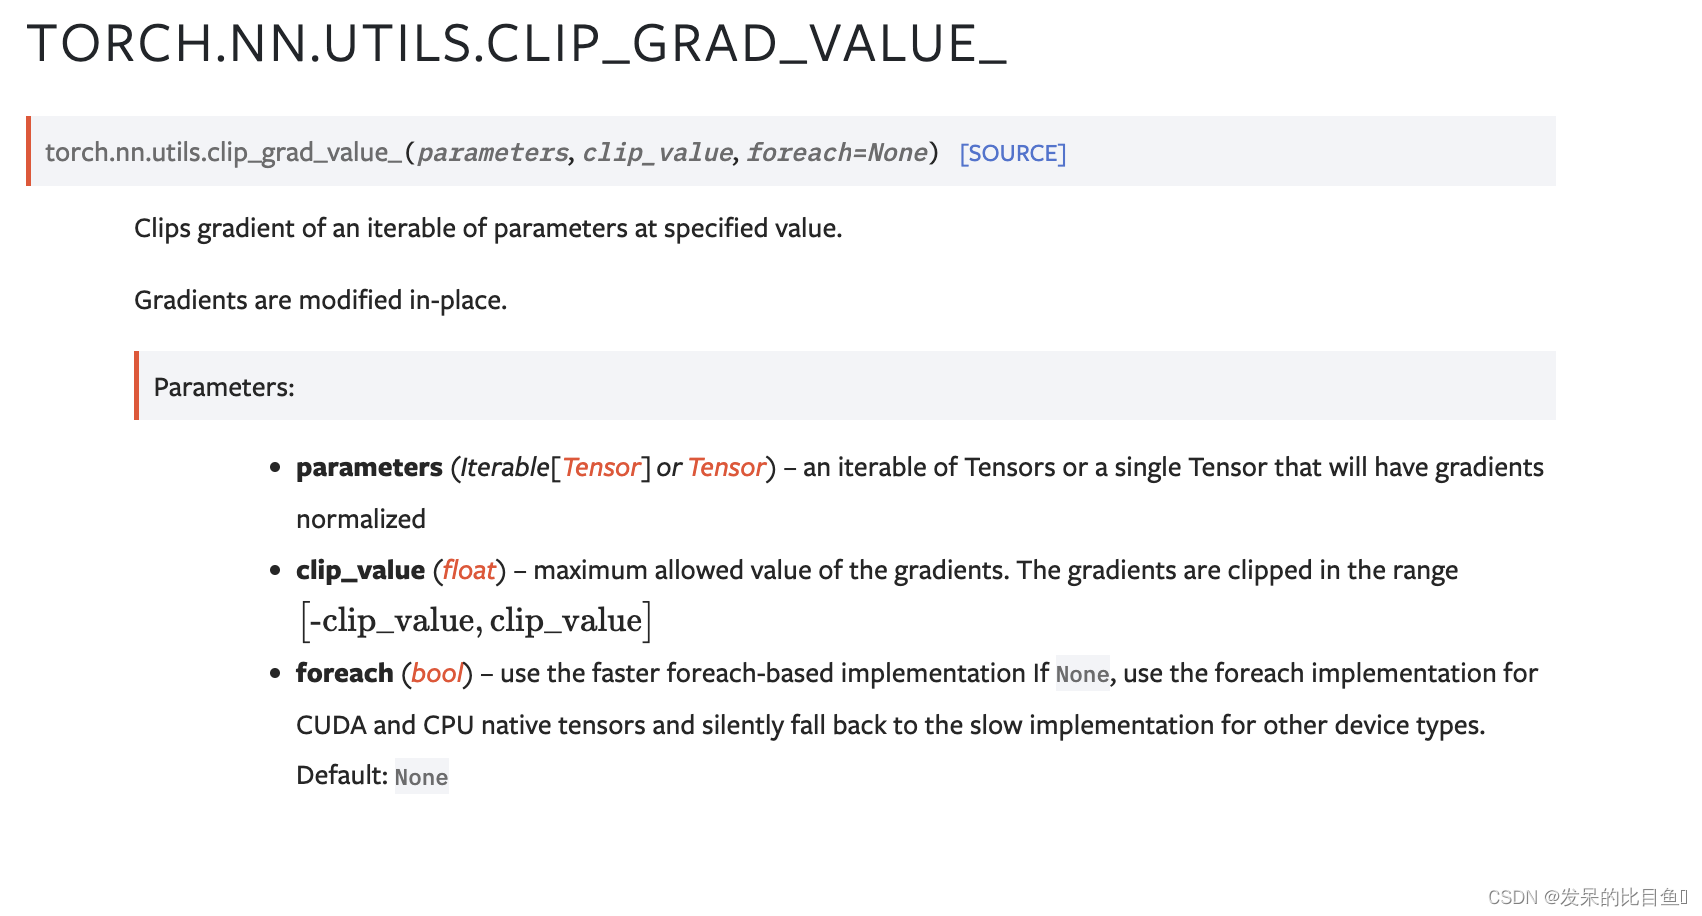
torch.nn.utils.clip_grad_value_(parameters, clip_value)
parameters_to_vector
将参数转换为一个向量
for lg in model_params:
   if len(lg) != 0:
       mp = parameters_to_vector([param.data.float() for param in lg])
       mp = torch.nn.Parameter(mp, requires_grad=True)
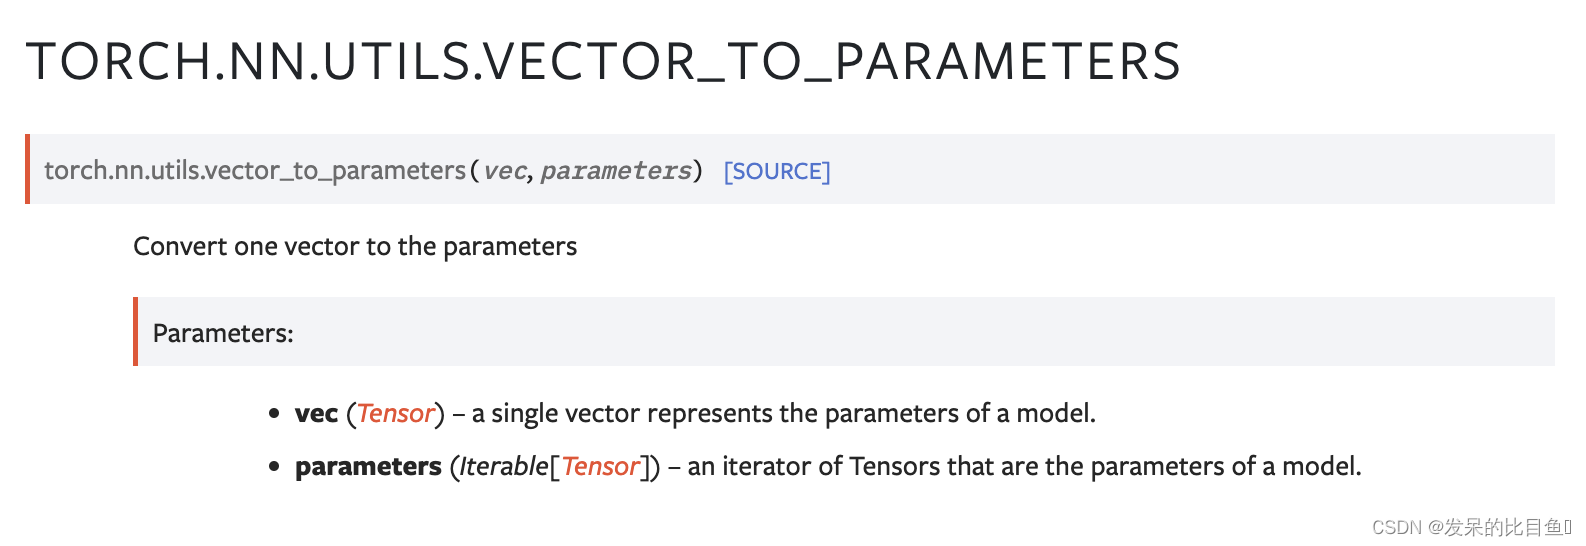
vector_to_parameters
将一个向量转换为参数
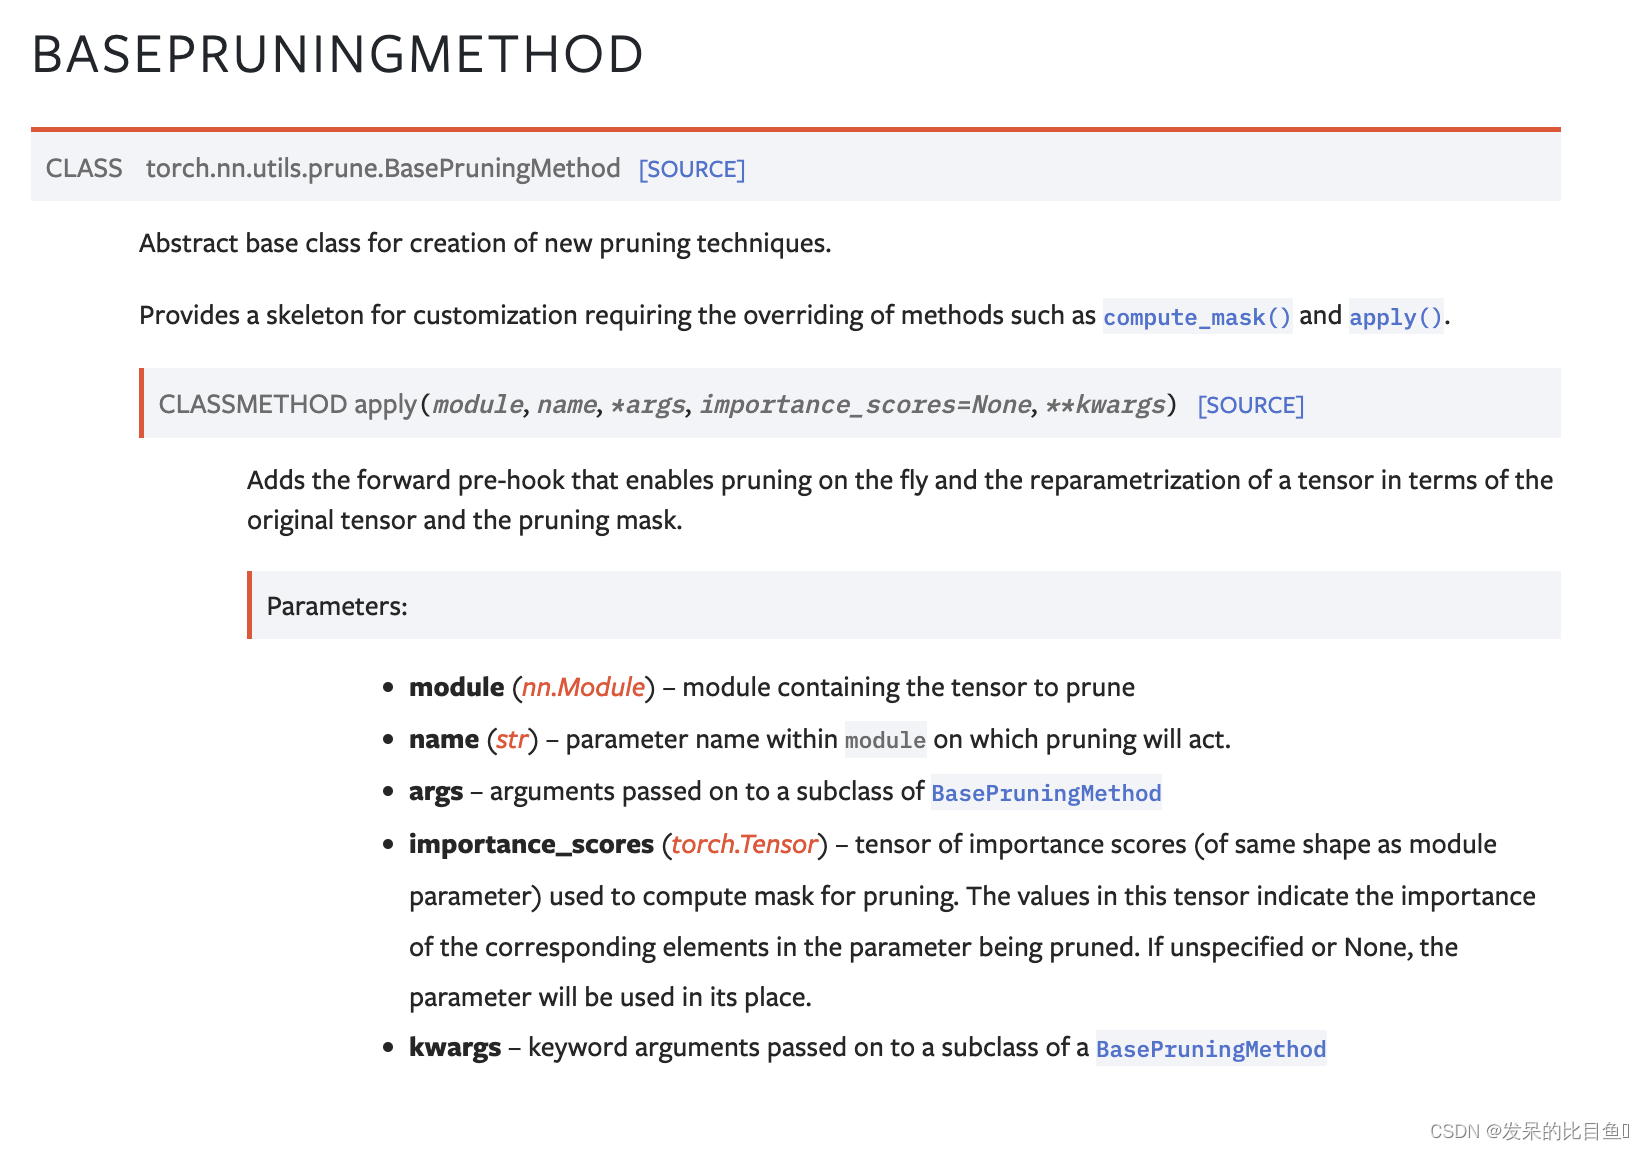
prune.BasePruningMethod
关于剪支的官方教程 https://pytorch.org/tutorials/intermediate/pruning_tutorial.html
- pytorch提供了一个剪枝的抽象基类‘‘class BasePruningMethod(ABC)’,所有剪枝策略都需要继承该基类,并重载部分函数就可以了
- 一般情况下需要重载init和compute_mask,apply方法,call, apply_mask, apply, prune和remove不需要重载,例如官方提供的
- 剪枝的API接口,可以看到支持用户自定义的剪枝mask,接口为custom_from_mask
- API的实现,使用classmethod的方法,剪枝策略的实例化在框架内部完成,不需要用户实例化
- remove接口 pytorch还提供各类一个remove接口,目的是把之前的剪枝结果持久化,具体操作就是删除之前生成的跟剪枝相关的缓存或者是回调hook接口,设置被剪枝的name参数(如bias)为最后一次训练的值
参考来自:
剪枝的大致过程:https://blog.csdn.net/m00102981/article/details/106479957/
- 根据用户选择的剪枝API生成对应的策略实例,此时会判断需要做剪枝操作的module上是否已经挂有前向回调函数,没有则生成新的,有了就在老的上面添加,并且生成PruningContainer。从这里可以看出,对于同一个module使用多个剪枝策略时,pytorch通过PruningContainer来对剪枝策略进行管理。PruningContainer本身也是继承自BasePruningMethod。同时设置前向计算的回调,便于后续训练时调用。
- 接着根据用户输入的module和name,找到对应的参数tensor。如果是第一次剪枝,那么需要生成_orig结尾的tensor,然后删除原始的module上的tensor。如name为bias,那么生成bias_orig存起来,然后删除module.bias属性。
- 获取defaultmask,然后调用method.computemask生成当前策略的mask值。生成的mask会被存在特定的缓存module.register_buffer(name + “_mask”, mask)。这里的compute_mask可能是两种情况:如果只有一个策略,那么调用的时候对应剪枝策略的compute_mask方法,如果一个module有多个剪枝策略组合,那么调用的应该是PruningContainer的compute_mask
- 执行剪枝,保存剪枝结果到module的属性,注册训练时的剪枝回调函数,剪枝完成。新的mask应用在orig的tensor上面生成新的tensor保存的对应的name属性
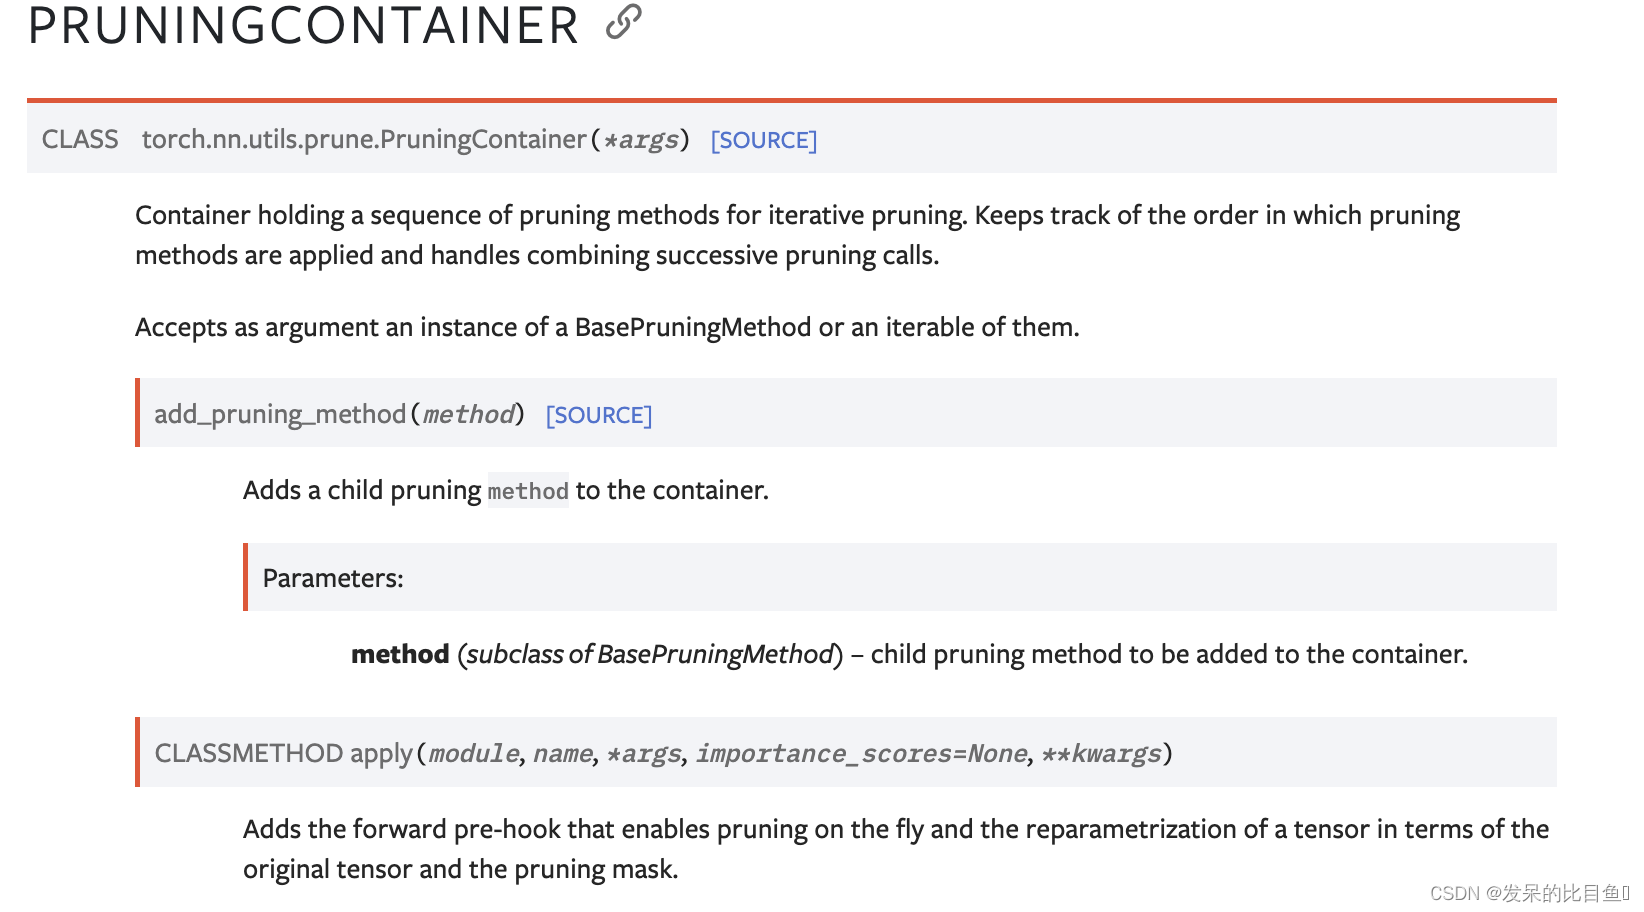
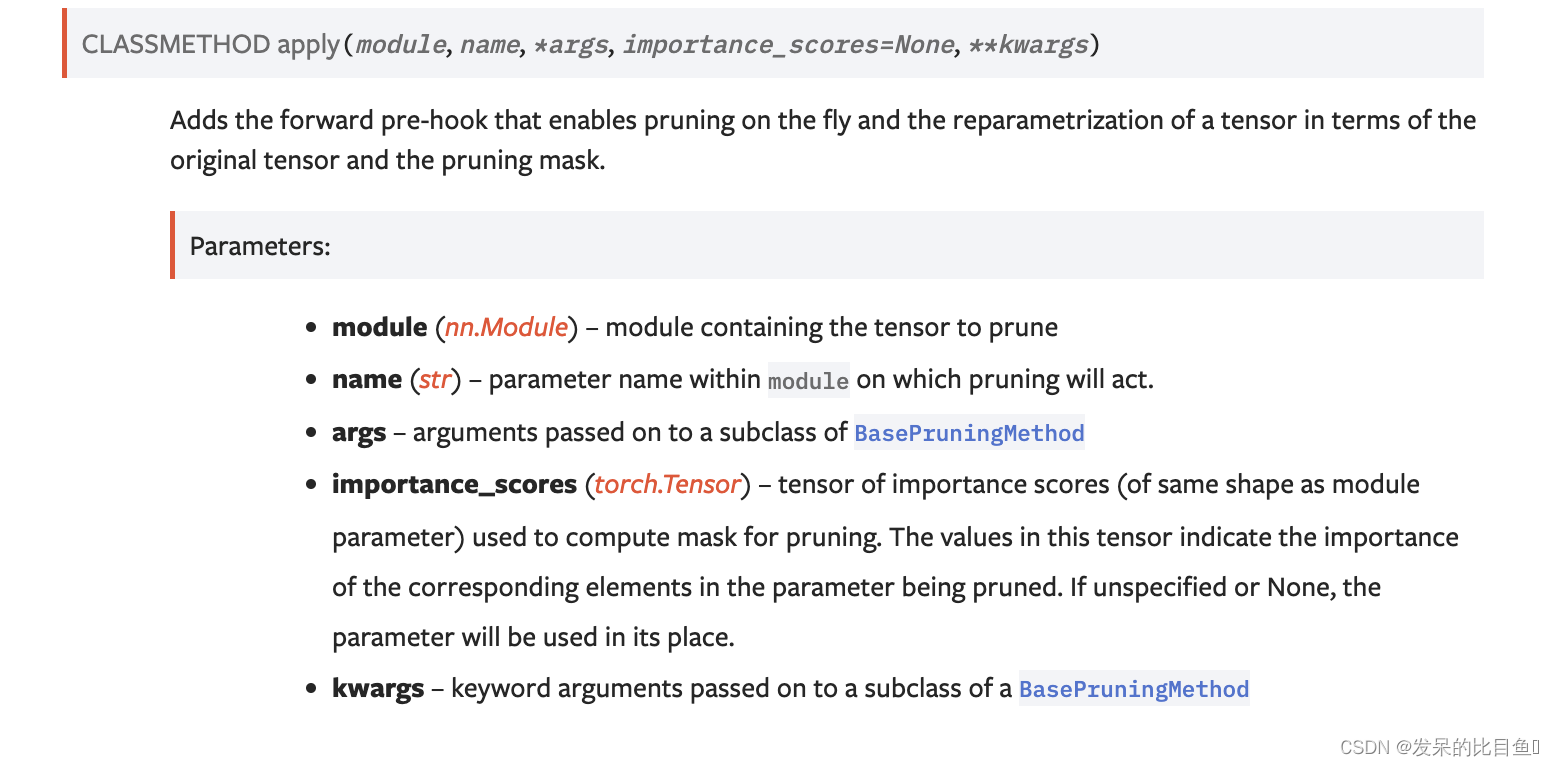
prune.PruningContainer
容器,包含用于迭代修剪的修剪方法序列。跟踪应用修剪方法的顺序,并处理组合连续的修剪调用。
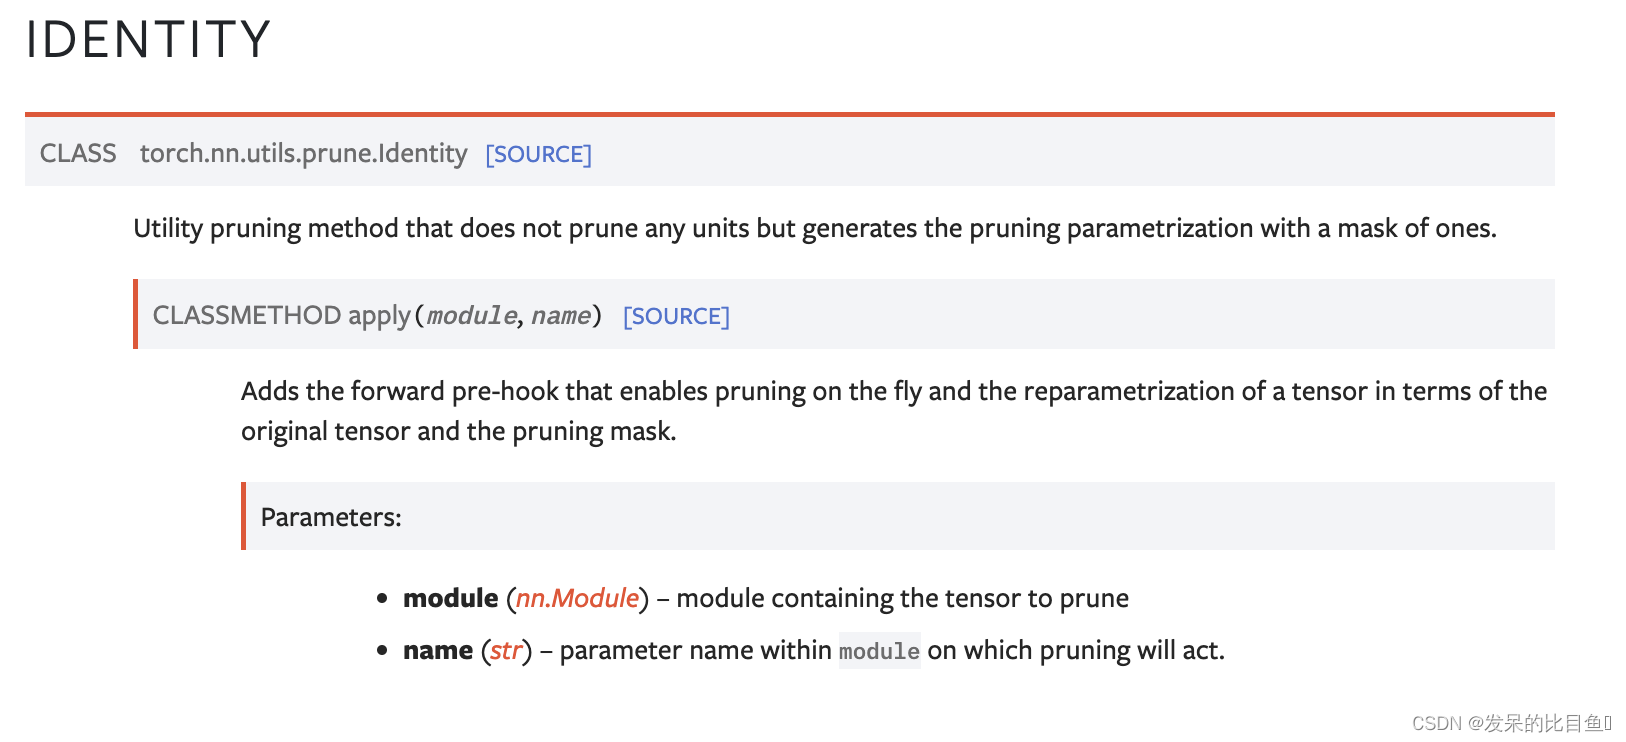
prune.Identity
实用修剪方法,不修剪任何单位,但生成带有一掩码的修剪参数化。
参数:
module(torch.nn.Module) -包含要修剪的張量的模塊。
name(str) -module 中的參數名稱,將對其進行修剪。
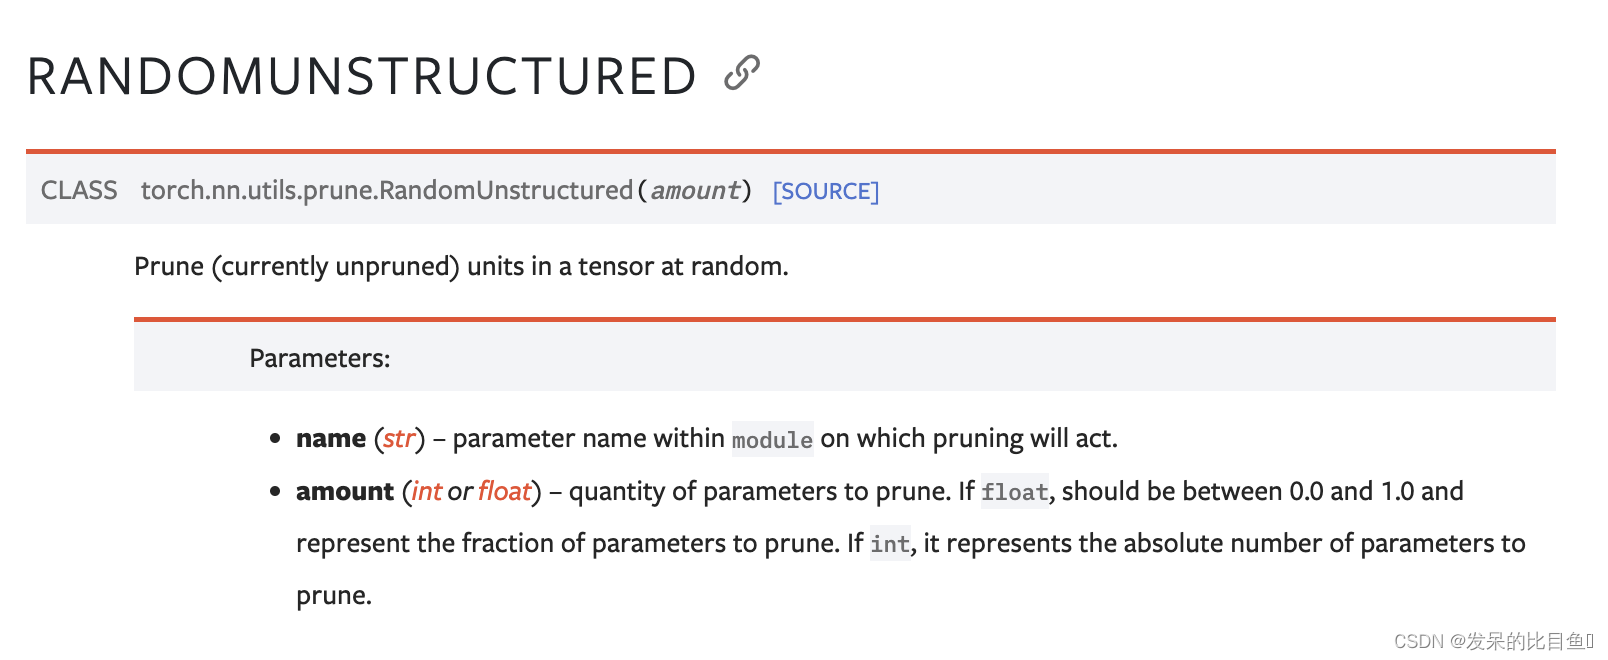
prune.RandomUnstructured
在一个张量中随机修剪(当前未修剪)单位
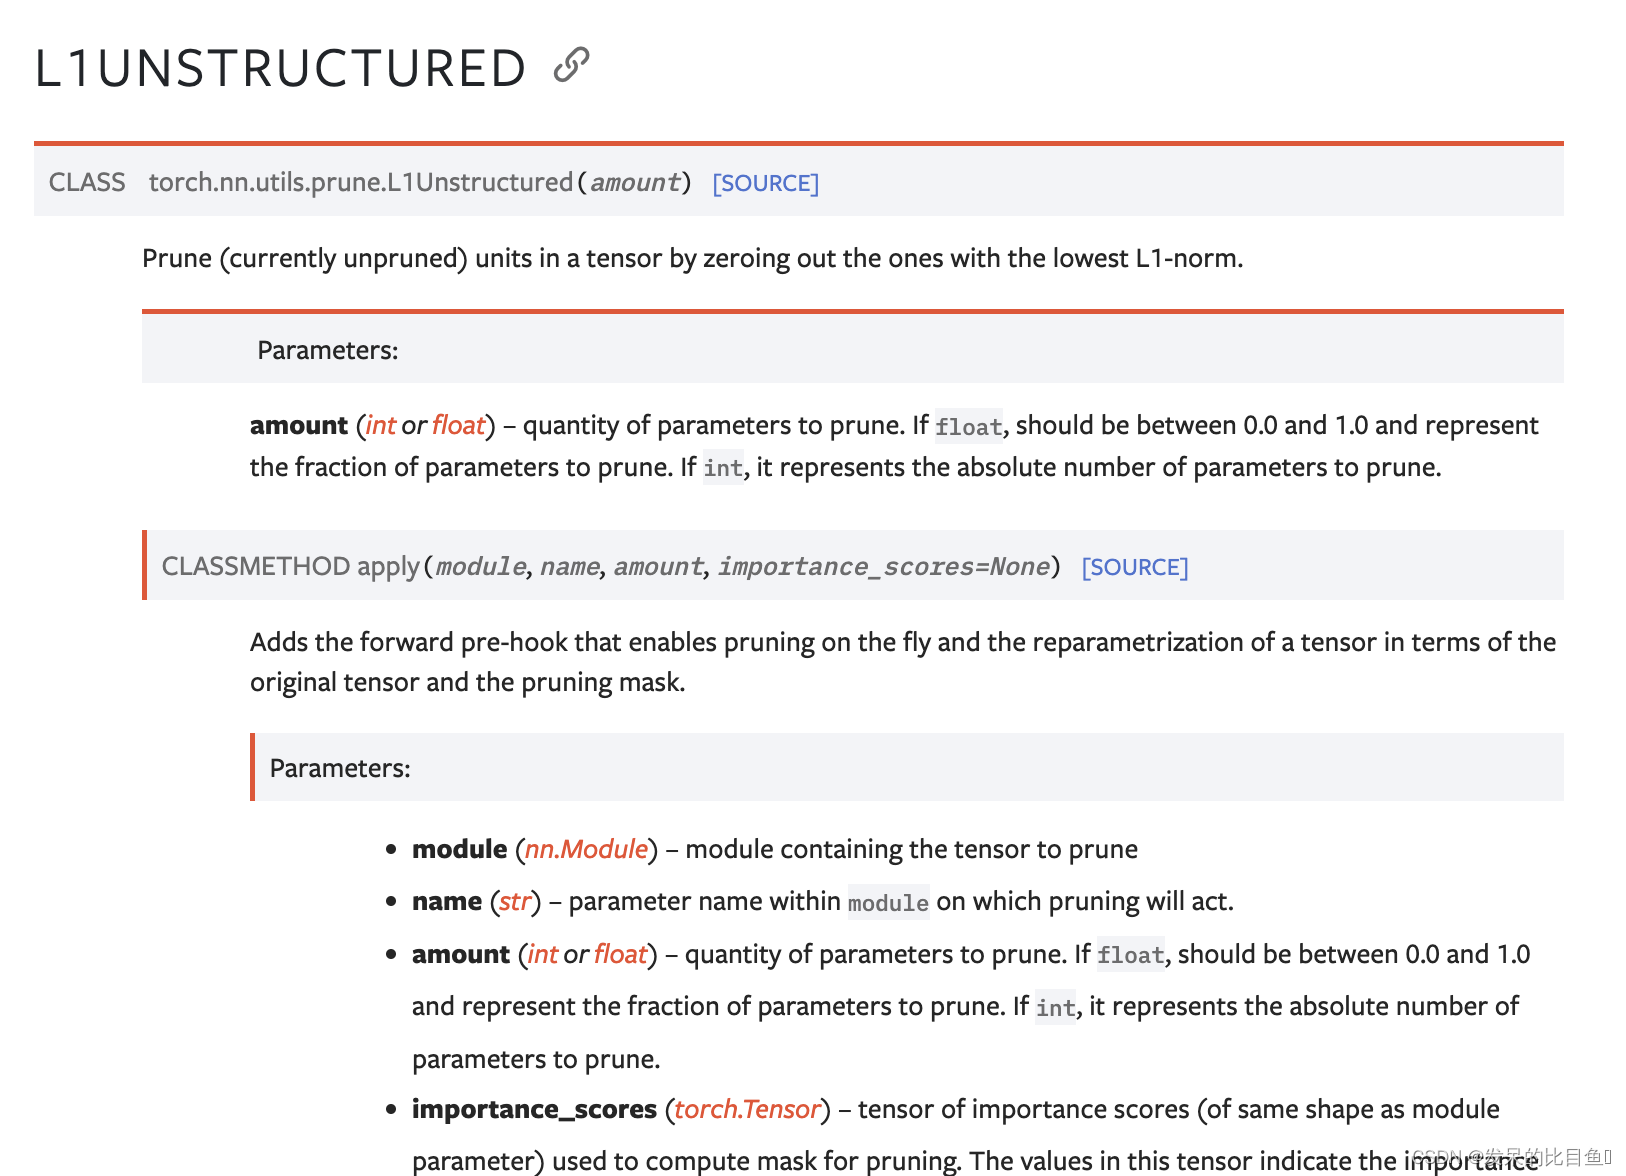
prune.L1Unstructured
通过将l1范数最低的单位归零来修剪(当前未修剪)张量中的单位。
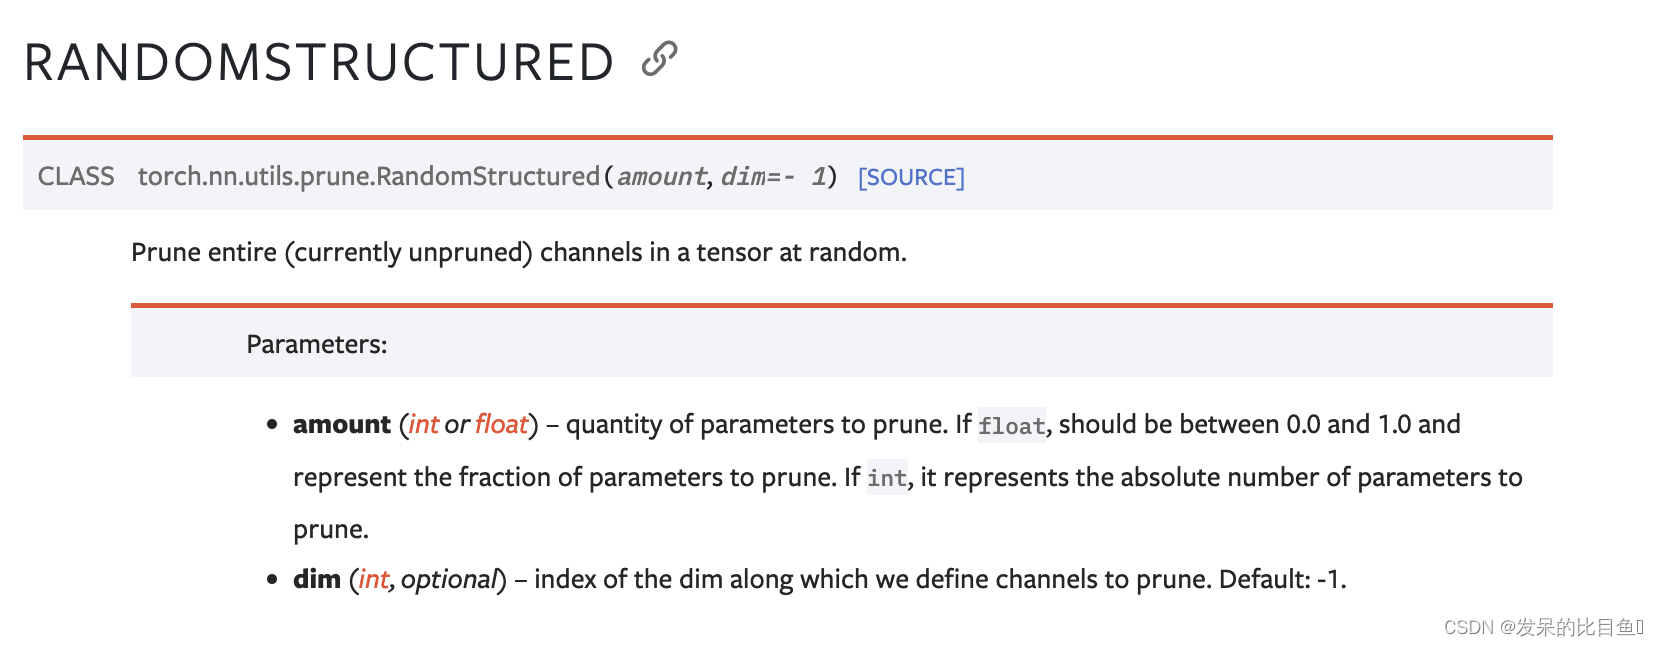
prune.RandomStructured
在一个张量中随机修剪整个(当前未修剪的)通道。
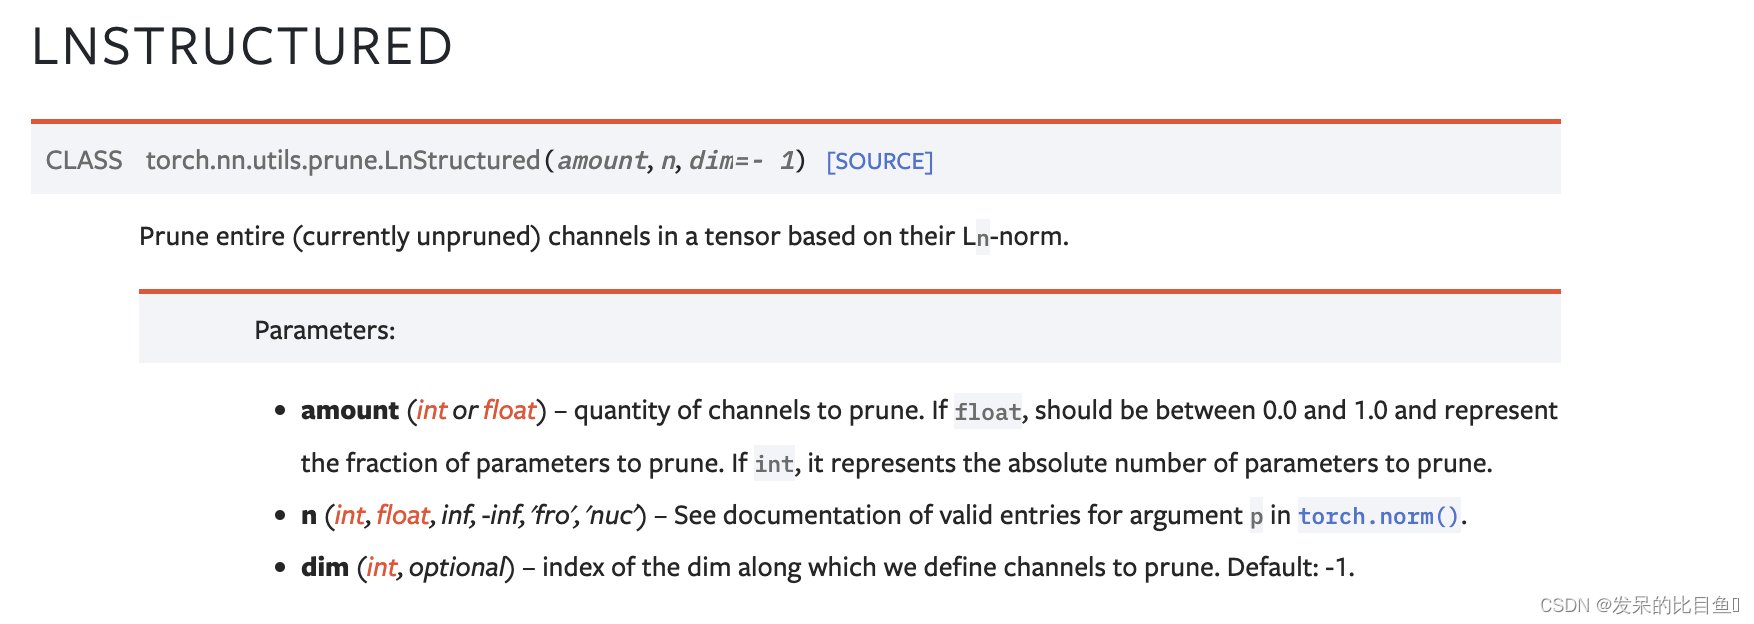
prune.LnStructured
在一个张量中根据ln范数修剪整个(目前未修剪的)通道。
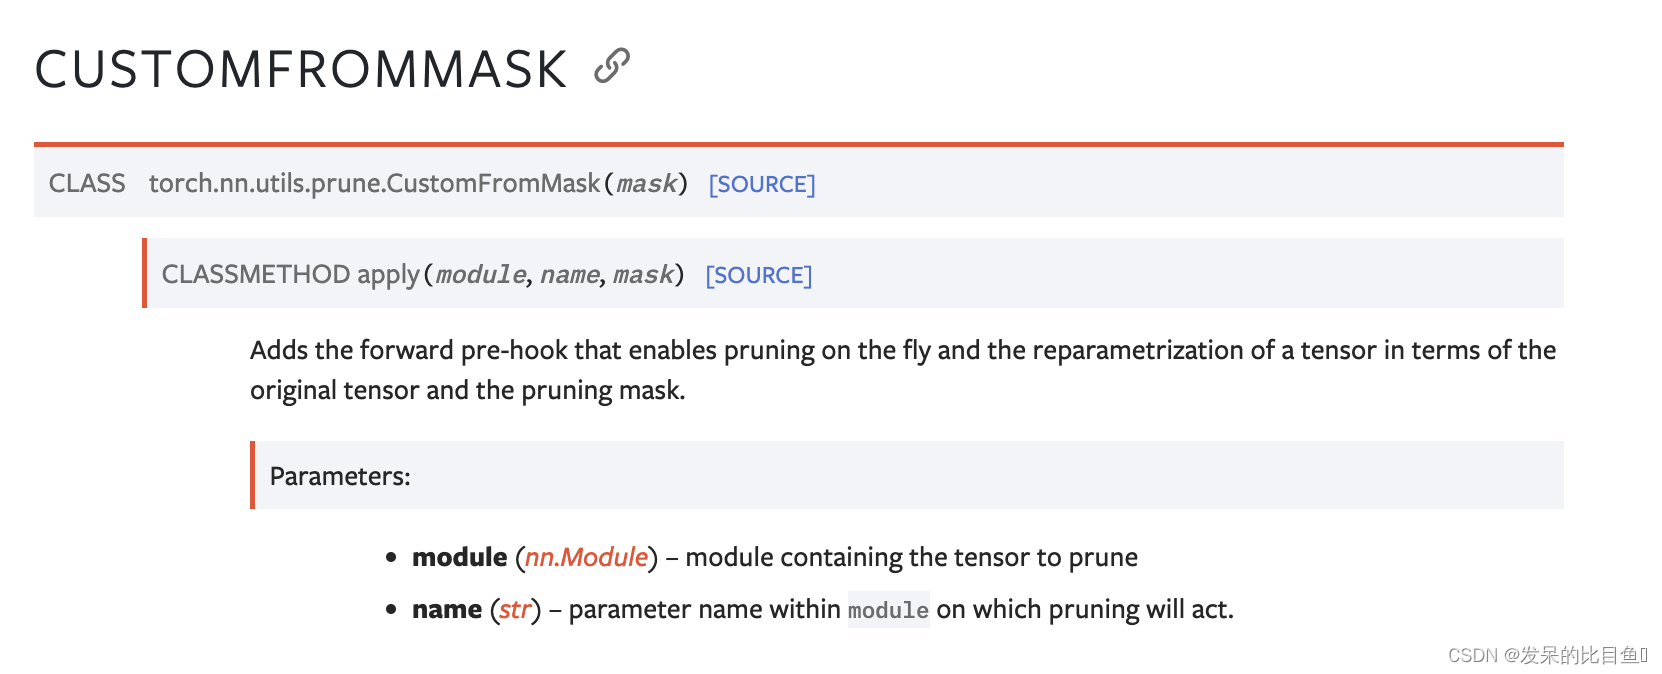
prune.CustomFromMask
增加前向预挂钩,可以动态剪枝,并根据原始张量和剪枝掩码重新参数化张量。
prune.identity
对模块中名为name的参数对应的张量应用剪枝重参数化,而不实际剪枝任何单位。通过在适当的位置修改模块(并返回修改后的模块)

>>> m = prune.identity(nn.Linear(2, 3), 'bias')
>>> print(m.bias_mask)
tensor([1., 1., 1.])
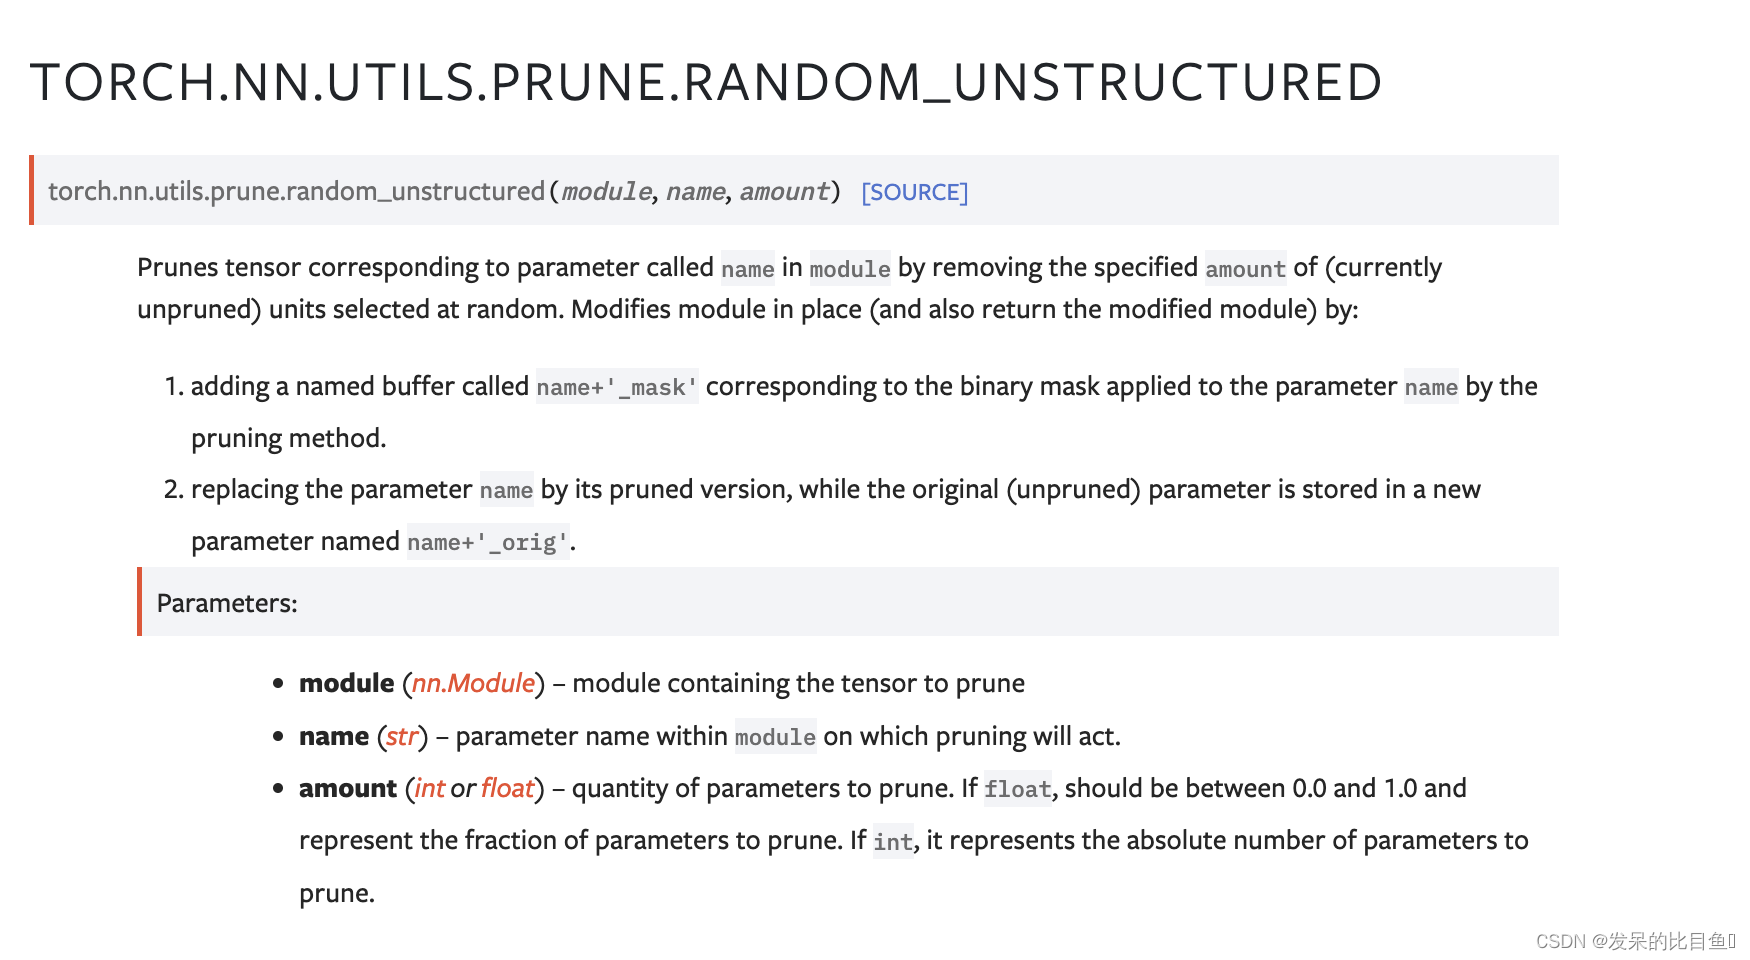
prune.random_unstructured
通过随机移除指定数量的(当前未修剪的)单元,修剪模块中名为name的参数对应的张量。通过在适当的位置修改模块(并返回修改后的模块)
>>> m = prune.random_unstructured(nn.Linear(2, 3), 'weight', amount=1)
>>> torch.sum(m.weight_mask == 0)
tensor(1)
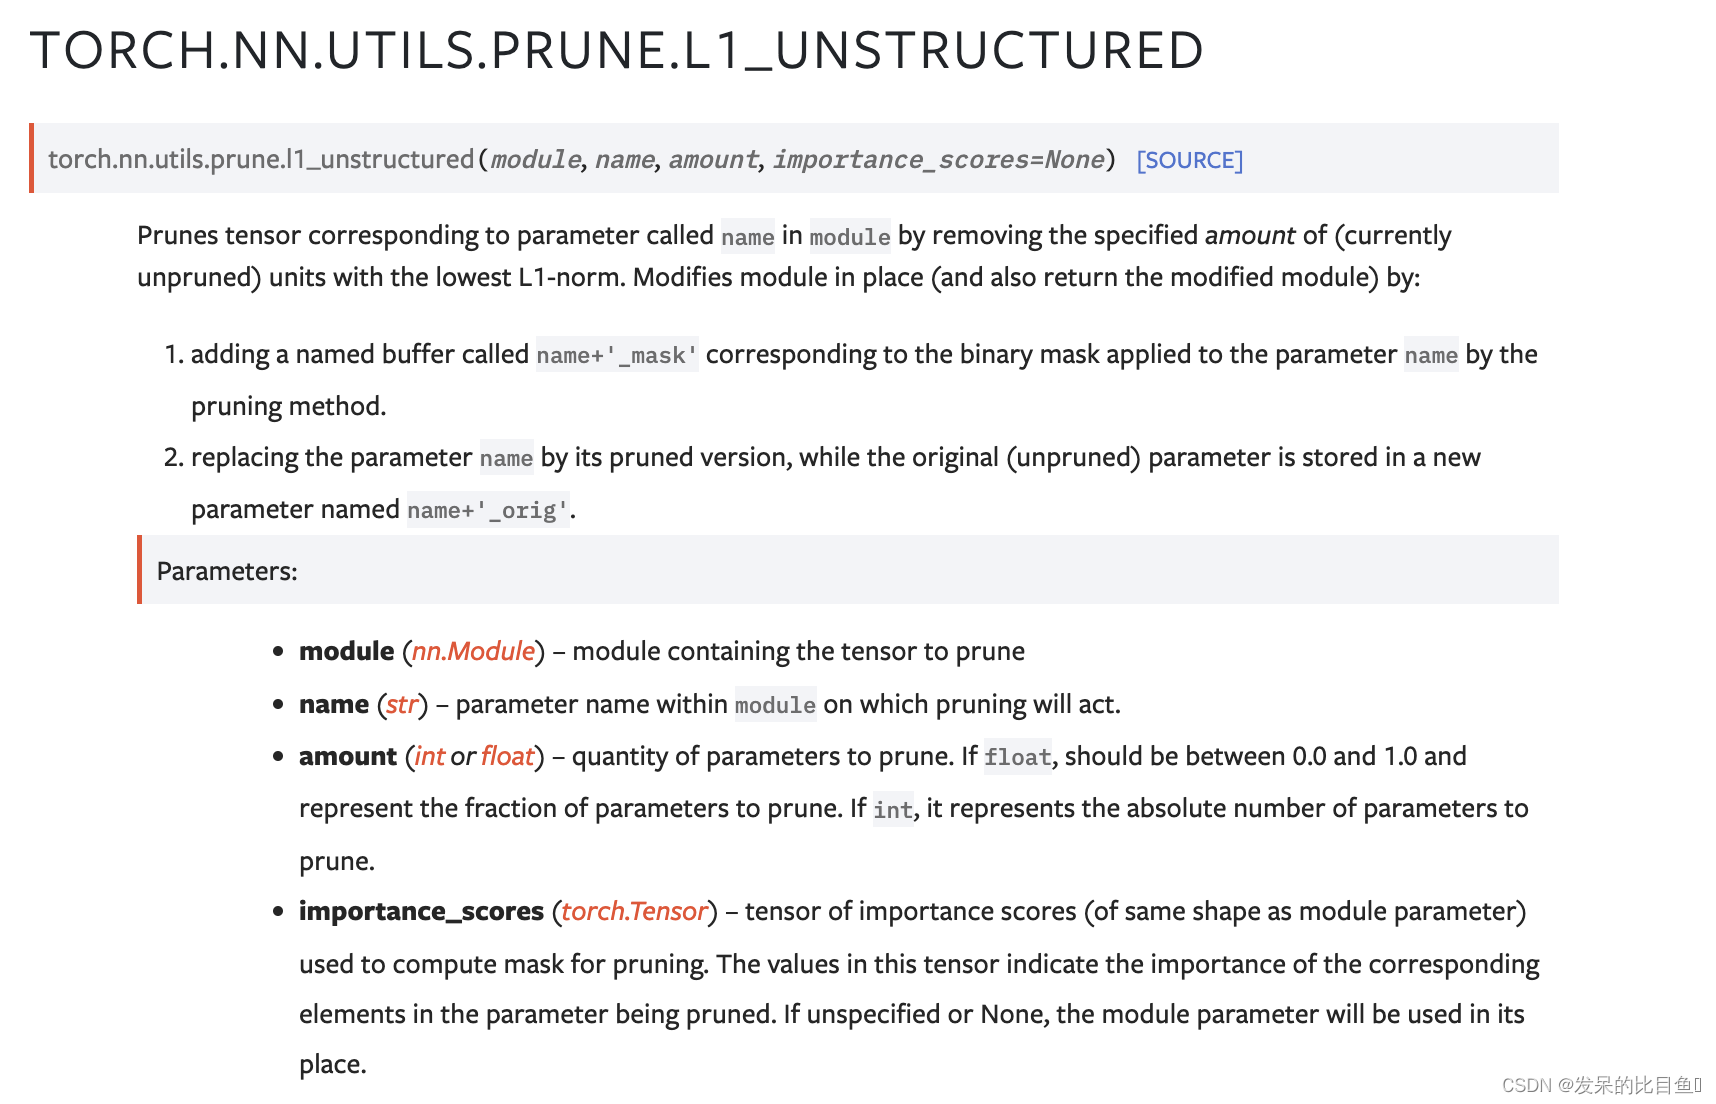
prune.l1_unstructured
通过删除指定数量的(当前未修剪的)具有最低l1范数的单元,修剪模块中名为name的参数对应的张量。通过在适当的位置修改模块(并返回修改后的模块)
>>> m = prune.l1_unstructured(nn.Linear(2, 3), 'weight', amount=0.2)
>>> m.state_dict().keys()
odict_keys(['bias', 'weight_orig', 'weight_mask'])
prune.random_structured
通过沿着随机选择的指定dim删除指定数量的(当前未修剪的)通道,修剪模块中名为name的参数对应的张量。就地修改模块(并返回修改后的模块)
>>> m = prune.random_structured(
...     nn.Linear(5, 3), 'weight', amount=3, dim=1
... )
>>> columns_pruned = int(sum(torch.sum(m.weight, dim=0) == 0))
>>> print(columns_pruned)
3
prune.ln_structured
删除模块中参数name对应的张量,方法是沿着指定的dim以最低ln范数删除指定数量的(当前未修剪的)通道。就地修改模块(并返回修改后的模块)
>>> from torch.nn.utils import prune
>>> m = prune.ln_structured(
...     nn.Conv2d(5, 3, 2), 'weight', amount=0.3, dim=1, n=float('-inf')
... )
prune.global_unstructured
采用指定的剪枝方法对参数中所有参数对应的张量进行全局剪枝。通过修改模块
>>> from torch.nn.utils import prune
>>> from collections import OrderedDict
>>> net = nn.Sequential(OrderedDict([
...     ('first', nn.Linear(10, 4)),
...     ('second', nn.Linear(4, 1)),
... ]))
>>> parameters_to_prune = (
...     (net.first, 'weight'),
...     (net.second, 'weight'),
... )
>>> prune.global_unstructured(
...     parameters_to_prune,
...     pruning_method=prune.L1Unstructured,
...     amount=10,
... )
>>> print(sum(torch.nn.utils.parameters_to_vector(net.buffers()) == 0))
tensor(10)
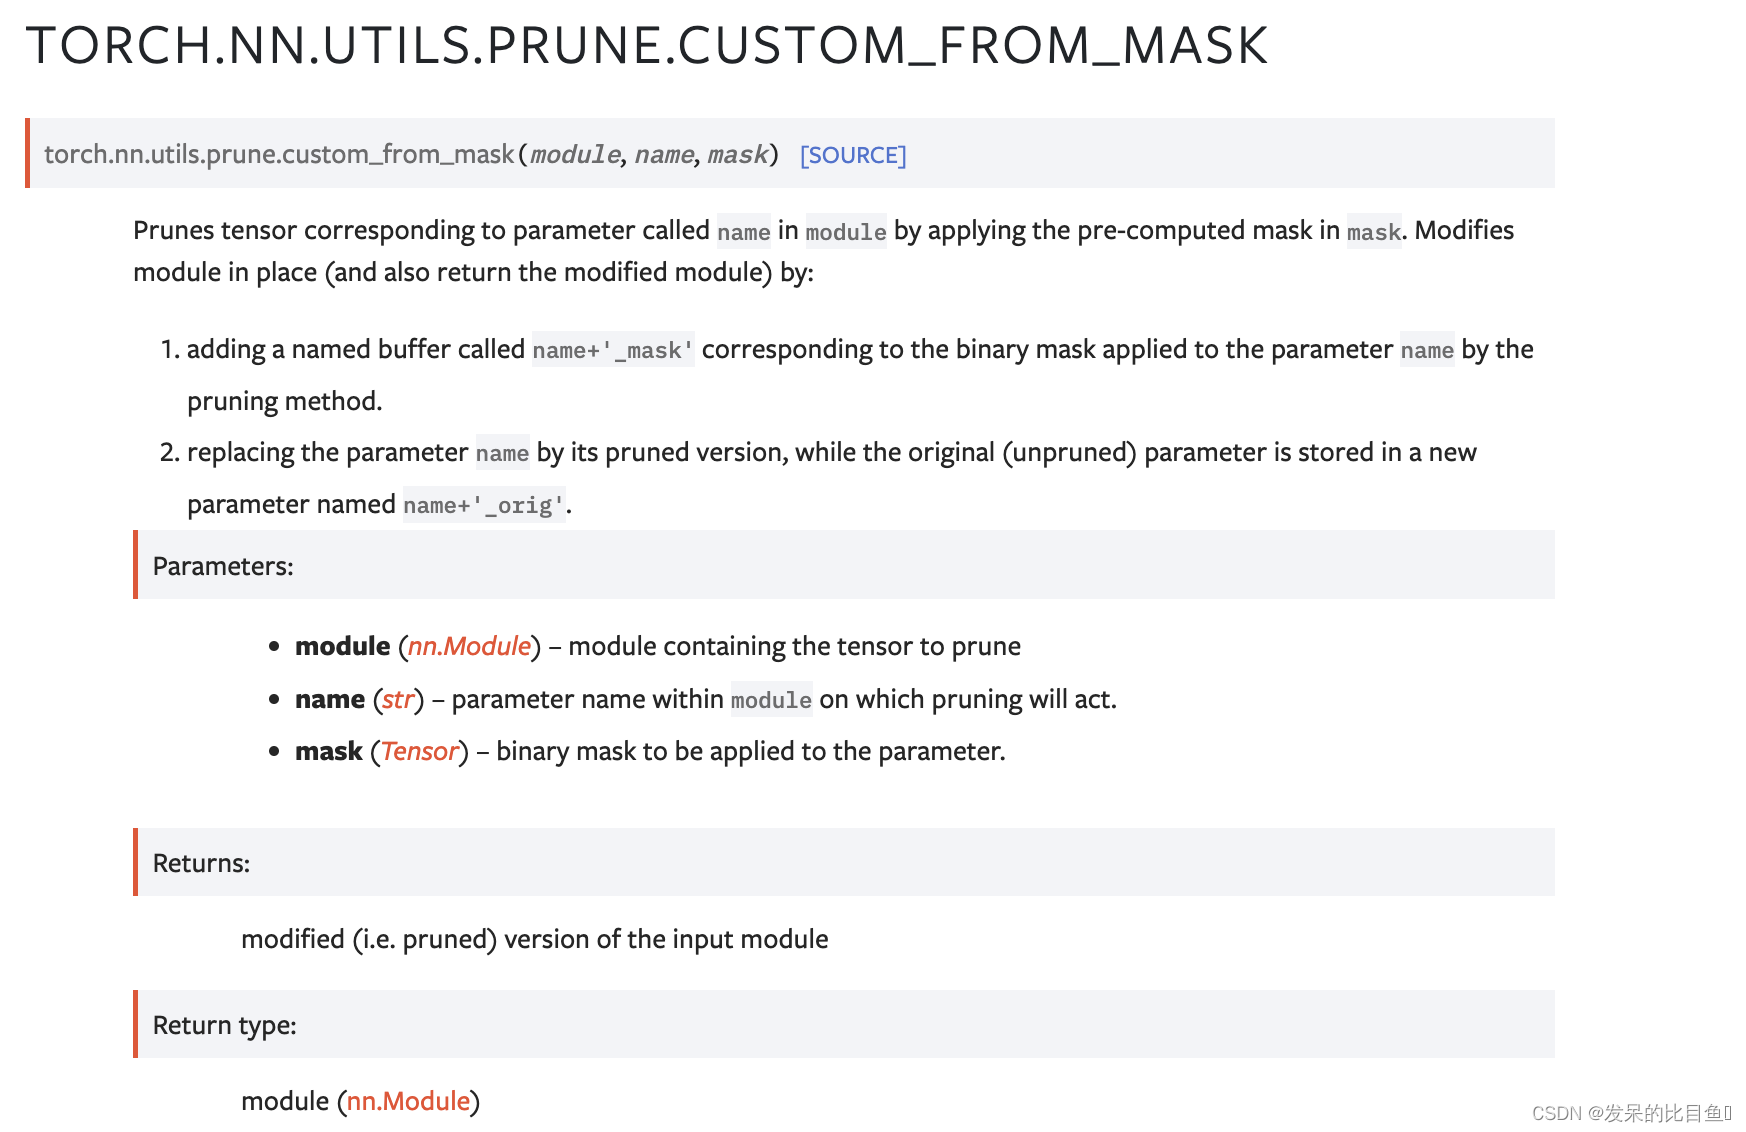
prune.custom_from_mask
通过在掩码中应用预先计算的掩码,修剪模块中参数name对应的张量。就地修改模块(并返回修改后的模块)
>>> from torch.nn.utils import prune
>>> m = prune.custom_from_mask(
...     nn.Linear(5, 3), name='bias', mask=torch.tensor([0, 1, 0])
... )
>>> print(m.bias_mask)
tensor([0., 1., 0.])
prune.remove
从模块中移除修剪重参数化,从前向钩子中移除修剪方法。名称为name的已修剪参数将保持永久修剪,名称为name+‘_orig’的参数将从参数列表中删除。类似地,命名为name+’_mask’的缓冲区将从缓冲区中移
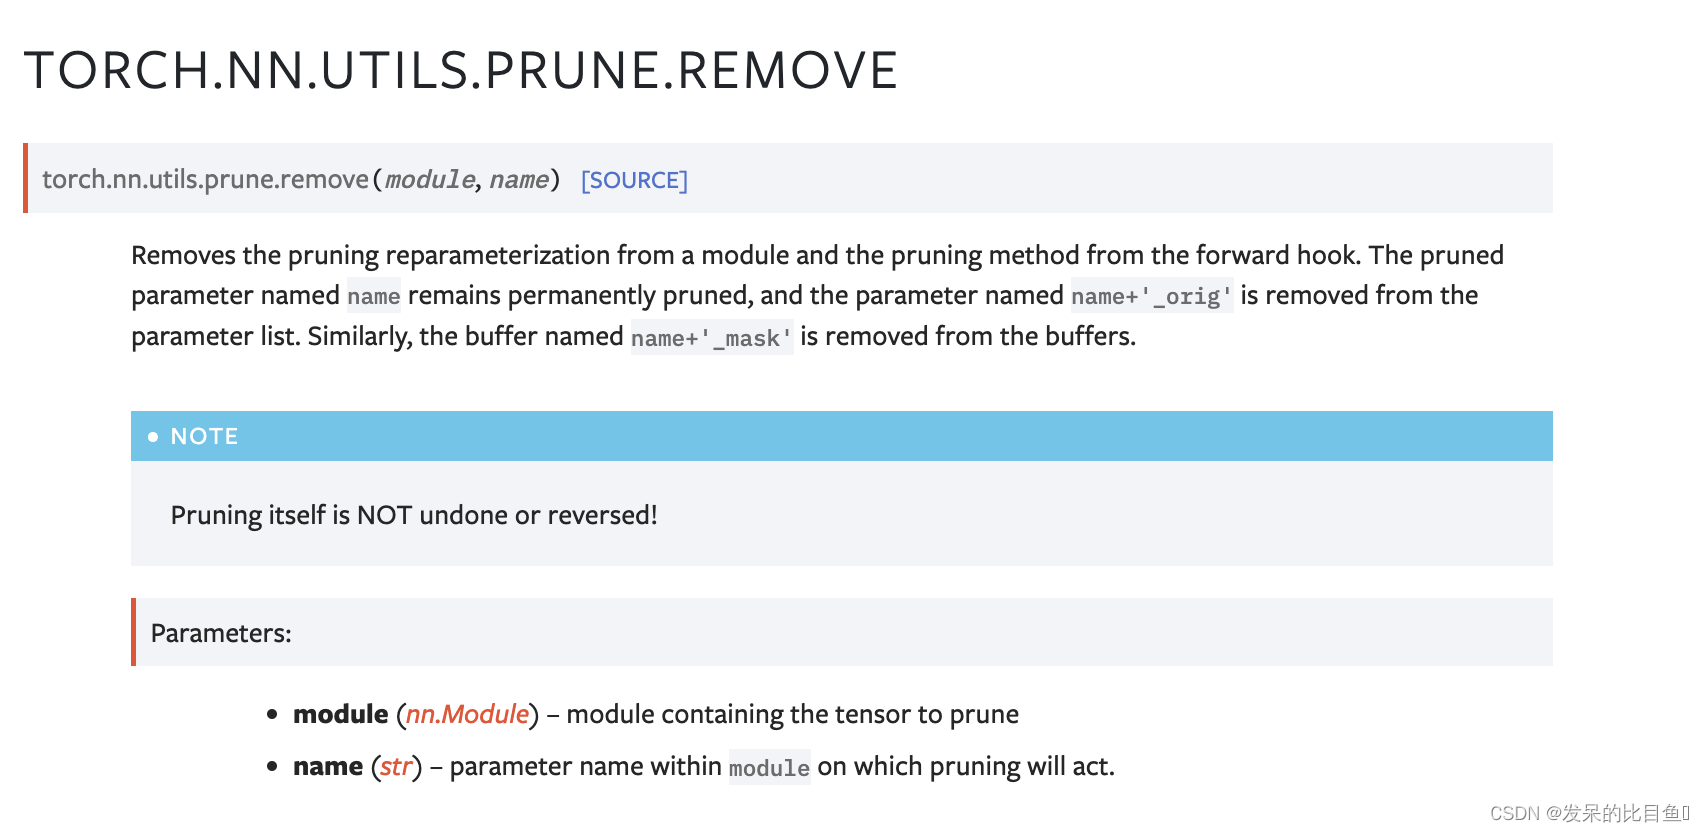
>>> m = random_unstructured(nn.Linear(5, 7), name='weight', amount=0.2)
>>> m = remove(m, name='weight')
prune.is_pruned
通过查找继承自BasePruningMethod的模块中的前向预钩子来检查模块是否被修剪了。
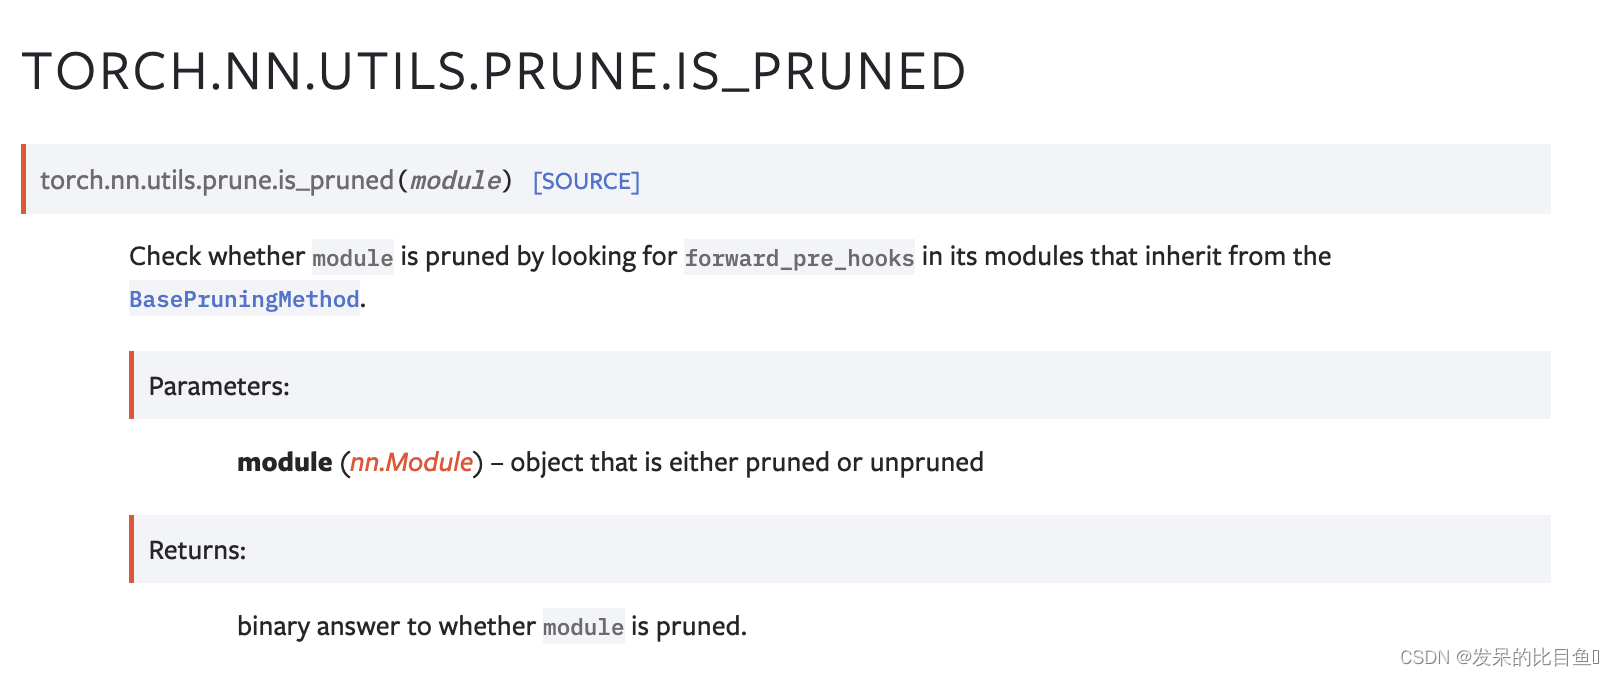
>>> from torch.nn.utils import prune
>>> m = nn.Linear(5, 7)
>>> print(prune.is_pruned(m))
False
>>> prune.random_unstructured(m, name='weight', amount=0.2)
>>> print(prune.is_pruned(m))
True
weight_norm
对给定模块中的参数应用权重归一化。
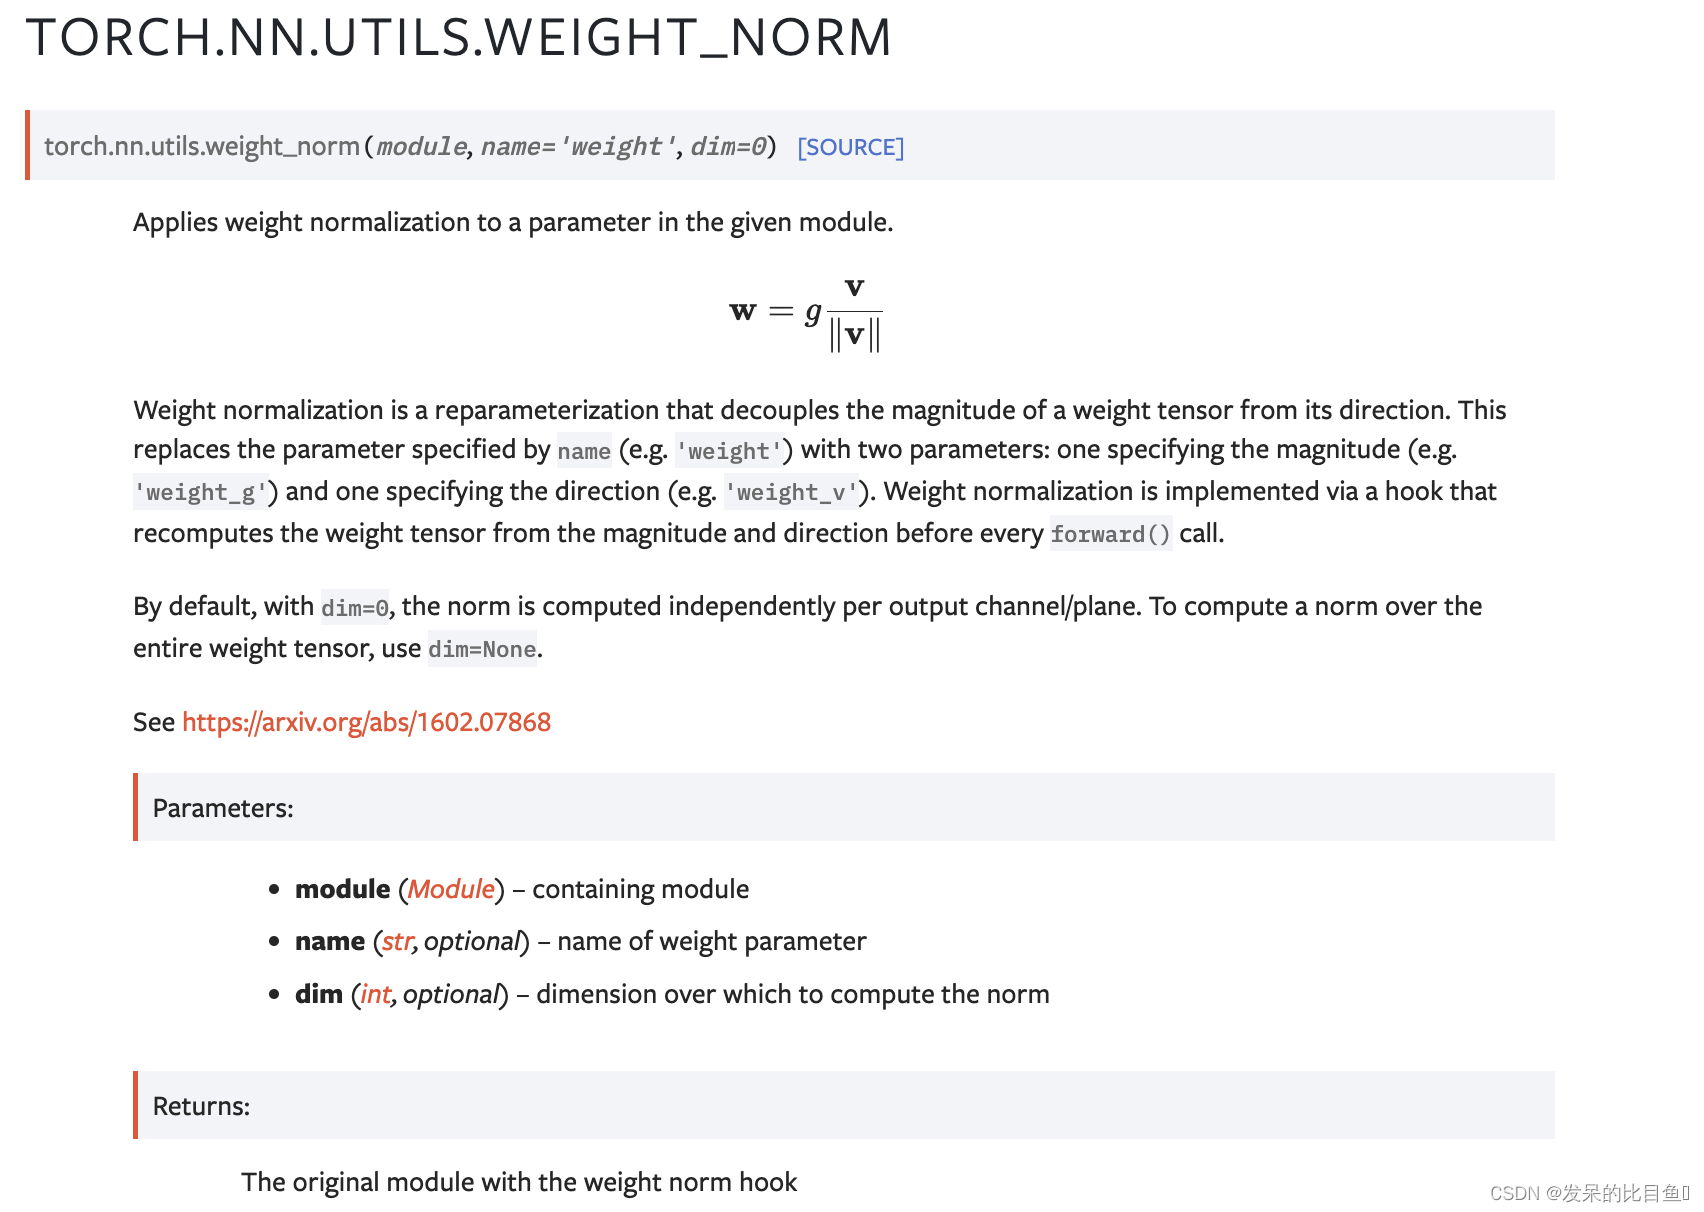
>>> m = weight_norm(nn.Linear(20, 40), name='weight')
>>> m
Linear(in_features=20, out_features=40, bias=True)
>>> m.weight_g.size()
torch.Size([40, 1])
>>> m.weight_v.size()
torch.Size([40, 20])
remove_weight_norm
从模块中移除权重归一化重新参数化。
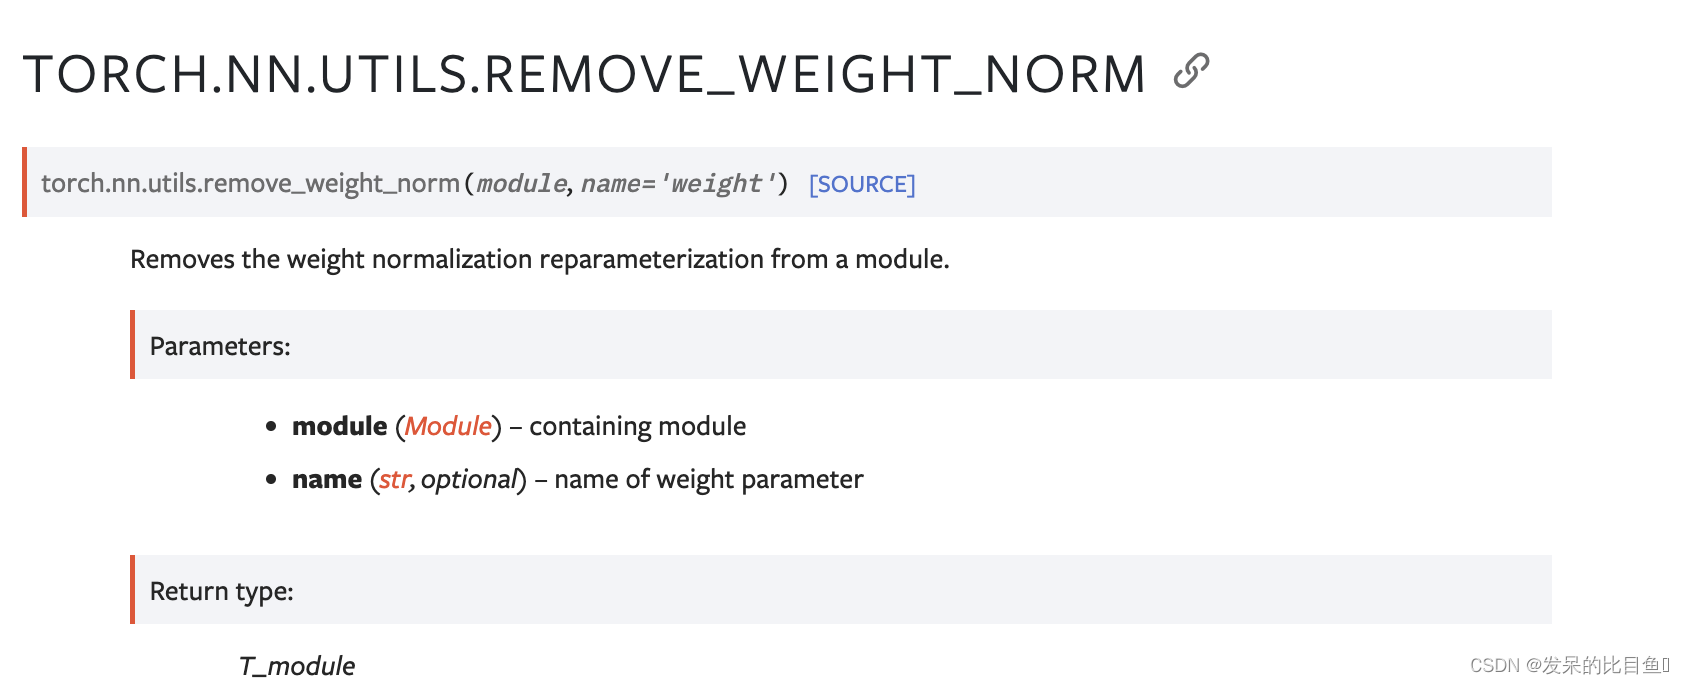
>>> m = weight_norm(nn.Linear(20, 40))
>>> remove_weight_norm(m)
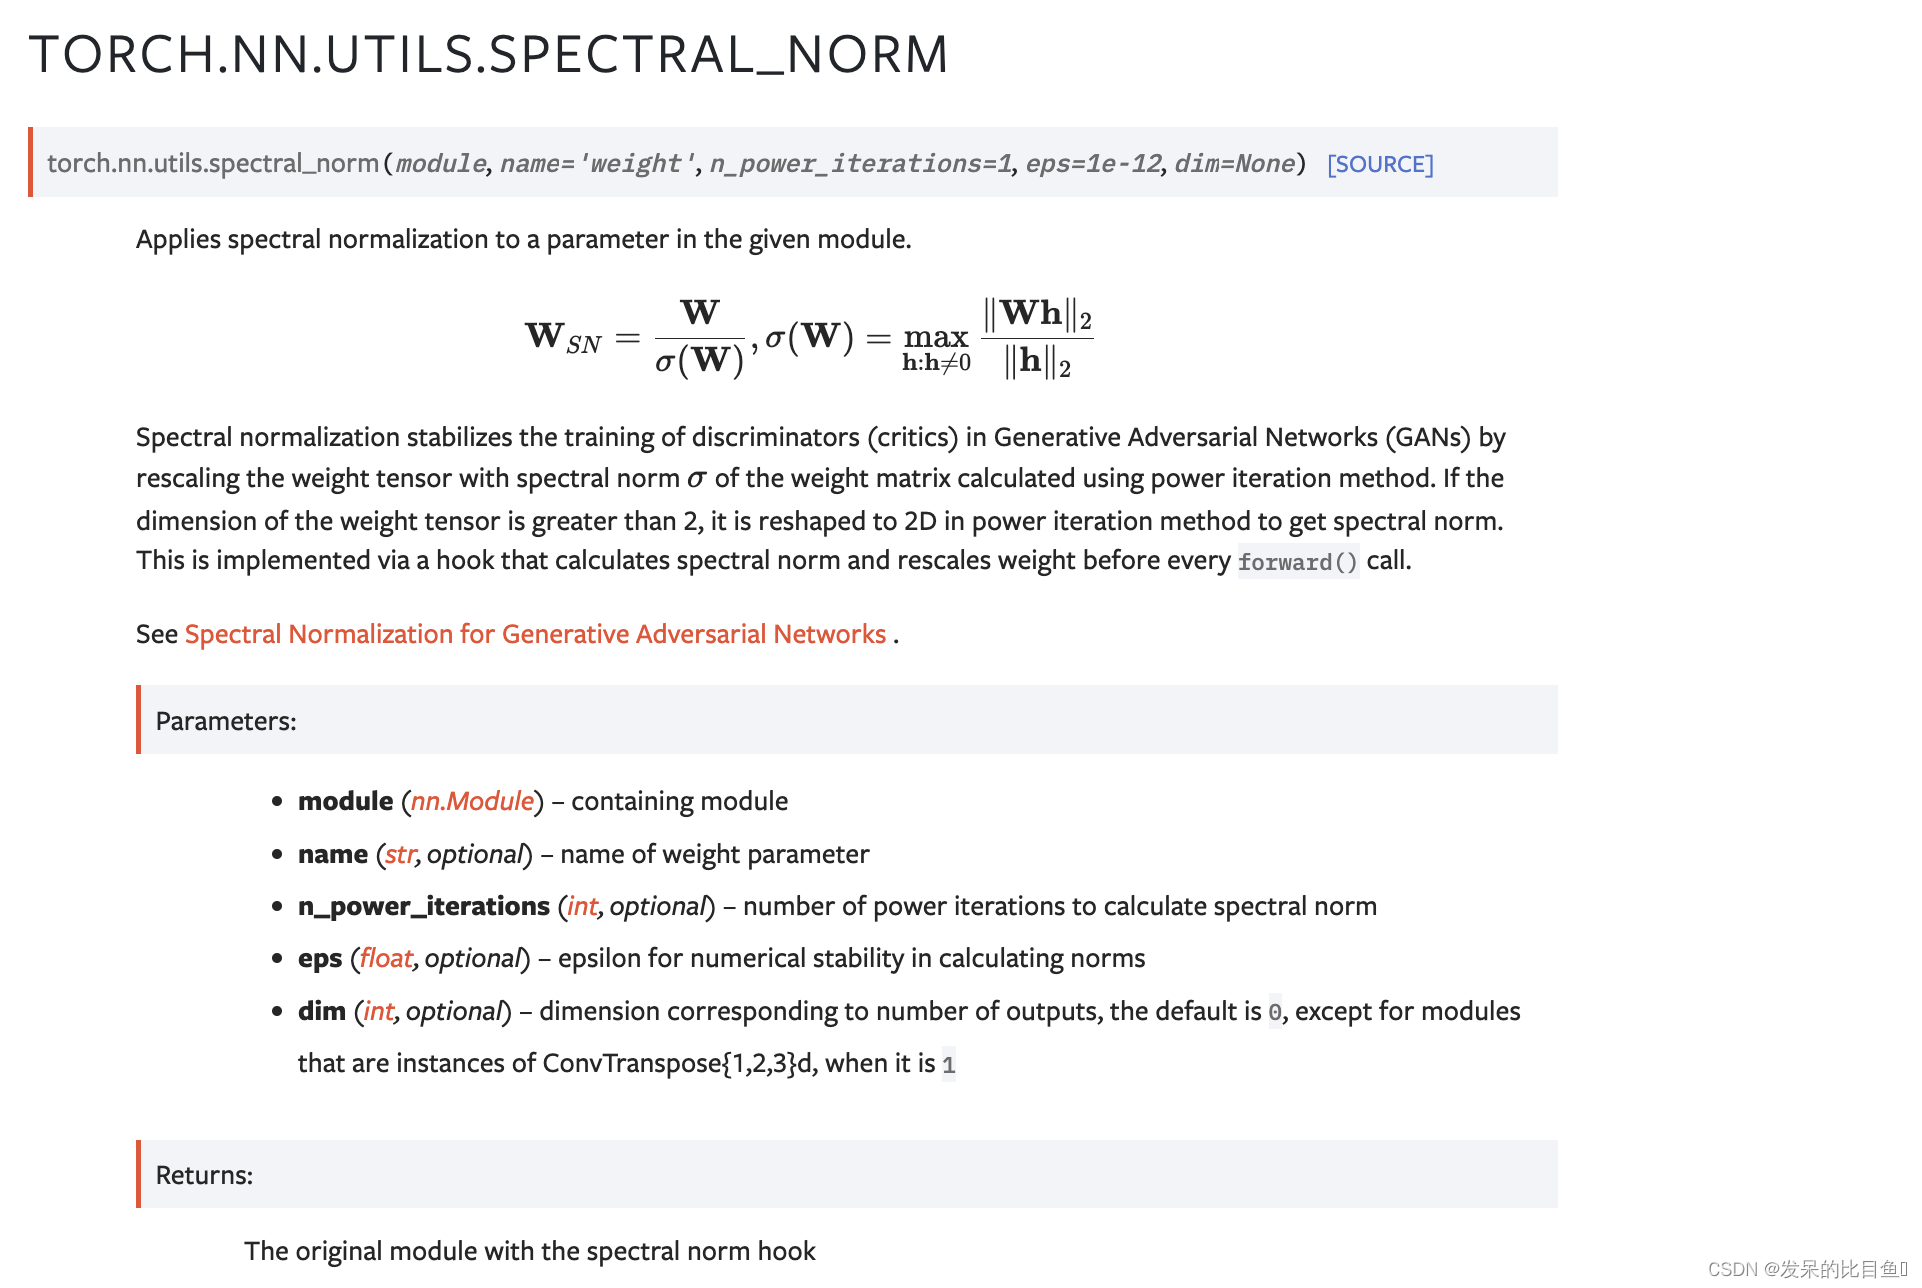
spectral_norm
对给定模块中的参数应用光谱归一化。
Spectral Normalization的做法就很简单了: 将神经网络的每一层的参数
W
W
W 作 SVD 分解,然后将其最大的奇异值限定为1, 具体地,在每一次更新
W
W
W 之后都除以
W
W
W 最大的奇异值。 这样,每一层对输入
x
x
x最大的拉伸系数不会超过 1。
经过 Spectral Norm 之后,神经网络的每一层
g
l
(
x
)
g_l(x)
gl(x),都满足

>>> m = spectral_norm(nn.Linear(20, 40))
>>> m
Linear(in_features=20, out_features=40, bias=True)
>>> m.weight_u.size()
torch.Size([40])
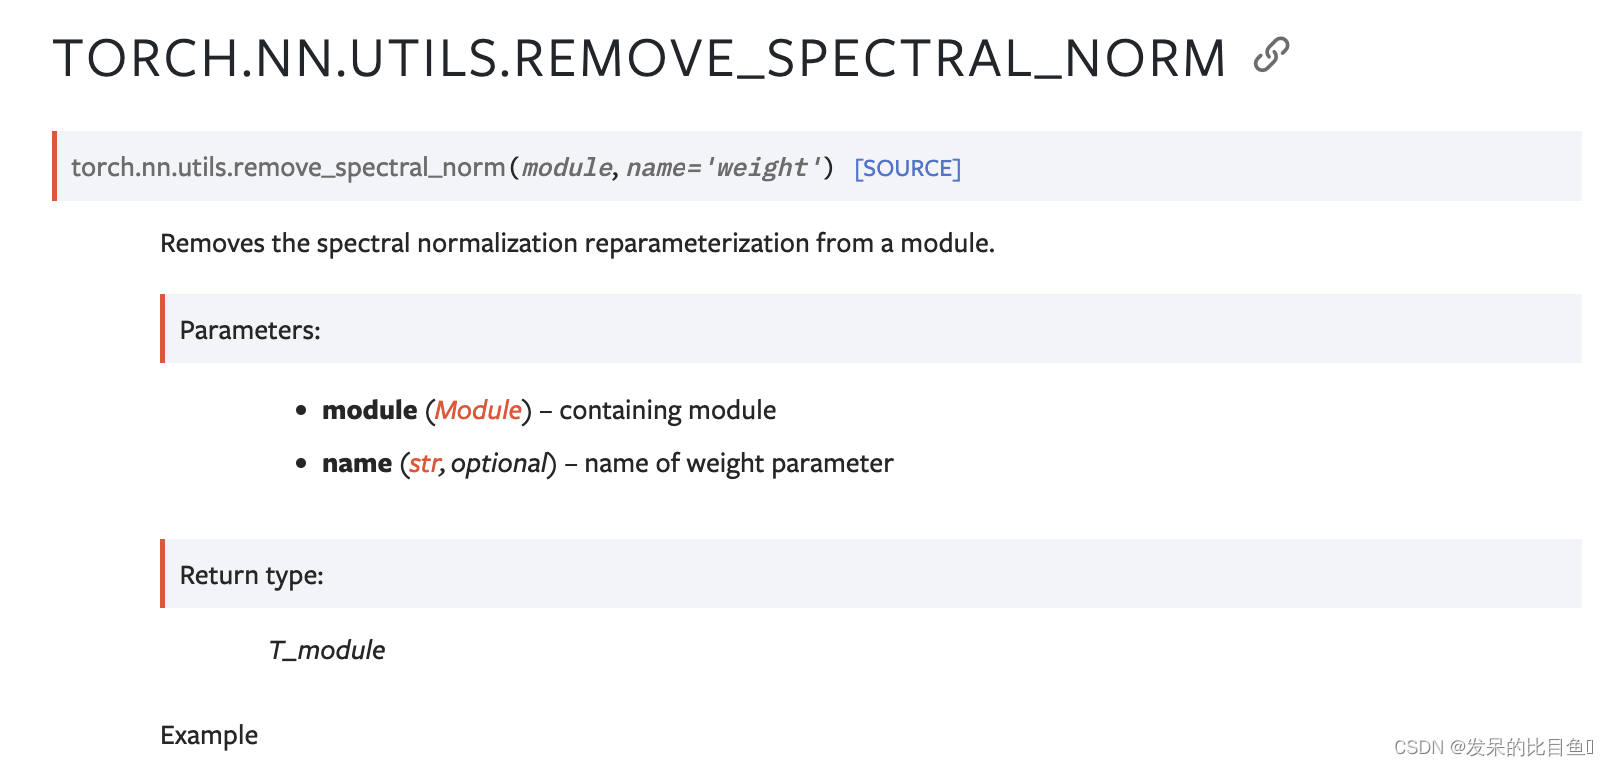
remove_spectral_norm
从模块中移除光谱归一化重新参数化。
>>> m = spectral_norm(nn.Linear(40, 10))
>>> remove_spectral_norm(m)
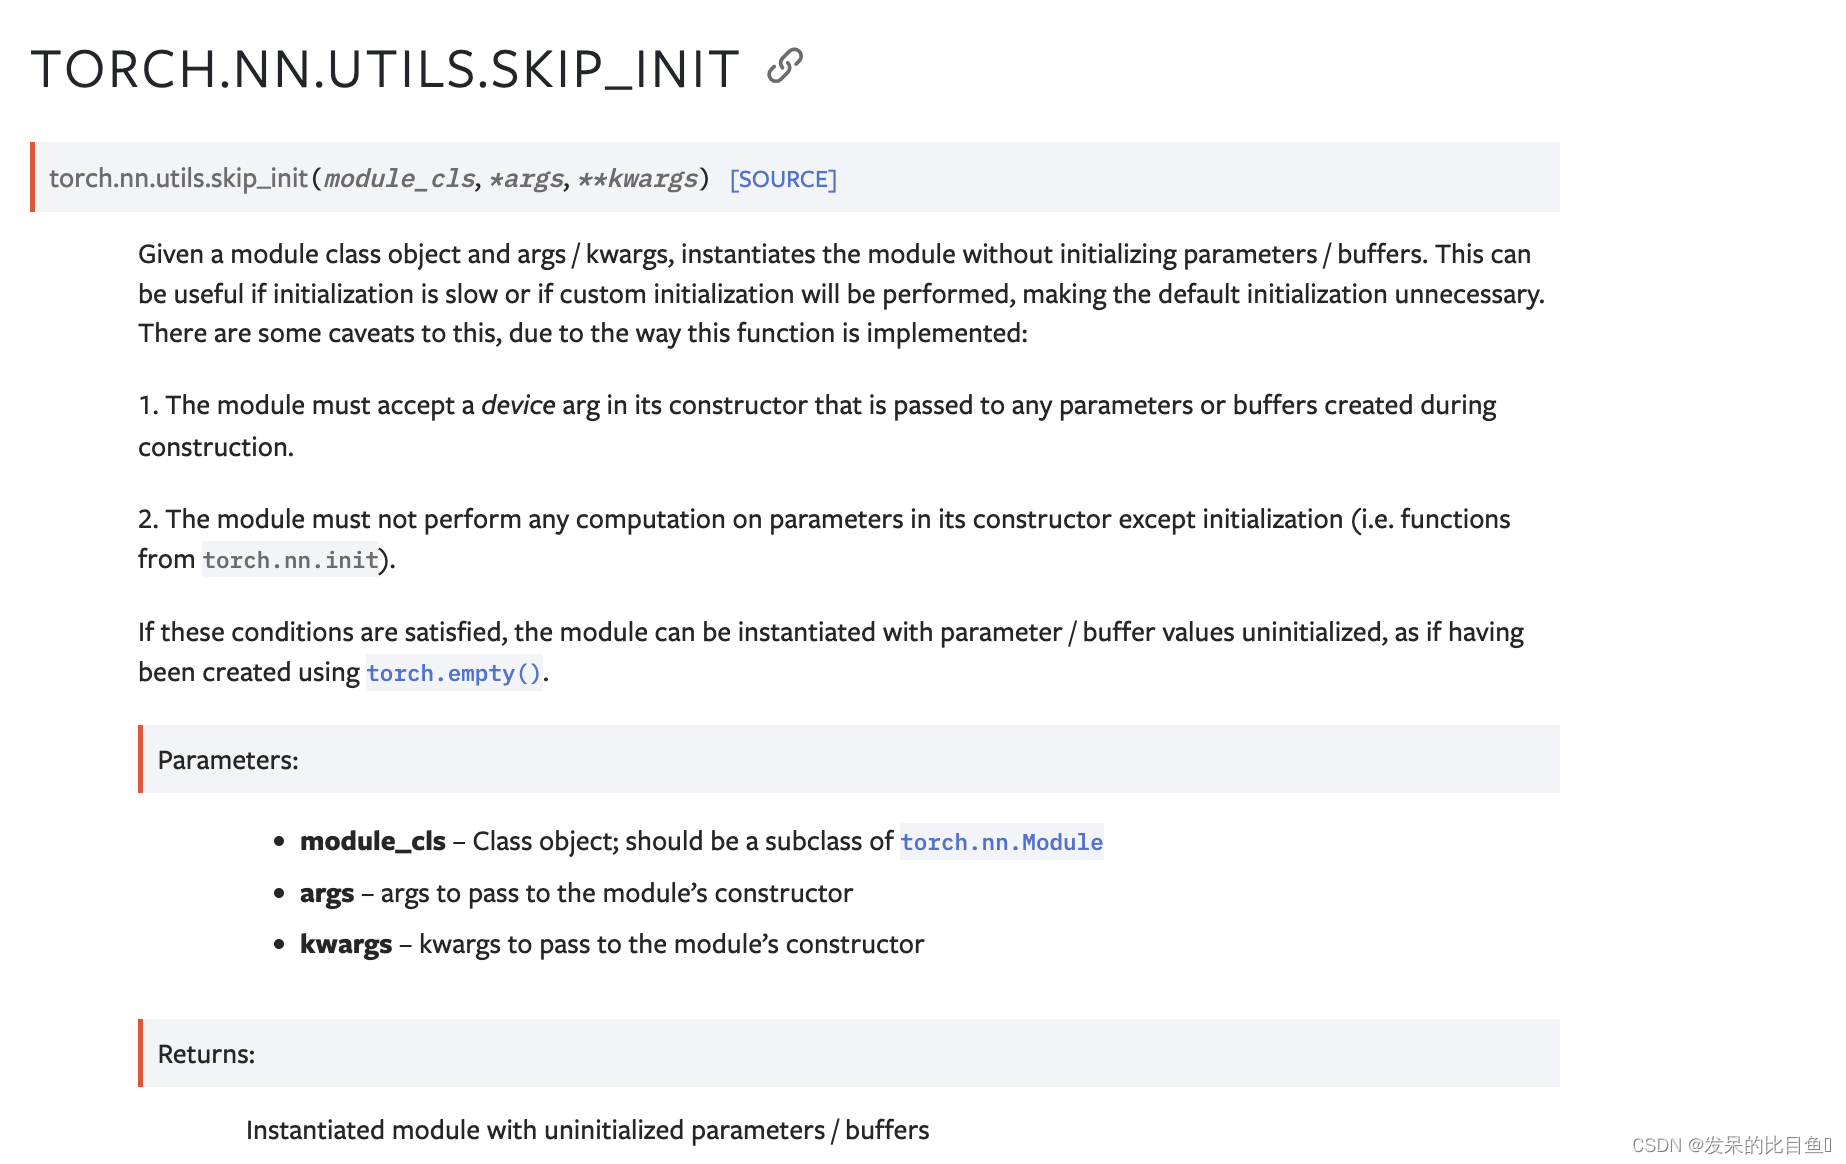
skip_init
>>> import torch
>>> m = torch.nn.utils.skip_init(torch.nn.Linear, 5, 1)
>>> m.weight
Parameter containing:
tensor([[0.0000e+00, 1.5846e+29, 7.8307e+00, 2.5250e-29, 1.1210e-44]],
       requires_grad=True)
>>> m2 = torch.nn.utils.skip_init(torch.nn.Linear, in_features=6, out_features=1)
>>> m2.weight
Parameter containing:
tensor([[-1.4677e+24,  4.5915e-41,  1.4013e-45,  0.0000e+00, -1.4677e+24,
          4.5915e-41]], requires_grad=True)


 1966
1966

 被折叠的 条评论
为什么被折叠?
被折叠的 条评论
为什么被折叠?
 到【灌水乐园】发言


