


 本文详细指导了在Ubuntu20.04系统中配置CUDA4090显卡,安装Torch、Torchvision、torchaudio等库,下载并处理Nuscenes数据集,以及进行MMDetection3D和Detectron2的安装和训练过程,包括解决分布式训练中的问题。
系统:ubuntu20.04 显卡4090
作者说Base 使用 A100*8 大约56个小时
1 拉取源码
git clone https://github.com/fundamentalvision/BEVFormer.git2 创建和激活虚拟环境
conda create -n bev python=3.8 -y
conda activate bev
3 安装torch,torchvision,torchaudio
pip install torch==1.10.0+cu113 torchvision==0.11.0+cu113 torchaudio==0.10.0 -f https://download.pytorch.org/whl/torch_stable.html

#或使用镜像
pip install -i https://pypi.tuna.tsinghua.edu.cn/simple/ torch==1.10.0+cu113 torchvision==0.11.0+cu113 torchaudio==0.10.0 -f https://download.pytorch.org/whl/torch_stable.html

#或使用conda安装(官网查询自己电脑的安装命令)
conda install pytorch==1.10.0 torchvision==0.11.0 torchaudio==0.10.0 cudatoolkit=11.3 -c https://mirrors.tuna.tsinghua.edu.cn/anaconda/cloud/pytorch/linux-64/
4 官网下载nuscenes数据集的mini版 及canbus.zip
5 gcc版本 (可选,我安了)
conda install -c omgarcia gcc-6 # gcc-6.26 安装mmopenlib系列
mmcv-full会装很久,因此建议使用mim安装,一定要注意安装顺序,安mmcv-full前确认没有安装mmdet和mmsegmentation,否则会报错
pip install -U openmim
pip install mmcv-full==1.4.0
pip install mmdet==2.14.0
pip install mmsegmentation==0.14.1
7 安装mmdet3d-v0.17.1
#进入bevformer目录
cd BEVformer#下载mmdetection3d
https://ghproxy.com/ git clone https://github.com/open-mmlab/mmdetection3d.git#进入mmdetection3d:
cd mmdetection3d#切换到v0.17.1
git checkout v0.17.1#安装mmdet3d-v0.17.1版本,之前使用ubuntu22.04在同样的python、torch、cuda版本下,这步未安装成功
python setup.py install8 安装 Detectron2 and Timm
#8.1 安装基本python依赖包
pip install einops fvcore seaborn iopath==0.1.9 timm==0.6.13 typing-extensions==4.5.0 pylint ipython==8.12 numpy==1.19.5 matplotlib==3.5.2 numba==0.48.0 pandas==1.4.4 scikit-image==0.19.3 setuptools==59.5.0 yapf==0.40.1#8.2 安装 Detectron2
python -m pip install 'git+https://github.com/facebookresearch/detectron2.git'9 下载预训练模型
#创建并进入ckpts文件夹
#进入bevformer目录后
mkdir ckpts
cd ckpts
#下载预训练权重r101_dcn_fcos3d_pretrain.pth,https://ghproxy.com/ wget https://github.com/zhiqi-li/storage/releases/download/v1.0/r101_dcn_fcos3d_pretrain.pth
10.准备和处理数据集
# data文件夹展开结构,can_bus内容太多,这就不展开

# 1 mini数据集训练
python tools/create_data.py nuscenes --root-path ./data/nuscenes --out-dir ./data/nuscenes --extra-tag nuscenes --version v1.0-mini --canbus ./data# 2 full数据集 可以将v1.0-mini复制一份命名v1.0-trainval
python tools/create_data.py nuscenes --root-path ./data/nuscenes --out-dir ./data/nuscenes --extra-tag nuscenes --version v1.0 --canbus ./data运行上面代码后会在 data/nuscenes/目录下生成2个 pkl 和 2 个 json 文件。

11.训练:
修改配置文件
#训练前,修改配置文件./projects/configs/bevformer/bevformer_base.py参数, 主要下面4个参数: max_epoch=2
sample_per_gpu=1
worker_per_gpu=0
(显存48g设置为2时就爆内存了,设置为2需要57g,至少显存30g朝上) #命令行进入bevformerb,输入训练命令,最后一个参数是显卡个数, 只有一张显卡写1,8张写8
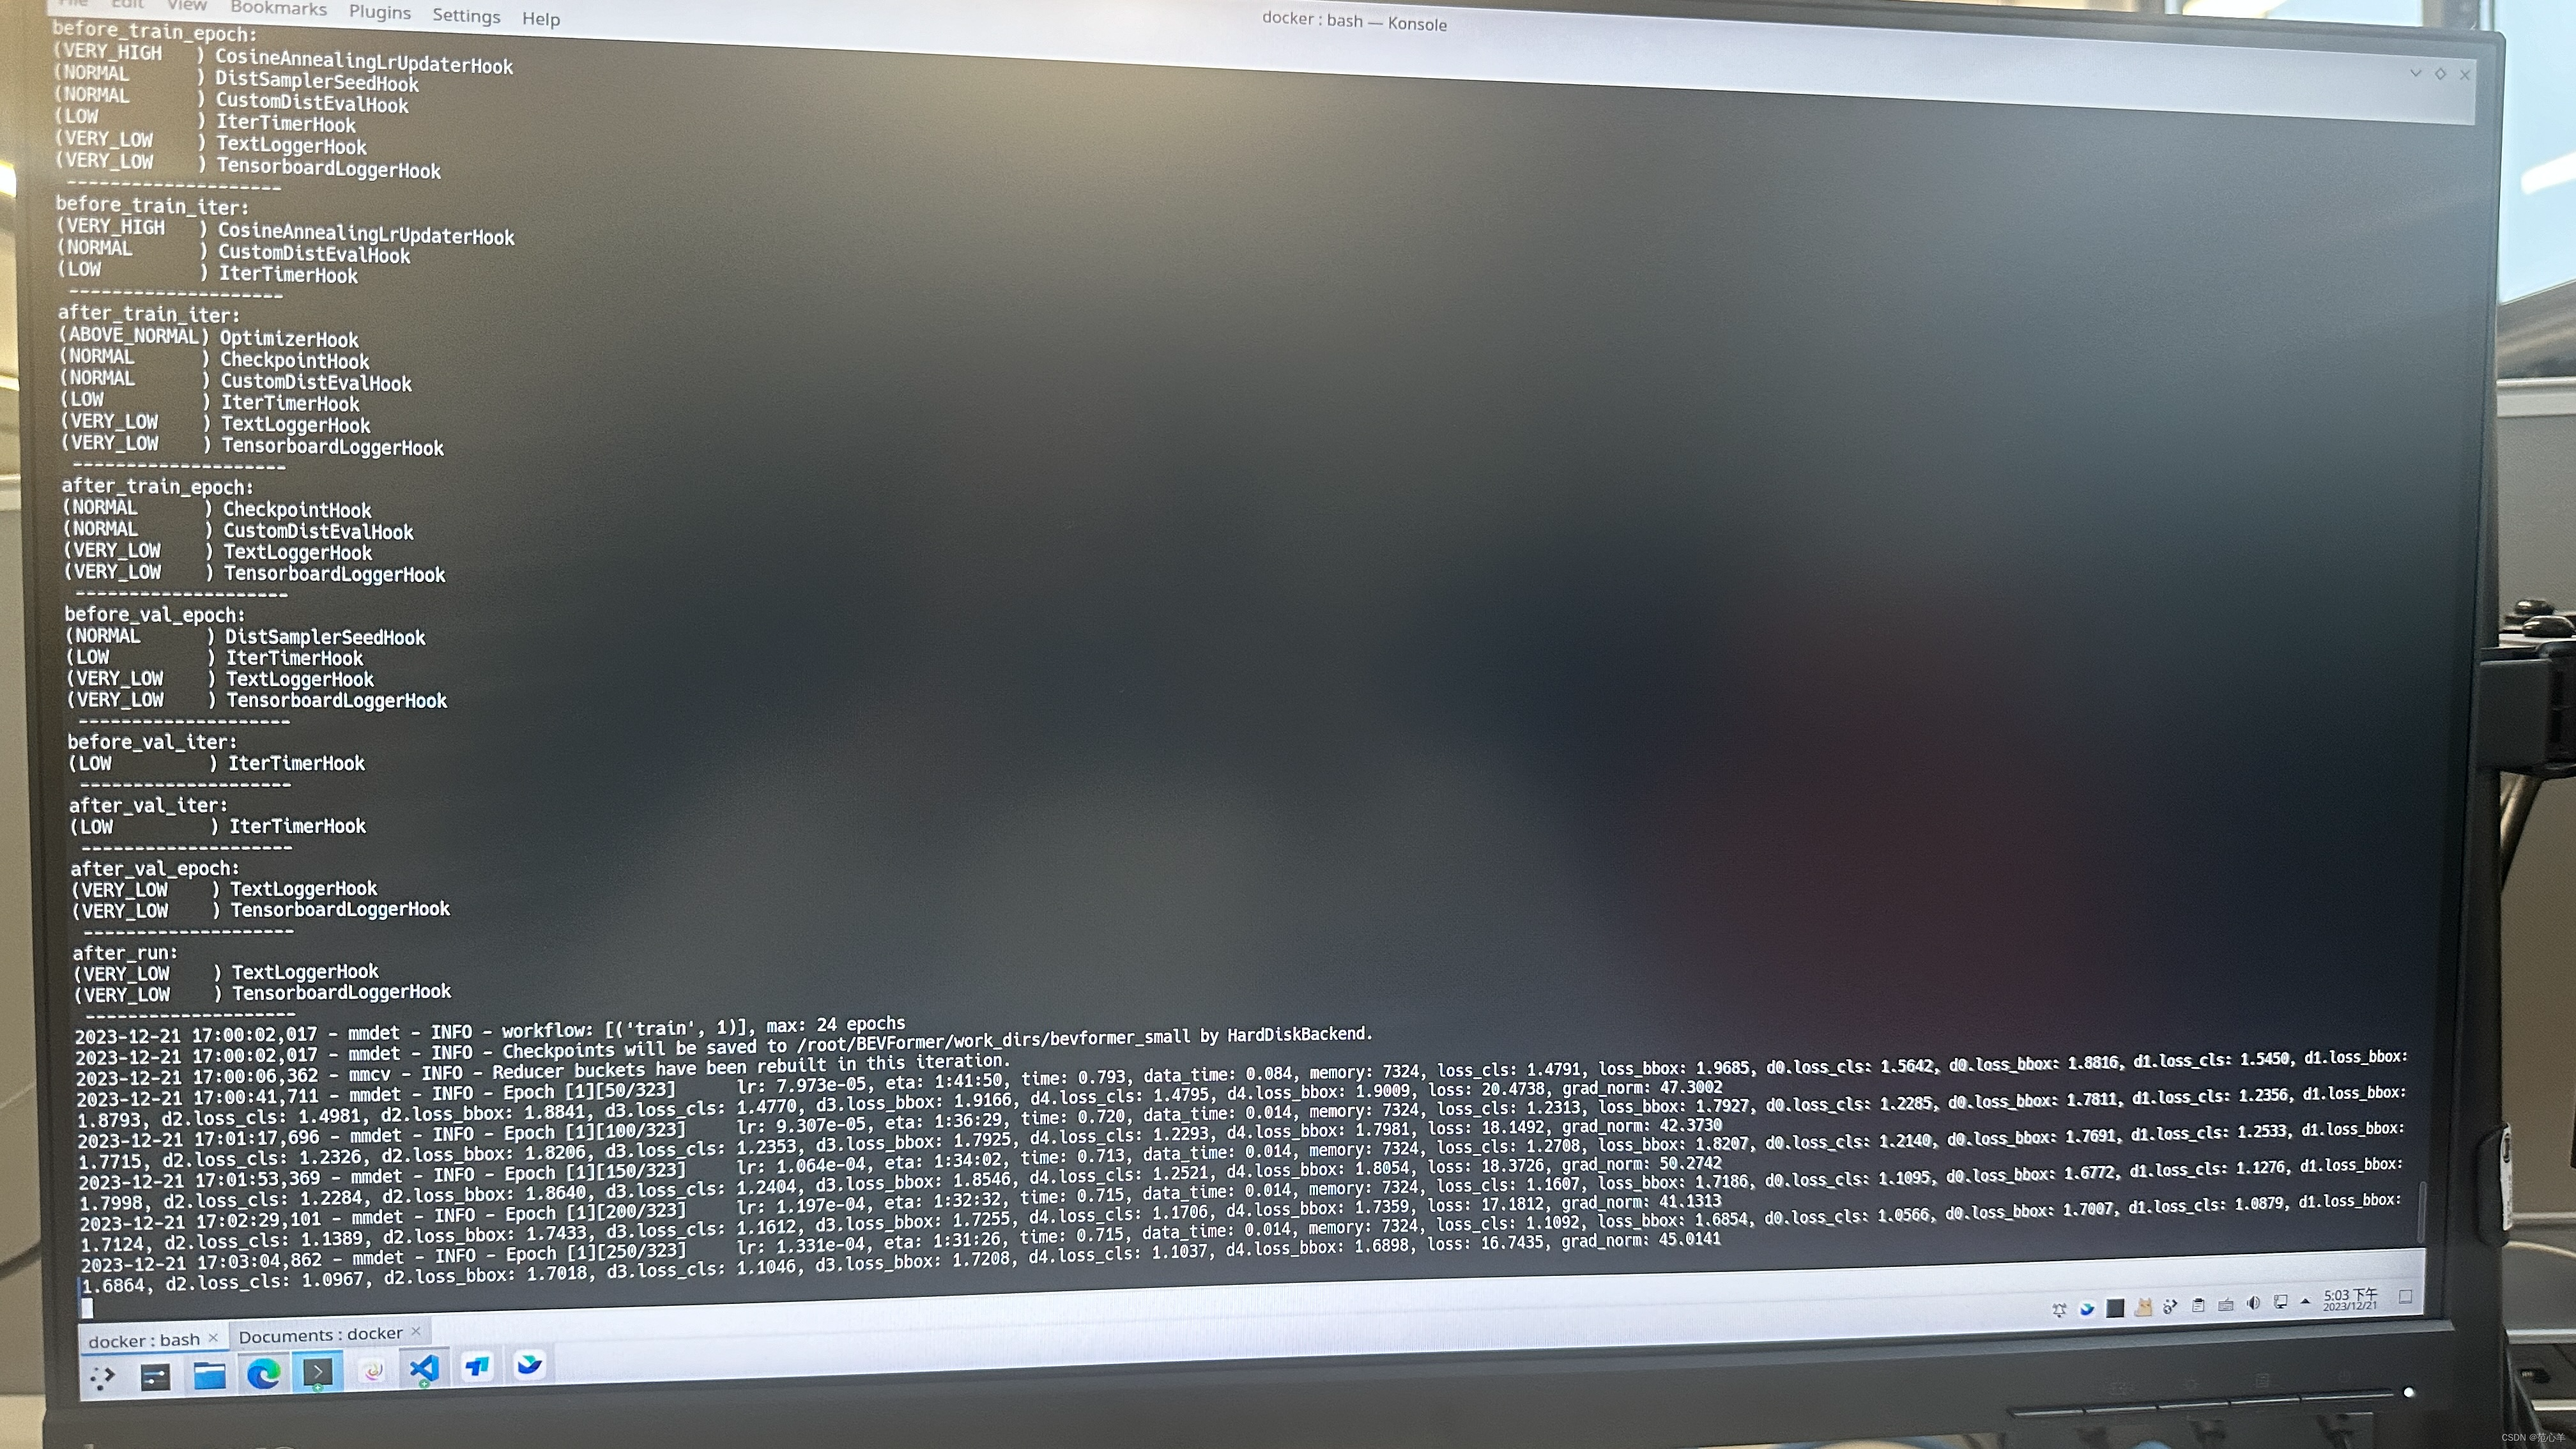
./tools/dist_train.sh ./projects/configs/bevformer/bevformer_base.py 1 ./tools/dist_train.sh ./projects/configs/bevformer/bevformer_small.py 1使用bevformer_small.py训练过程:
12.测试评估
#使用base预训练模型
./tools/dist_test.sh ./projects/configs/bevformer/bevformer_base.py ckpts/bevformer_r101_dcn_24ep.pth 1#使用tiny预训练模型
./tools/dist_test.sh ./projects/configs/bevformer/bevformer_tiny.py ckpts/bevformer_tiny_epoch_24.pth 1#使用自己训练出来的模型权重
./tools/dist_test.sh ./projects/configs/bevformer/bevformer_tiny.py ckpts/latest.pth 113.报错修改:
1.distrbuted相关:
解决方法:修改分布式训练模式为单一GPU训练
进入bevformer/mmdetection3d/tools/test.py
去掉注释部分的#
#在else:后添加:
find_unused_parameters = True


 649
649

 被折叠的 条评论
为什么被折叠?
被折叠的 条评论
为什么被折叠?
 到【灌水乐园】发言


