


1. WSL
WSL指win10系统通过“wIndows应用商店”安装的Ubuntu系统,与VMware下的Ubuntu区别是,没有可视化界面,若需要,则通过命令行安装。
需要配置:
编译环境:
- python2.7
- gcc-arm-none-eabi 2017版
- pip 安装future等
仿真环境:
pip2 help
pip2 list
pip2 show
pip2 install future
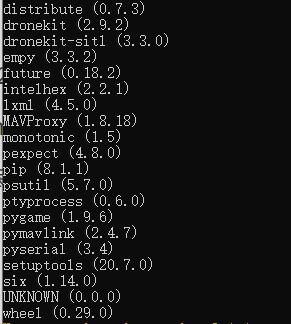
重点是安装MAVProxy:
pip install MAVProxy
会自动安装pymavlink,future,lxml,pyserial等
如果通过“sim_vehicle.py”运行仿真,则不需要安装“dronekit-sitl”。
“dronekit-sitl”是另一种仿真运行方法:
安装工具:
pip install dronekit-sitl
启动仿真:
dronekit-sitl /mnt/f/20200416/ardupilot/bin/sitl/arducopter
仿真启动后,打开另一个终端,连接地面站:
mavproxy.py --master=tcp:127.0.0.1:5760 --out=192.168.xx.xx:14550(ip:端口号)
查看帮助:
dronekit-sitl -h
官网:
https://dronekit-python.readthedocs.io/en/latest/guide/quick_start.html
2. ardupilot
我当前的版本是copter3.6.10,自己修改完代码后
如果要进行"dronekit-sitl仿真",那么先编译,再按上面步骤启动仿真即可:
cd ardupilot
./waf configure --board=sitl
./waf --target=bin/arducopter
如果要用“sim_vehicle.py”运行仿真(官网推荐的方式),那么执行运行:
cd ArduCopter
…/Tools/autotest/sim_vehicle.py -j4 -L Shenzhen --out=192.168.xx.xx:14550
"-L"用于指定home点,定义在“Tools/autotest/location.txt”中。
SITL运行成功后,在电脑上(对应上面的ip地址)打开MP地面站,选择UDP连接,根据提示输入ip和端口号,就可以看到数据了。
SITL仿真运行结束后,log日志在ArduCopter目录下。


 1291
1291


 被折叠的 条评论
为什么被折叠?
被折叠的 条评论
为什么被折叠?
 到【灌水乐园】发言


