


概述
结合Kimi这样的AI工具可以生成Blender Python代码,用来辅助生成一些或简单或复杂的图形。当然,出不出错这就不一定了。因为AI所训练的版本可能并不是Blender的最新版本,类似的问题也出现在Godot上。
测试
在kimi中提问,获取一个心形网格的Blender Python代码:

复制生成的代码:
import bpy
import math

# 创建一个新的心形网格
def create_heart_mesh():
    # 创建一个新的网格对象
    mesh = bpy.data.meshes.new(name="HeartMesh")
    obj = bpy.data.objects.new("Heart", mesh)

    # 连接到场景
    bpy.context.collection.objects.link(obj)
    bpy.context.view_layer.objects.active = obj
    obj.select_set(True)
    bpy.context.view_layer.objects.active = obj

    # 清除现有的网格数据
    mesh.from_pydata([], [], [])

    # 设置心形的参数
    segments = 64
    points = []
    for i in range(segments + 1):
        theta = i * (math.pi / segments)
        x = 16 * math.pow(math.sin(theta), 3)
        y = -(13 * math.cos(theta) - 5 * math.cos(2 * theta) - 2 * math.cos(3 * theta) - math.cos(4 * theta))
        z = 0
        points.append((x, y, z))

    # 创建顶点
    mesh.from_pydata([(p[0], p[1], p[2]) for p in points], [], [])

    # 更新网格
    mesh.update()

    return obj

# 调用函数创建心形
heart_obj = create_heart_mesh()

# 可以调整位置和缩放
heart_obj.location.x = 0
heart_obj.location.y = 0
heart_obj.location.z = 0
heart_obj.scale.x = 1
heart_obj.scale.y = 1
heart_obj.scale.z = 1
粘贴运行后得到的结果:

当然这不代表什么,也许是我的AI提问不够精确。

重新提问后,获得如下代码:
import bpy
import math
# 清除当前场景中的所有物体
bpy.ops.object.select_all(action='SELECT')
bpy.ops.object.delete()
# 创建一个新的心形曲线
curve_data = bpy.data.curves.new('HeartCurve', type='CURVE')
curve_data.dimensions = '3D'
# 添加一个新点到曲线中
polyline = curve_data.splines.new('NURBS').points
# 定义心形曲线的参数方程
def heart_shape(t, scale=1.0):
x = scale * (16 * math.sin(t) ** 3)
y = scale * (13 * math.cos(t) - 5 * math.cos(2*t) - 2 * math.cos(3*t) - math.cos(4*t))
z = 0
return x, y, z
# 生成心形曲线的点
for i in range(200):
t = i * (math.pi * 2 / 200)
x, y, z = heart_shape(t)
polyline.add(1)
polyline[-1].co = (x, y, z, 1)
# 创建一个新的网格物体
obj = bpy.data.objects.new('HeartMesh', curve_data)
# 将曲线转换为网格
bpy.context.scene.collection.objects.link(obj)
bpy.context.view_layer.objects.active = obj
bpy.ops.object.mode_set(mode='EDIT')
bpy.ops.curve.make_mesh(preserve_nurbs=True, keep_vertex_order=True)
bpy.ops.object.mode_set(mode='OBJECT')
# 更新场景,以便可以看到新创建的物体
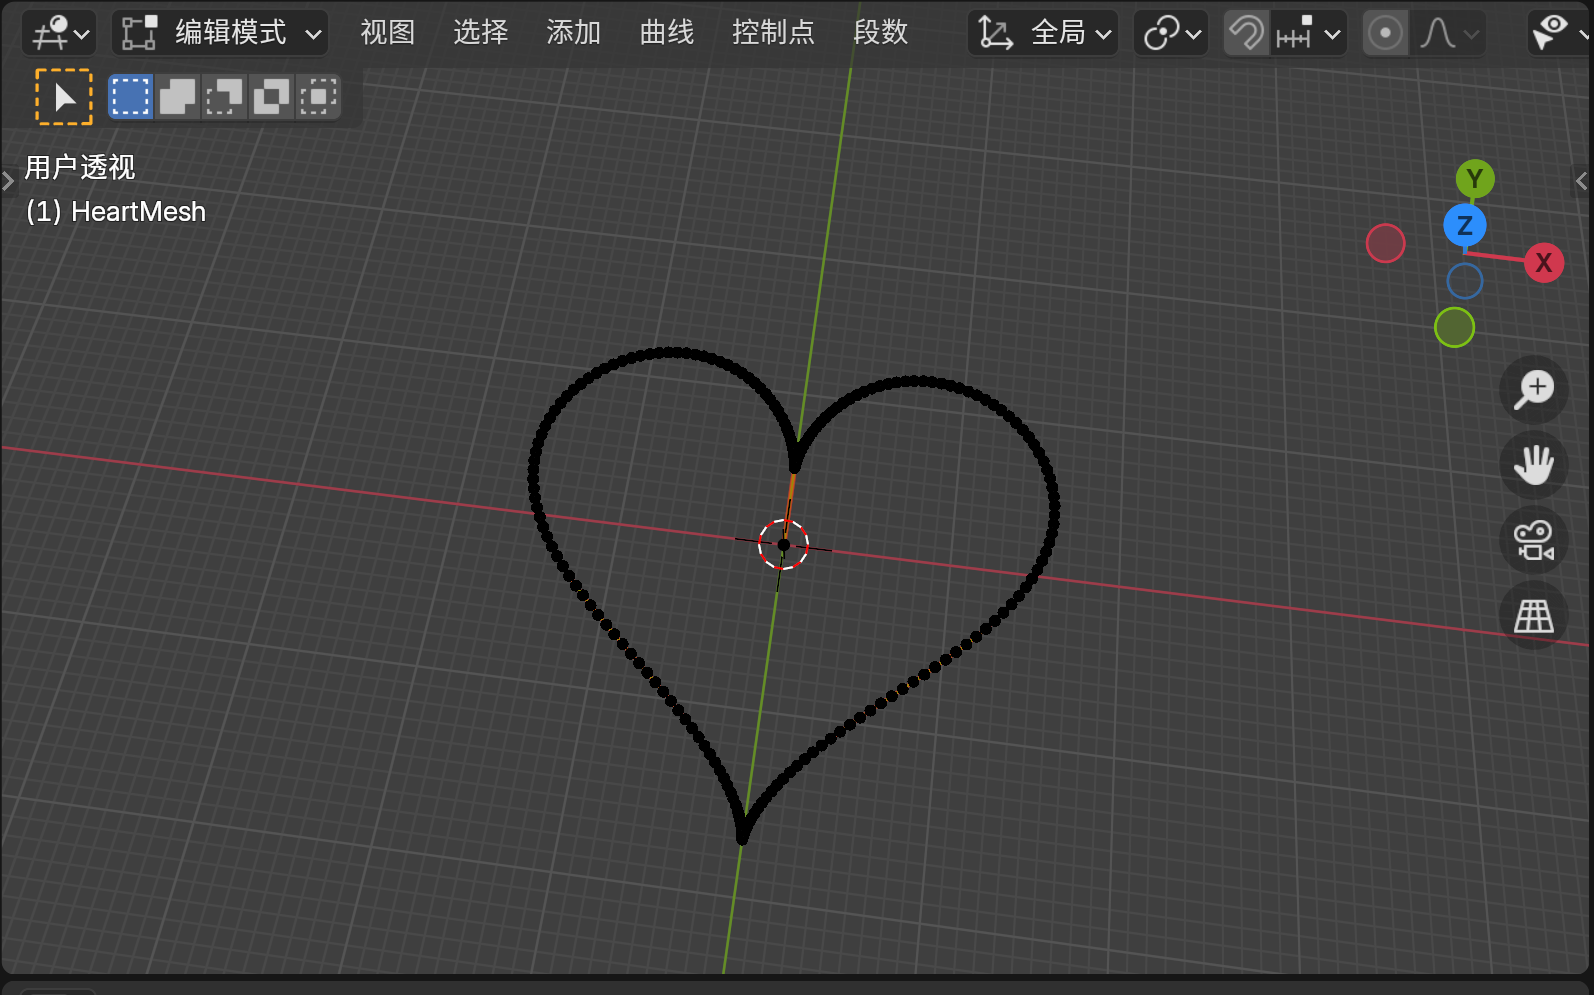
bpy.context.view_layer.update()
执行后有报错,但好歹已经添加了一个完整的心形。
总结
就像上面所说的,这可能与Blender的版本有关系,我使用的是4.2.2 LTS版本。而Kimi训练的版本可能是之前的。API的差异导致出现一些错误,当然也不能排除AI出现“智障”的情形。
AI在学习中也只能作为辅助,如果要实际的掌握了理解Blender Python,还是需要静心学习其细节。


 3014
3014

 被折叠的 条评论
为什么被折叠?
被折叠的 条评论
为什么被折叠?
 到【灌水乐园】发言


