


作为一款常用的IDE,如何使用vscode与ros进行开发,debug需要进行一系列配置,本文将进行详细的说明分享。
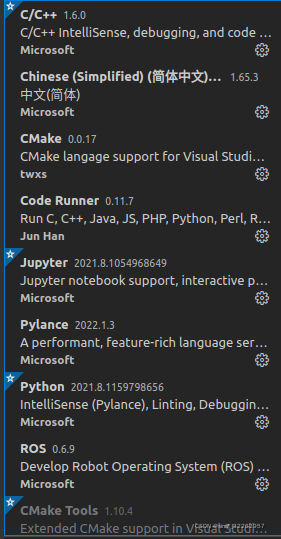
1、首先分享我的插件
2、创建工作空间
$ mkdir -p ~/catkin_ws/src
$ cd ~/catkin_ws/src
$ catkin_init_workspace
3、task.json的配置
{
	"version": "2.0.0",
	"tasks": [
		{
			"label": "catkin_make",
			"type": "shell",
			"command": "catkin_make",
			"args": [],
			"problemMatcher": [
				"$catkin-gcc"
			],
			"group": {
				"kind": "build",
				"isDefault": true
			}
		}

	]
}
其中
"group": {"kind":"build",
        "isDefault":true}
代表将我们定义的这个task添加到build组里面,这样就可以中Ctrl+Shift+B快捷键来找到编译命令,命令名称就是在label里面定义的,如果"isDefault":true那么就代表直接执行command,如果为false还需要在build下拉里面选一下,我们这里就是label名字:catkin_make
((ros项目调试:vscode下配置开发ROS项目_Coulson的博客的博客-CSDN博客_ros vscode)
这个来进行自动化的指令catkin_make操作,Ctrl+Shift+B相当于catkin_make。
4、自动生成compile_commands.json
在CMakeLists.txt中添加
set(CMAKE_EXPORT_COMPILE_COMMANDS ON) 自动生成compile_commands.json,用于c_cpp_properties中的compileCommands,规定了到哪里去编译什么文件。。
在c_cpp_properties.json添加
"compileCommands": "${workspaceFolder}/build/compile_commands.json"更为简洁的方法是在task.json的配置
"args": [

				"-DCMAKE_EXPORT_COMPILE_COMMANDS=YES"// automatic  generation  compile_commands.json instractions
			],
c_cpp_properties.json
{
  "configurations": [
    {
      "browse": {
        "databaseFilename": "",
        "limitSymbolsToIncludedHeaders": true
      },
      "includePath": [
        "/opt/ros/noetic/include/**",
        "/home/javanliu/catkin_ws/src/learning_communication/include/**",
        "/usr/include/**"
      ],
      "name": "ROS",
      "intelliSenseMode": "gcc-x64",
      "compilerPath": "/usr/bin/g++",
      "cStandard": "c11",
      "cppStandard": "c++11",
     "compileCommands": "${workspaceFolder}/build/compile_commands.json"
    }
  ],
  "version": 4
}
5、创建功能包且加依赖

src右键,或者用命令行皆可。
在对应功能包CMakeLists.txt添加
# 头文件路径
include_directories(
include
  ${catkin_INCLUDE_DIRS}
)
# 生成可执行文件
add_executable( communication src/communication.cpp )
# 链接库
target_link_libraries(communication ${catkin_LIBRARIES})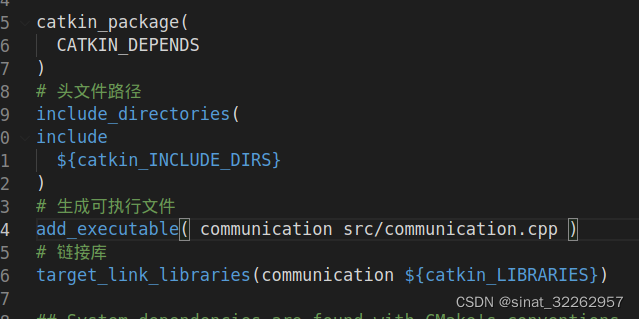
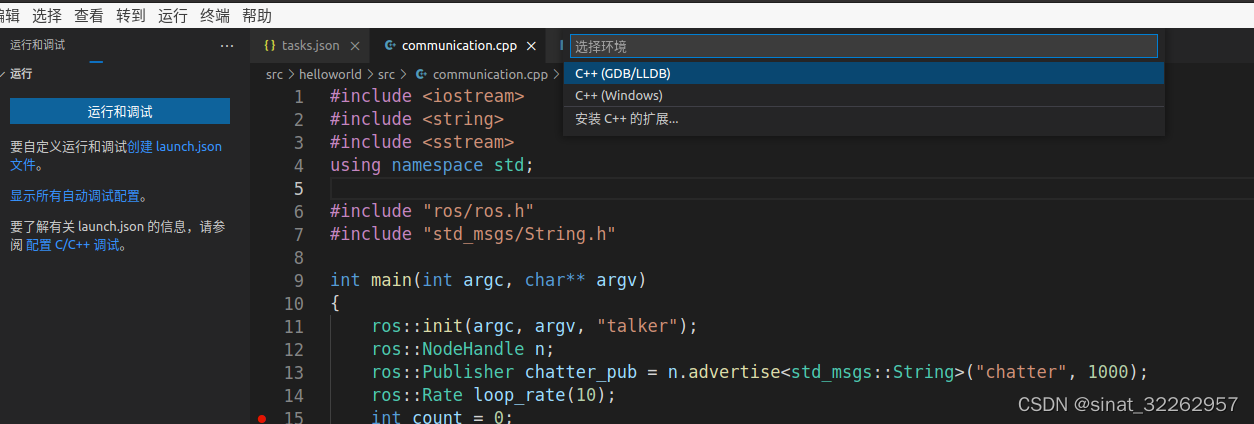
6、配置launch.json文件
{
    // 使用 IntelliSense 了解相关属性。
    // 悬停以查看现有属性的描述。
    // 欲了解更多信息,请访问: https://go.microsoft.com/fwlink/?linkid=830387
    "version": "0.2.0",
    "configurations": [
        {
            "name": "cpp - 生成和调试活动文件",
            "type": "cppdbg",
            "request": "launch",
            "program": "${workspaceRoot}/devel/lib/helloworld/communication",
            "args": [],
            "stopAtEntry": false,
            "cwd": "${fileDirname}",
            "environment": [],
            "externalConsole": false,
            "MIMode": "gdb",
            "setupCommands": [
                {
                    "description": "为 gdb 启用整齐打印",
                    "text": "-enable-pretty-printing",
                    "ignoreFailures": true
                }
            ],
            "preLaunchTask": "catkin_make",
            "miDebuggerPath": "/usr/bin/gdb"
        }
    ]
}
有三个地方值得注意:
"program": "${workspaceRoot}/devel/lib/helloworld/communication",对应的参数是需要自己给定的,比如我要调试一个ROS节点,那么就需要找到这个节点生成的可执行目标,就是可执行的二进制文件,然后添加到“program”参数后面,如果要调试其他节点,那么还需要手动修改这里。
"request"参数里面,gdb在vscode里面提供了launch和attach两个配置任务。两者的区别是launch实际上是启动一个node执行指定代码,同时可以在vscode里面打断点调试。 attach是执行监听的任务。
"preLaunchTask": "catkin_make",执行task标签为catkin_make的操作。
7、运行roscore后开始调试吧。


 1580
1580


 被折叠的 条评论
为什么被折叠?
被折叠的 条评论
为什么被折叠?
 到【灌水乐园】发言


