


 文章介绍了3DGaussianSplatting的最新进展,它是NeRF领域的突破,能在高质量重建和快速优化速度上实现SOTA效果。作者分享了对源码的测试、配置和实验过程,包括Gaussian-SLAM的开源项目,以及如何使用相关工具进行数据处理和可视化。
之前博客对基于3DGS的SLAM进行了调研
 https://blog.csdn.net/gwplovekimi/article/details/135397265?spm=1001.2014.3001.5501
学习笔记之——3D Gaussian Splatting源码解读_gaussian splatting源码分析-CSDN博客
学习笔记之——3D Gaussian SLAM,SplaTAM配置(Linux)与源码解读-CSDN博客
实验笔记之——Gaussian Splatting SLAM (MonoGS)配置与测试
而最近,工作《Gaussian-SLAM: Photo-realistic Dense SLAM with Gaussian Splatting》正式开源了,为此用本博文记录本人配置及测试的实验过程。本博文仅供本人学习记录用~
论文链接:https://arxiv.org/pdf/2312.10070.pdf
论文主页:Gaussian-SLAM: Photo-realistic Dense SLAM with Gaussian Splatting
代码链接:https://github.com/VladimirYugay/Gaussian-SLAM
具体的原理方面的介绍在之前博客中有,此处略过~

配置
首先下载源码
git clone https://github.com/VladimirYugay/Gaussian-SLAM然后创建conda环境
cd Gaussian-SLAM
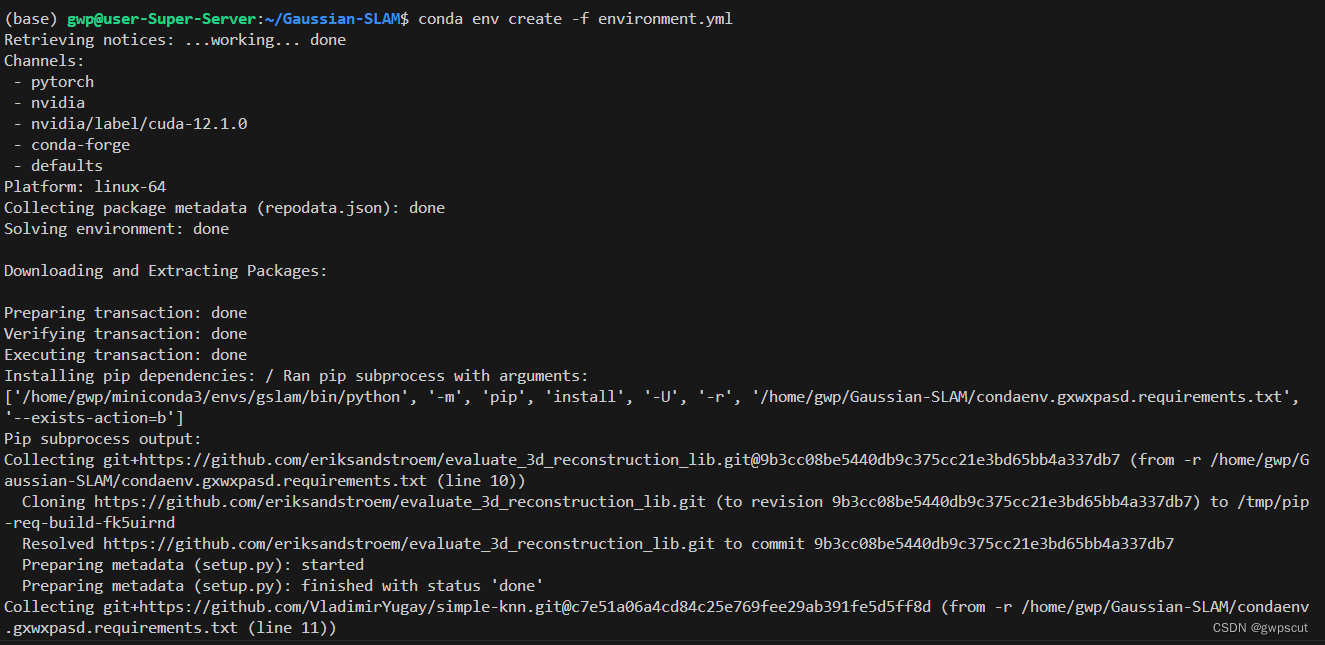
conda env create -f environment.yml
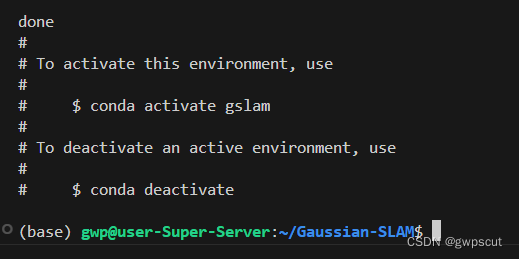
conda activate gslam注意必须要保证环境配置正常
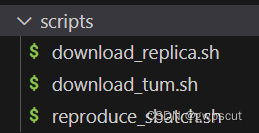
然后下载数据集,作者也提供了script进行下载~对于tum之前已经下载过了,为此直接测试
运行下面代码测试,
python run_slam.py configs/<dataset_name>/<config_name> --input_path <path_to_the_scene> --output_path <output_path>如采用TUM_RGBD/rgbd_dataset_freiburg3_long_office_household,那么应该就是
python run_slam.py configs/TUM_RGBD/rgbd_dataset_freiburg3_long_office_household.yaml --input_path ~/SplaTAM/data/TUM_RGBD/rgbd_dataset_freiburg3_long_office_household --output_path output/TUM_RGBD/rgbd_dataset_freiburg3_long_office_household
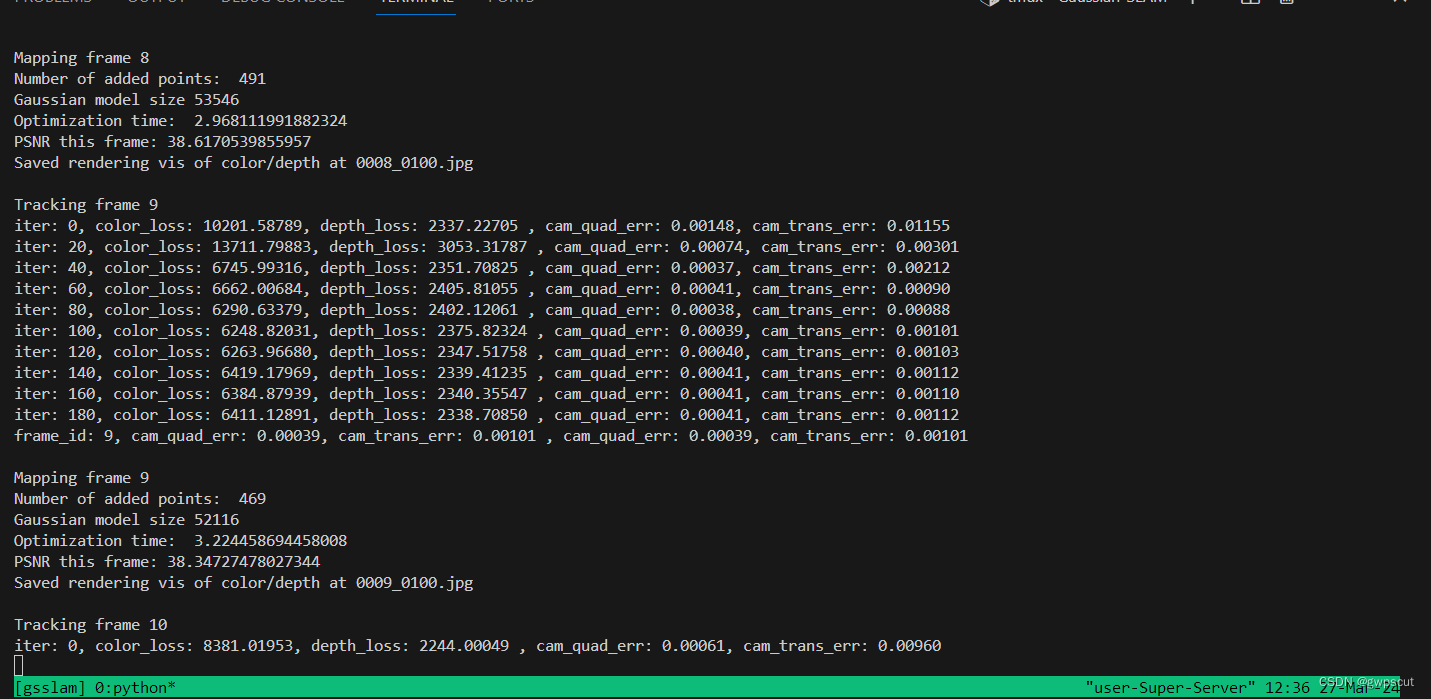
然后就开始运行,通过终端输出可以看到运行的效果
跑到一半中断了~好像是内存不够
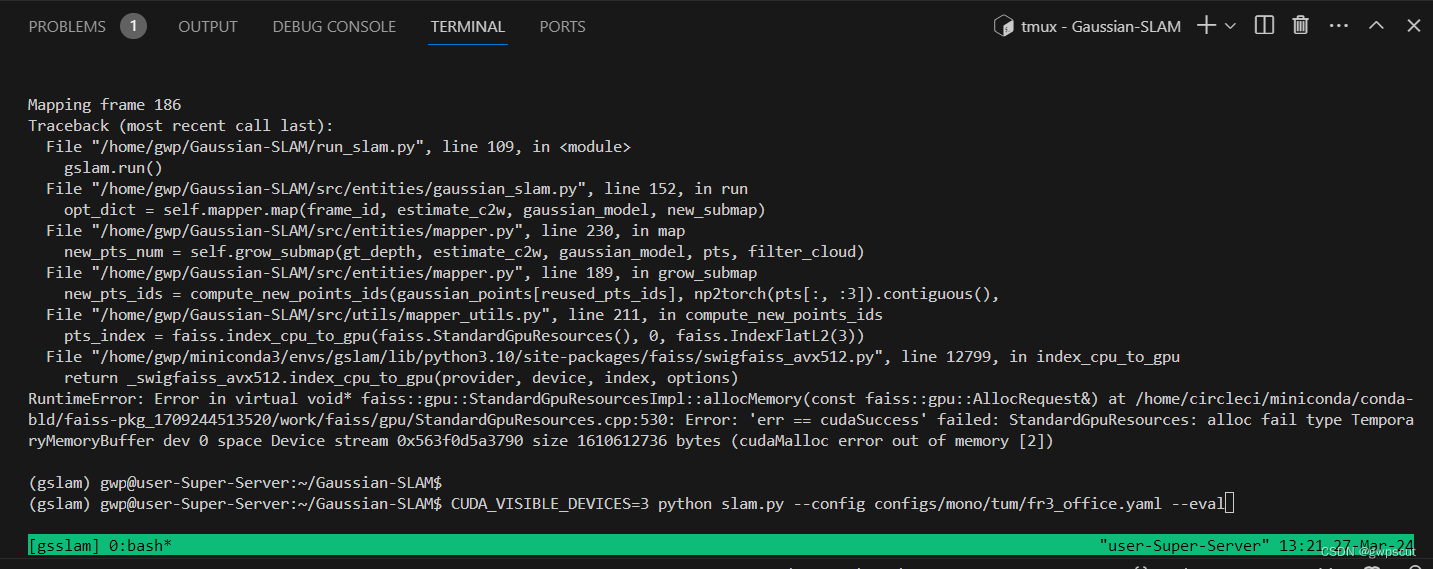
发现gpu确实被沾满了~~
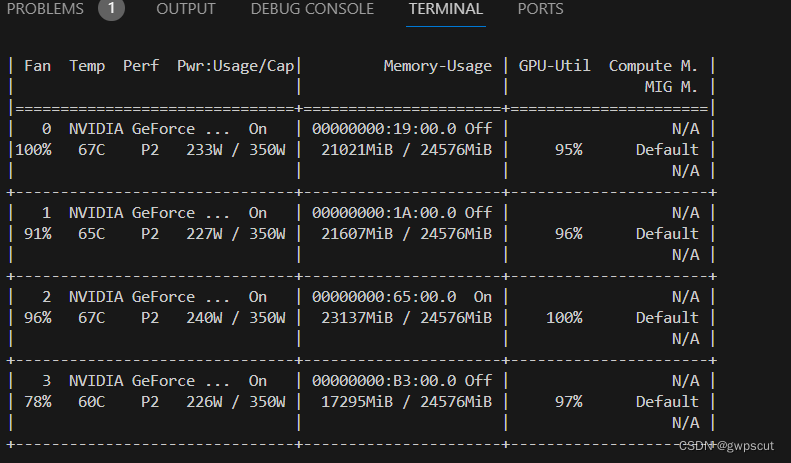
只能指定gpu后重跑了~
CUDA_VISIBLE_DEVICES=3 对应的运行代码费时还不少~终于跑完了
关于可视化,特意咨询了作者,答复是
Most of the visualizers use the exported Gaussian model ply file and render it. At the end of the run, during evaluation, we compute both the mesh as @Atticuszz mentioned, and the Gaussian parameters exported in the ply file here.
Having this exported Gaussian ply file, you can use pretty much any visualizer you prefer. For example, for gs-splatting-lightning, you can install their repo, and just call `visualize.py <path_to_the_exported_gaussian_model.ply>. After this you can play around with the parameters and the camera trajectory fly-through.
先试试运行下面命令
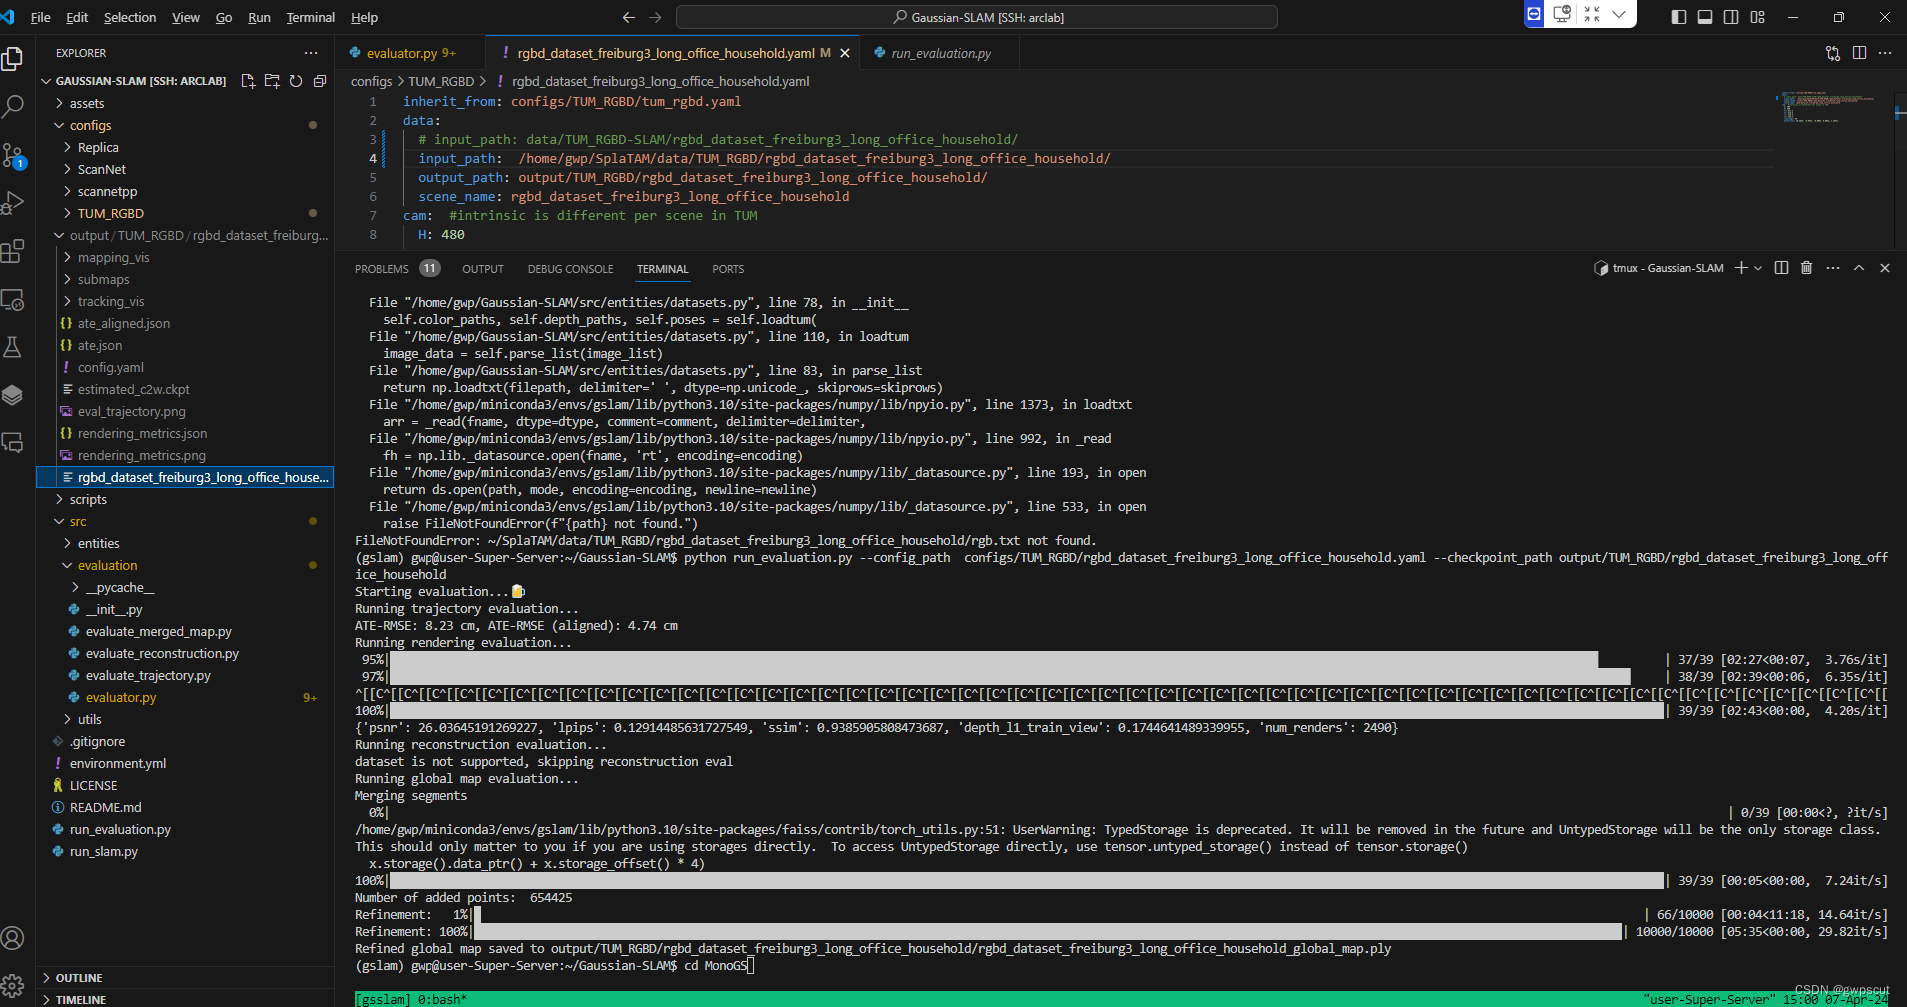
python run_evaluation.py --config_path configs/TUM_RGBD/rgbd_dataset_freiburg3_long_office_household.yaml --checkpoint_path output/TUM_RGBD/rgbd_dataset_freiburg3_long_office_household好像并不行。而作者的回复也是摸棱两可
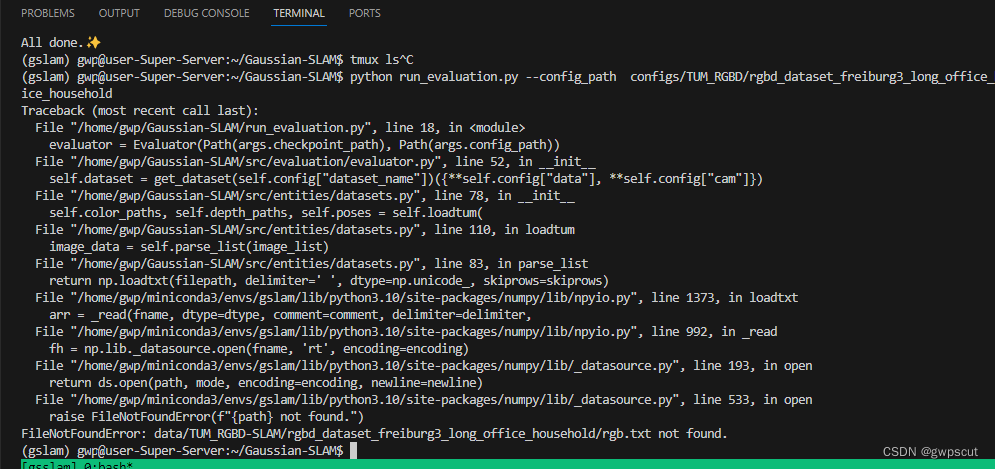
但是通过报错可以看到应该只是找不到路径,修改数据路径再看看

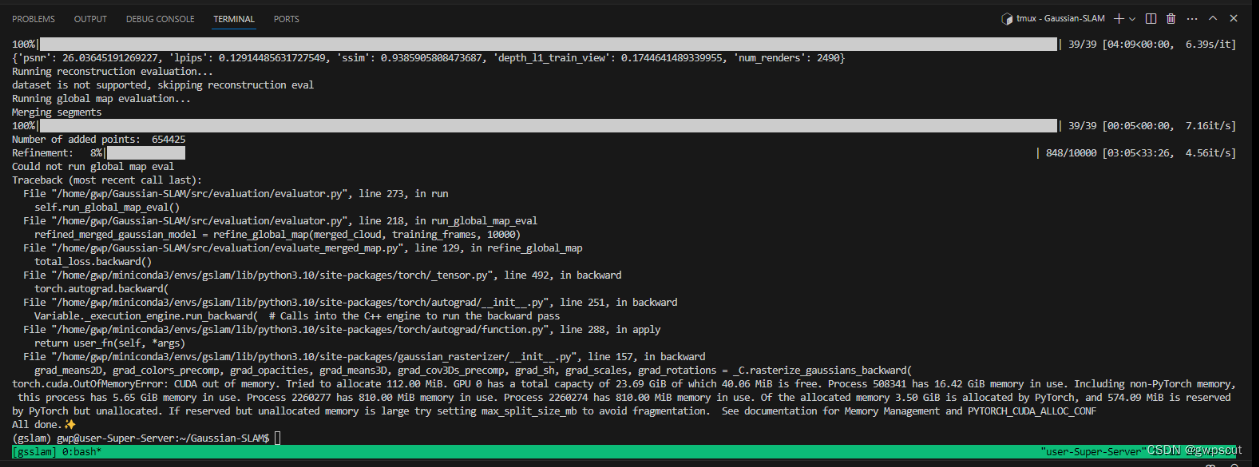
开始执行rendering验证了~职系那个完成后会生成.ply文件
看样子是要进行一系列的refinement才可以,为什么train出来的还要用data 重新refinement来可视化呢???
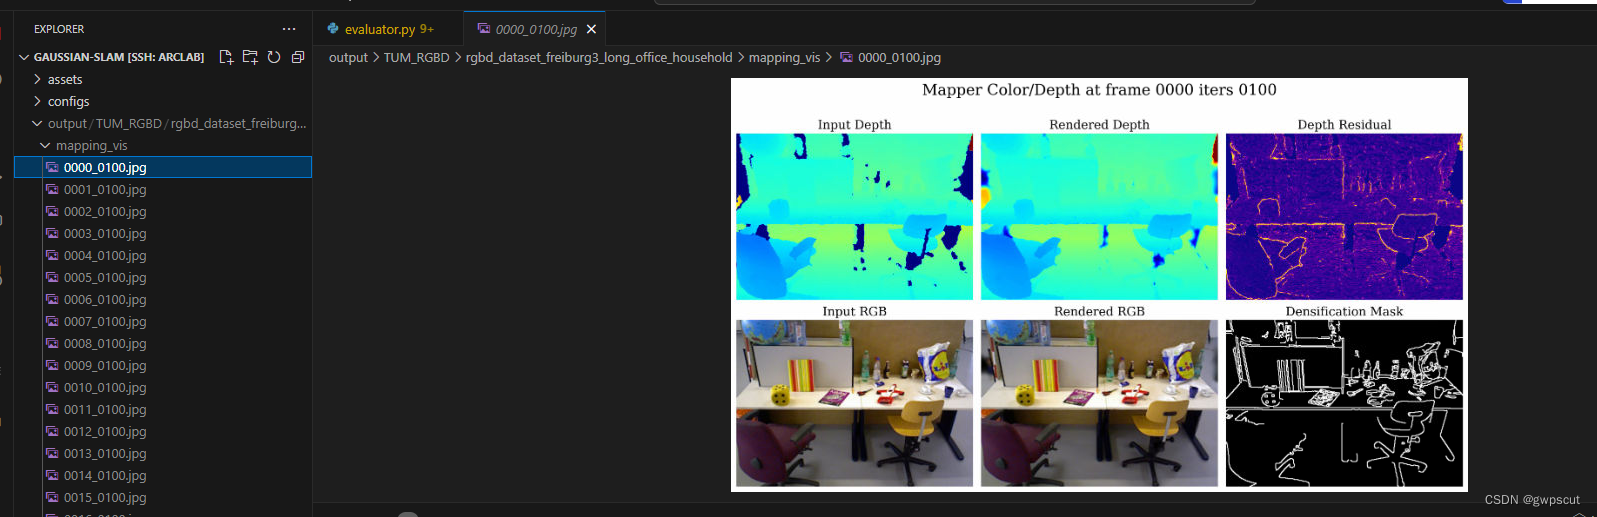
mapping result里面确实可以看到一些结果,但没有可视化三维模型~
从github的readme看应该是用下面仓库来进行可视化的。
GitHub - yzslab/gaussian-splatting-lightning
因此先对其进行编译安装~
# clone repository
git clone --recursive https://github.com/yzslab/gaussian-splatting-lightning.git
cd gaussian-splatting-lightning
# if you forgot the `--recursive` options, you can run below git commands after cloning:
#   git submodule sync --recursive
#   git submodule update --init --recursive --force


# create virtual environment
conda create -yn gspl python=3.9 pip
conda activate gspl

# install the PyTorch first, you must install the one match to the version of your nvcc (nvcc --version)
# for cuda 11.7
pip install torch==2.0.1 torchvision==0.15.2 torchaudio==2.0.2
# for cuda 11.8
pip install torch==2.0.1 torchvision==0.15.2 torchaudio==2.0.2 --index-url https://download.pytorch.org/whl/cu118

# install other requirements
pip install -r requirements.txt

# below requirements are optional
#   if you want to train with appearance variation images
pip install ./submodules/tiny-cuda-nn-fp32/bindings/torch
#   if you want to use nerfstudio-project/gsplat
pip install gsplat==0.1.8
运行下面代码进行可视化
python viewer.py TRAINING_OUTPUT_PATH

在本次实验中为如下:
python viewer.py /home/gwp/Gaussian-SLAM/output/TUM_RGBD/rgbd_dataset_freiburg3_long_office_household/rgbd_dataset_freiburg3_long_office_household_global_map.ply
运行后如下图所示
然后打开浏览器,先输入
远程ip:8080测试效果

Gaussian-SLAM testing tum
代码解读
至于代码解读就不额外写博客了,看后续把中文注释放到下面GitHub中
 https://github.com/KwanWaiPang/Gaussian-SLAM_comment


 7888
7888

 被折叠的 条评论
为什么被折叠?
被折叠的 条评论
为什么被折叠?
 到【灌水乐园】发言


