


前提
本文记录在ubuntu 22.04上安装isaac lab的操作过程,该电脑的GPU型号为3090,已经安装nvidia driver 535 以及安装完成cuda 11.8。
1. 下载omniverse launcher
进入Workstation Installation,找到Workstation Setup下面的Download and install Omniverse Launcher,选择Direct Link: Linux下载omniverse-launcher-linux.AppImage。
如果遇到AppImage不能运行,需要勾选属性->权限->允许执行文件,并且用下面的命令安装fuse
sudo chmod +x omniverse-launcher-linux.AppImage
sudo apt install libfuse2
双击omniverse-launcher-linux.AppImage后注册登陆。

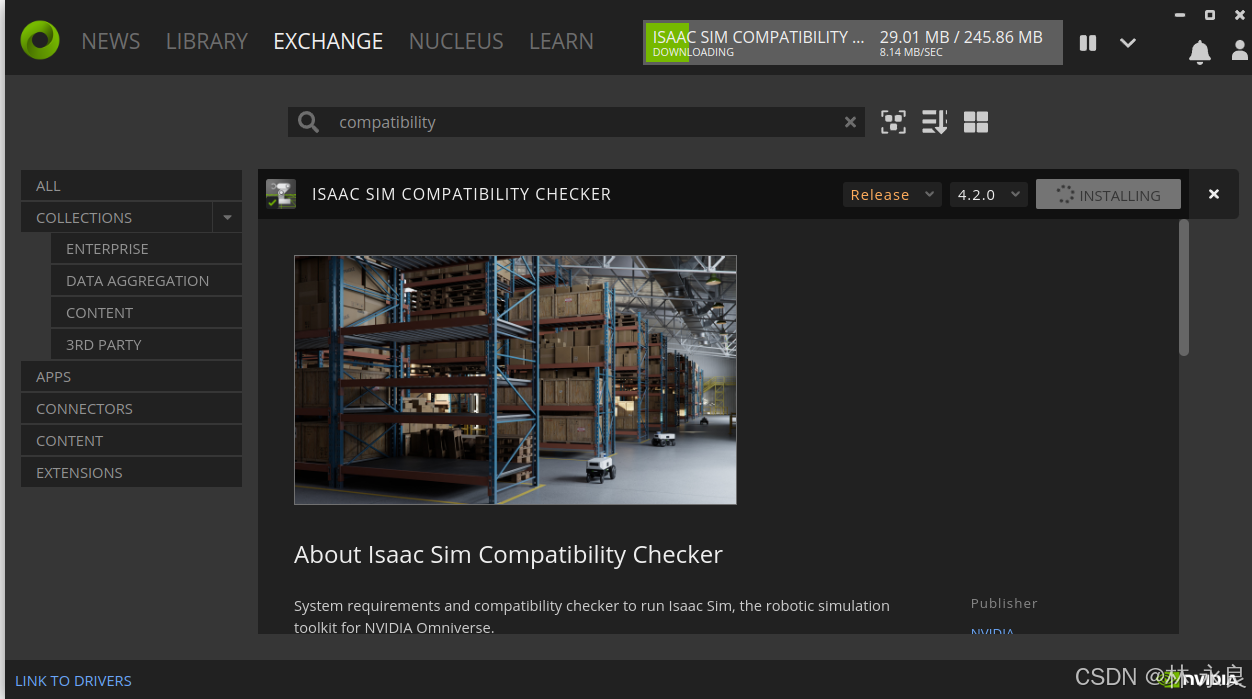
2. 使用Isaac Sim Compatibility Checker
Isaac Sim Compatibility Checker用于检查系统环境是否支持isaac sim。在导航栏中的EXCHANGE中搜索compatibility,安装ISAAC SIM COMPATIBILITY CHECKER。
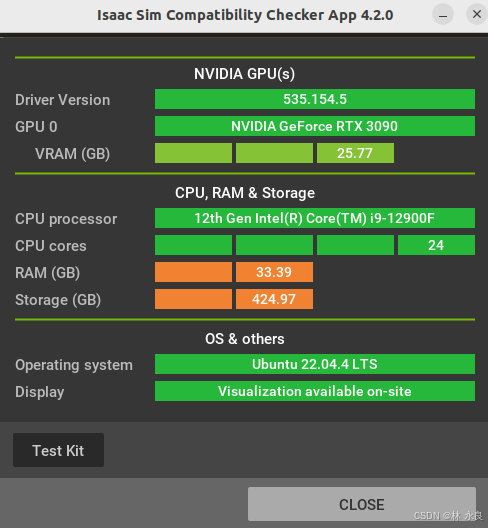
进入导航栏的LIBRARY中选择Isaac Sim Compatibility Checker,点击LAUNCH检查。
3. 安装Cache
在导航栏Exchange中搜索cache并安装,安装完成后打开http://localhost:3080/确认Cache在Running 列表中。(3080是默认端口,别改)
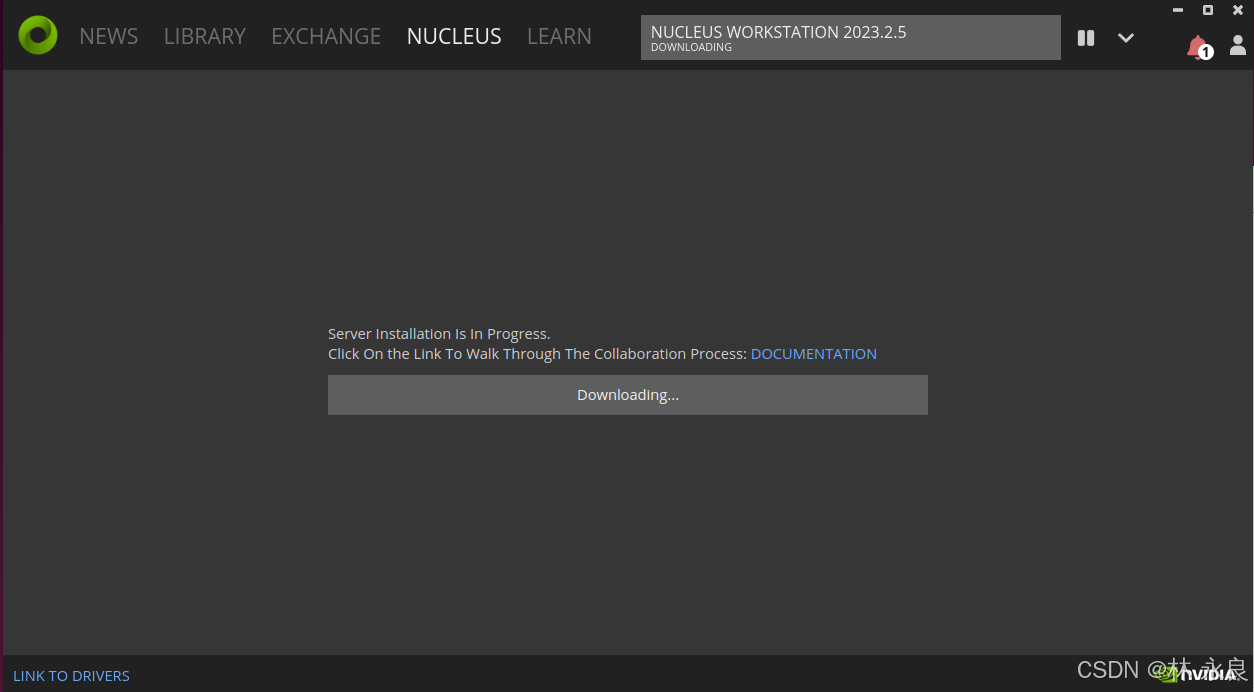
4. 安装Nucleus
进入导航栏NUCLEUS页面,点击Add Local Nucleus Device,创建账号并等待下载完成。
5.启动isaac sim
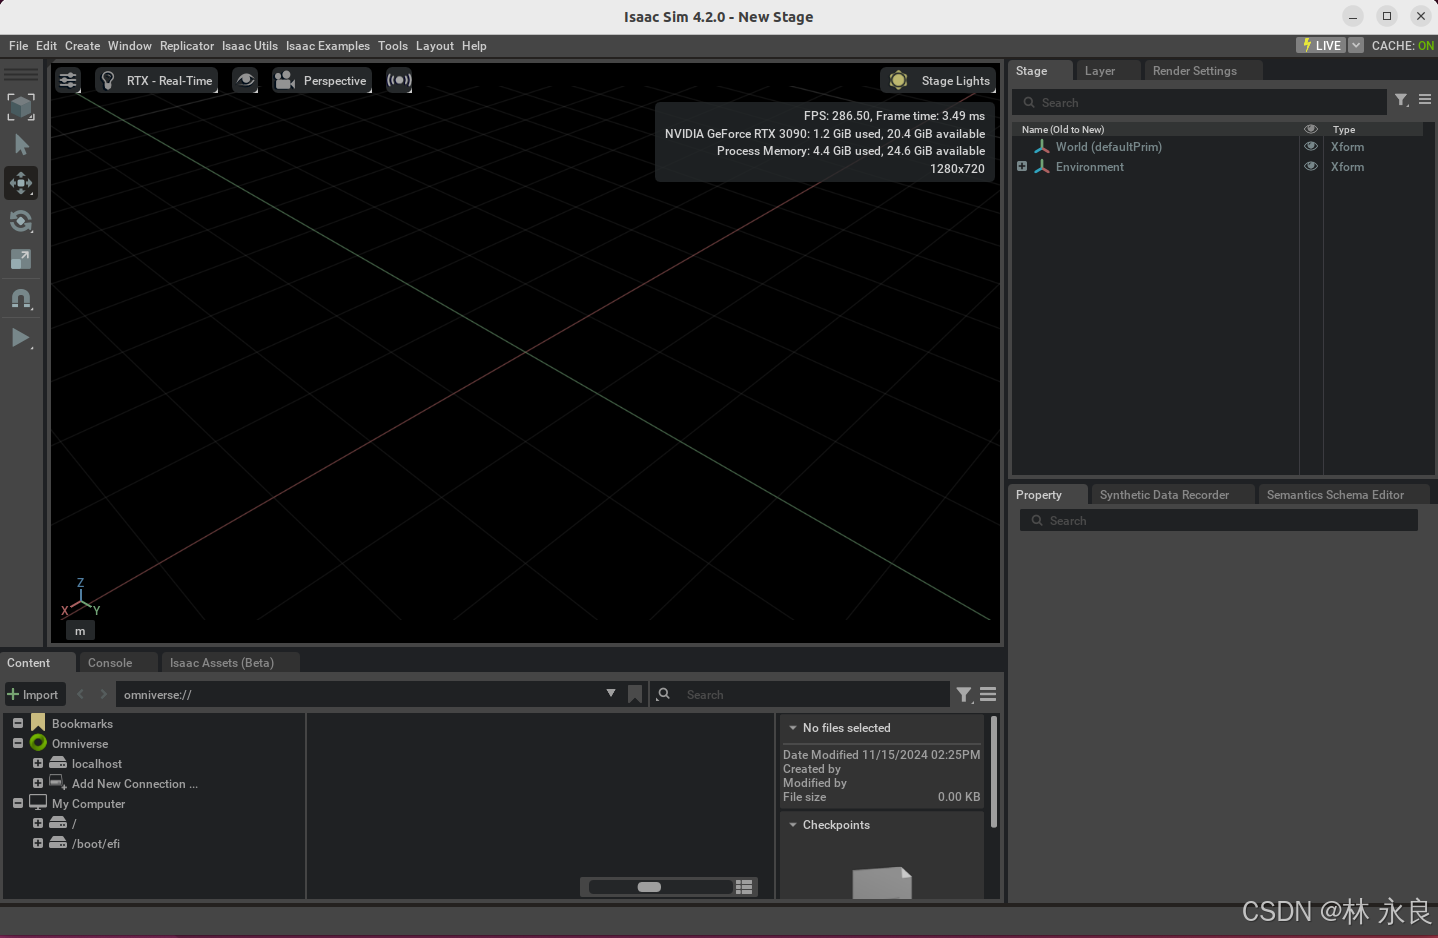
在导航栏Exchange中搜索isaac sim并安装,在导航栏LIBRARY中找到APPS下面的isaac sim,点击主页面中的launch,在弹窗中选择START开启isaac sim。
6. 克隆 Isaac lab
参考isaac lab 官网克隆仓库(需要的话可以fork到自己的仓库)。
git clone git@github.com:isaac-sim/IsaacLab.git7. 设置isaac sim 链接
# enter the cloned repository
cd IsaacLab
# create a symbolic link
ln -s path_to_isaac_sim _isaac_sim
# For example: ln -s ~/.local/share/ov/pkg/isaac-sim-4.2.0/ _isaac_sim
8. 安装conda环境
./isaaclab.sh --conda
conda activate isaaclab
9. 安装isaac lab
./isaaclab.sh --install rl_games  # or "./isaaclab.sh -i rl_games"
# The valid options are rl_games, rsl_rl, sb3, skrl, robomimic, none.
10. 验证安装成功
# Option 1: Using the isaaclab.sh executable
# note: this works for both the bundled python and the virtual environment
./isaaclab.sh -p source/standalone/tutorials/00_sim/create_empty.py
# Option 2: Using python in your virtual environment
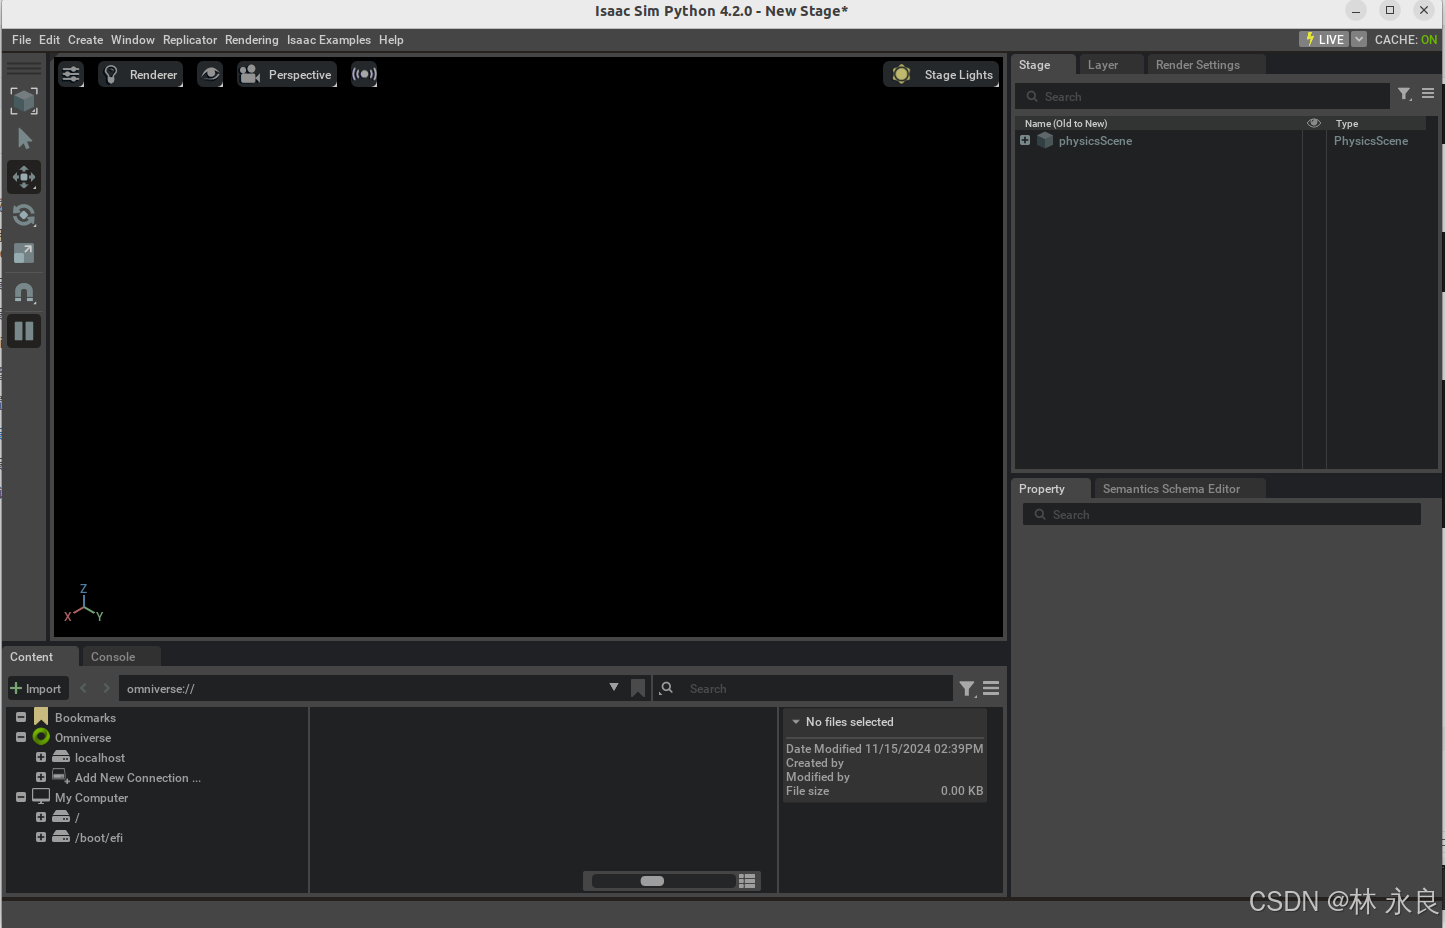
python source/standalone/tutorials/00_sim/create_empty.py上述指令会打开一个纯黑背景的窗口,在终端中使用Ctrl + C来退出脚本。
至此,大功告成!
更多教程可以参考Isaac Lab 官方教程。


 4849
4849

 被折叠的 条评论
为什么被折叠?
被折叠的 条评论
为什么被折叠?
 到【灌水乐园】发言


