


准备工作
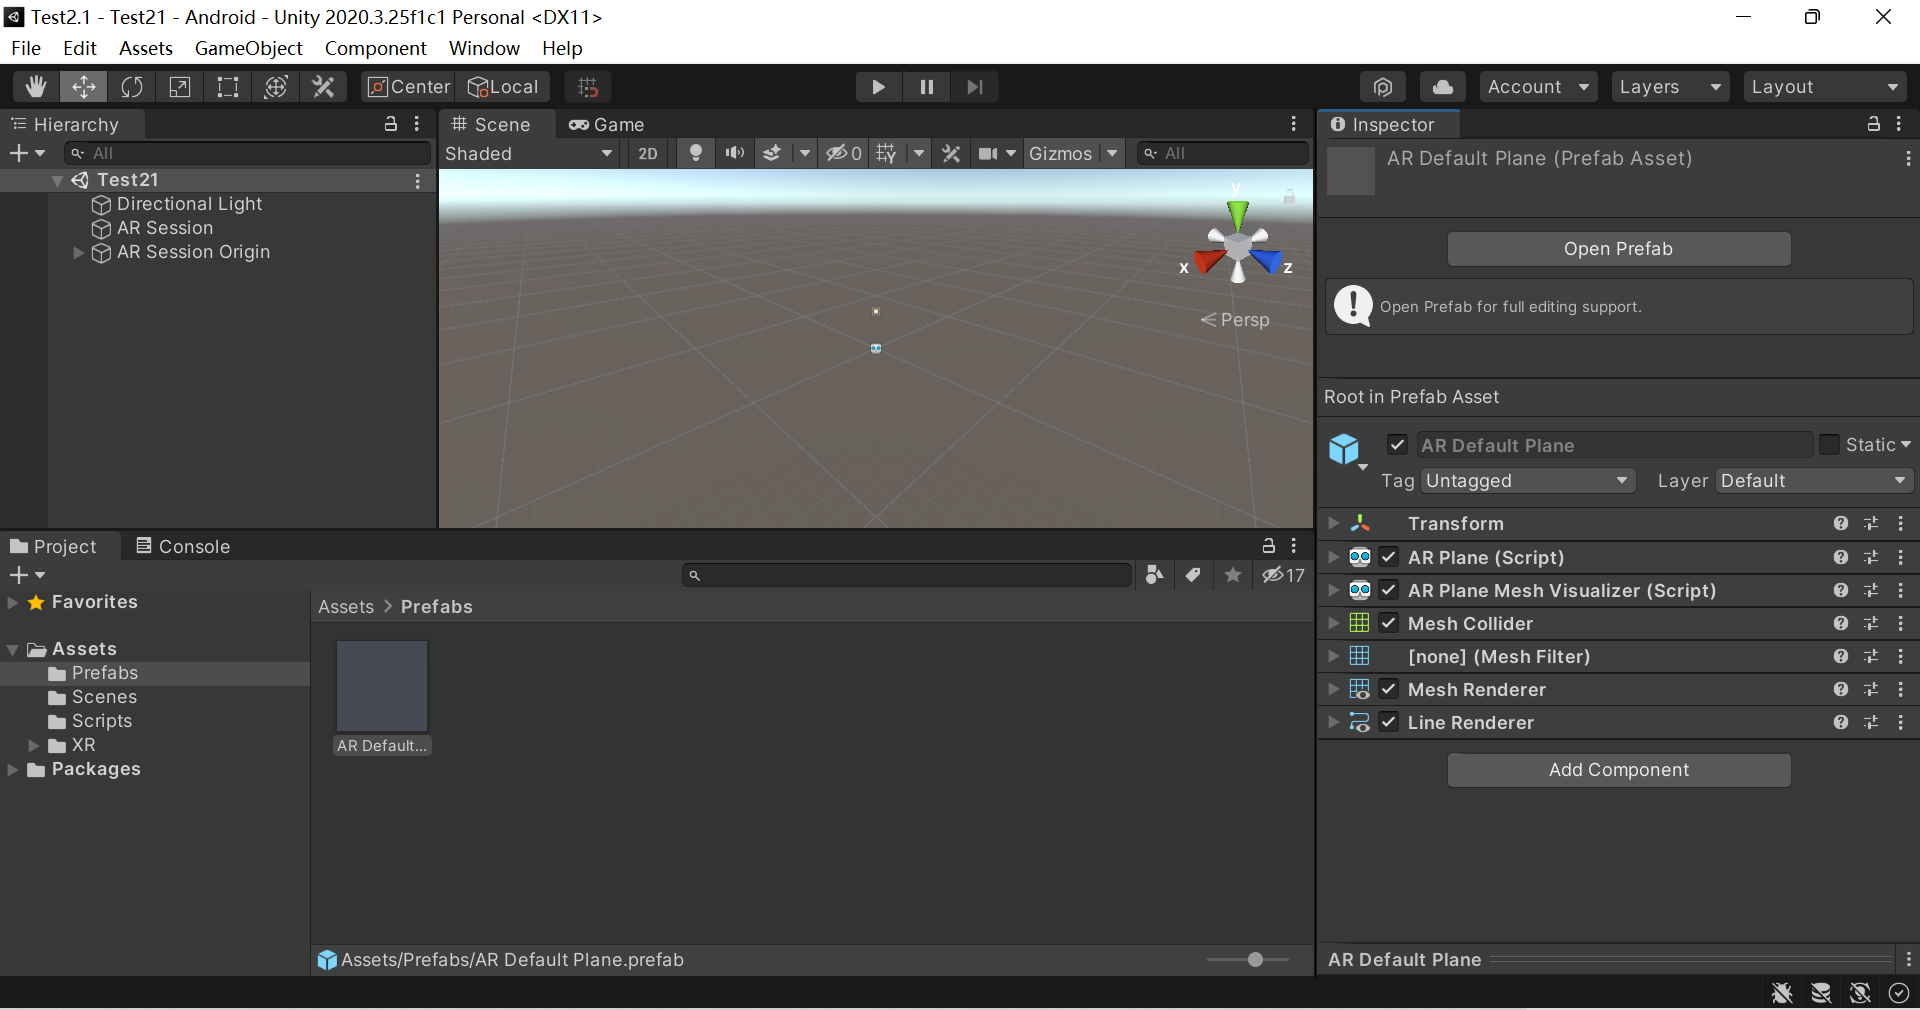
首先搭建好基本环境,在AR Session Origin下添加一个AR Plane Manager对象,并添加一个预制体AR Default Plane到AR Plane Manager对象的Plane Prefab属性下(这一部分在Unity配置Android开发环境下有介绍不再记录)Unity配置Android开发环境与第一个Demo
添加脚本
AR Plane Manager 负责管理检测平面相关工作,其有一个属性 enabled,设置 enabled=true 则是开启了平面检测,设置 enabled=false 则是关闭了平面检测,因此, 我们可以非常方便的用代码控制平面的检测与关闭。前文我们也学习到,ARPlaneManager 并不负责检 测到的平面的可视化渲染,因此,在关闭平面检测后我们还应该取消已检测到的平面的显示。
- 在Scripts文件夹下创建一个C#脚本,命名为
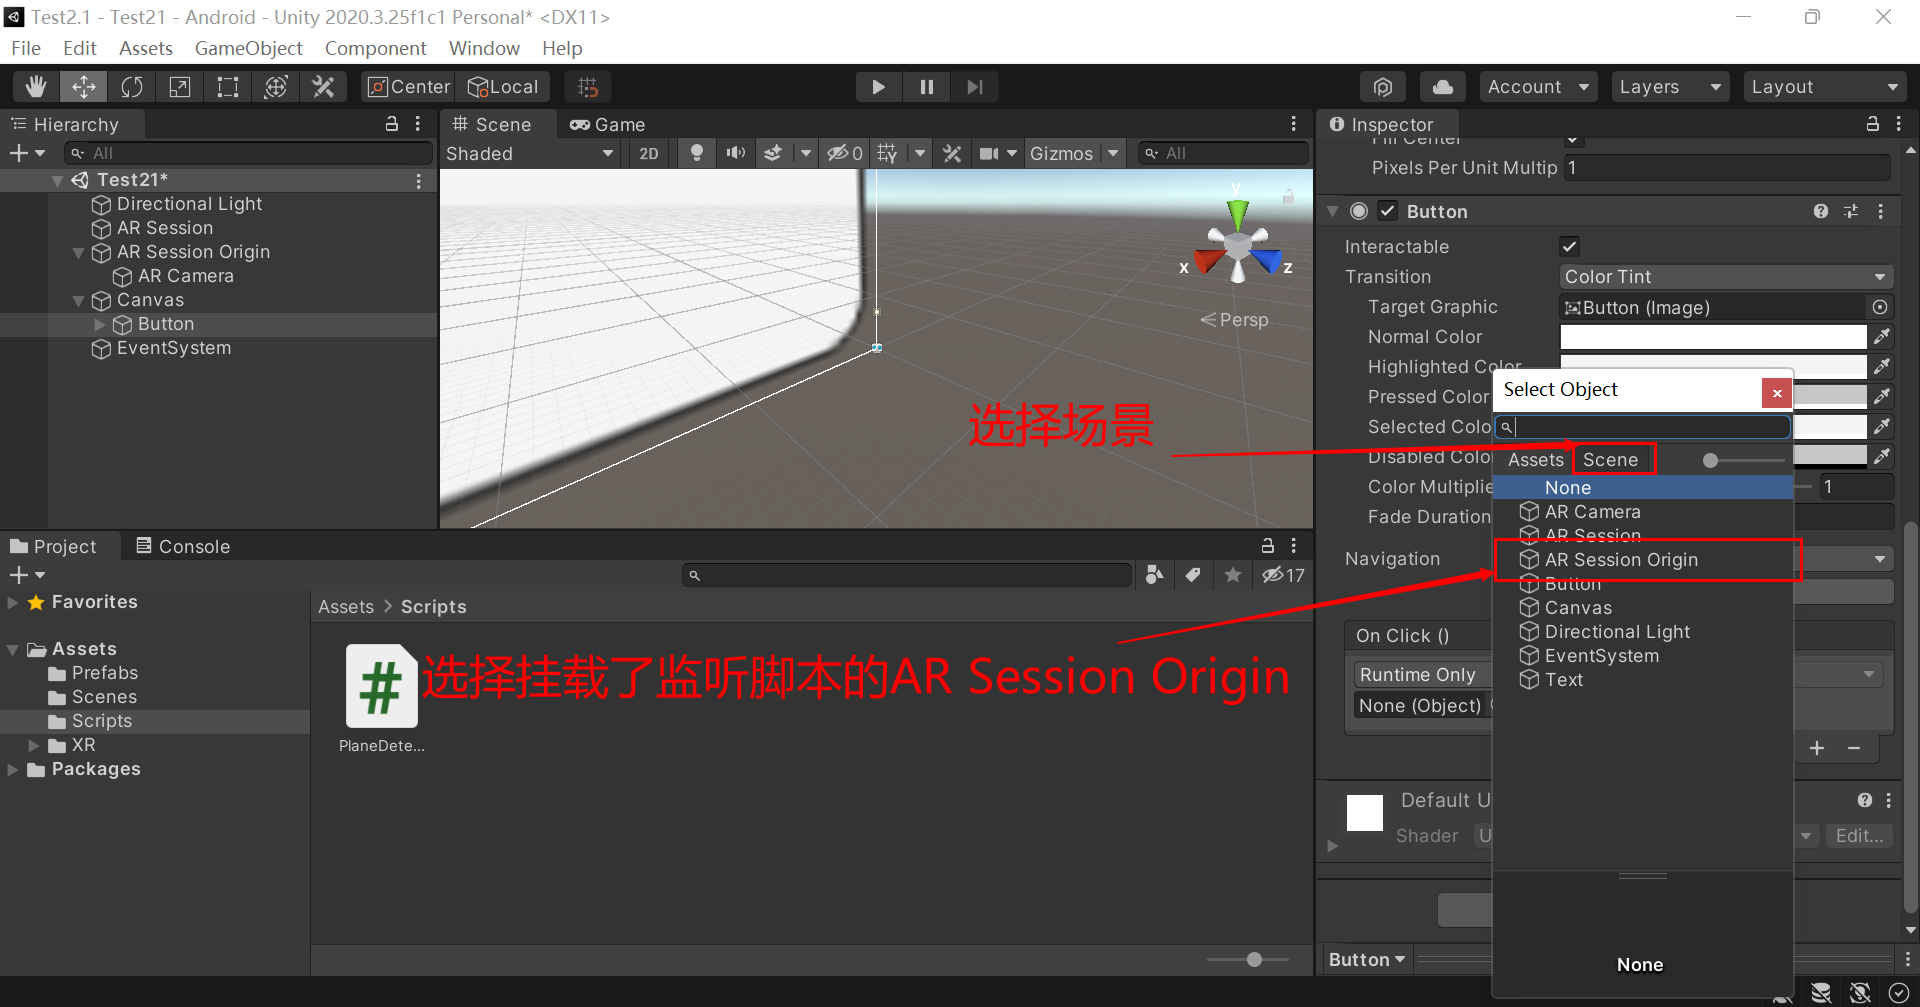
PlaneDetectionController - 将脚本挂载到与AR Plane Manager组件相同的场景对象上
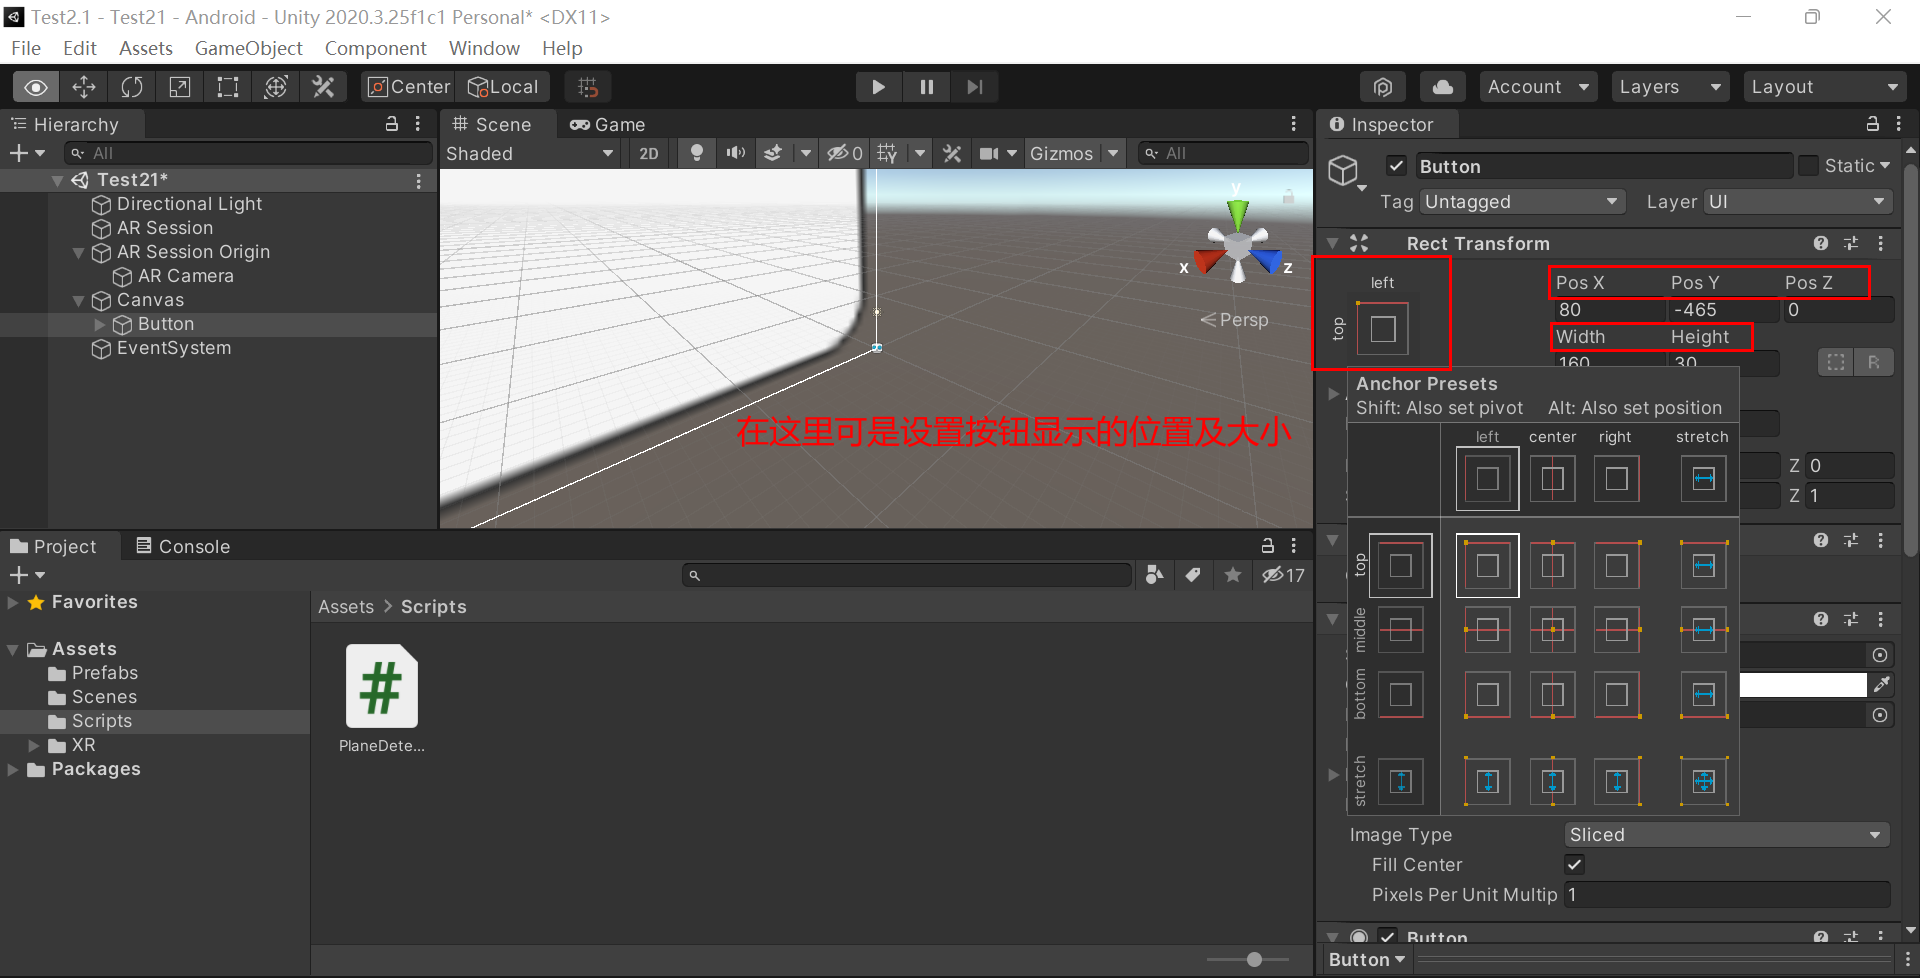
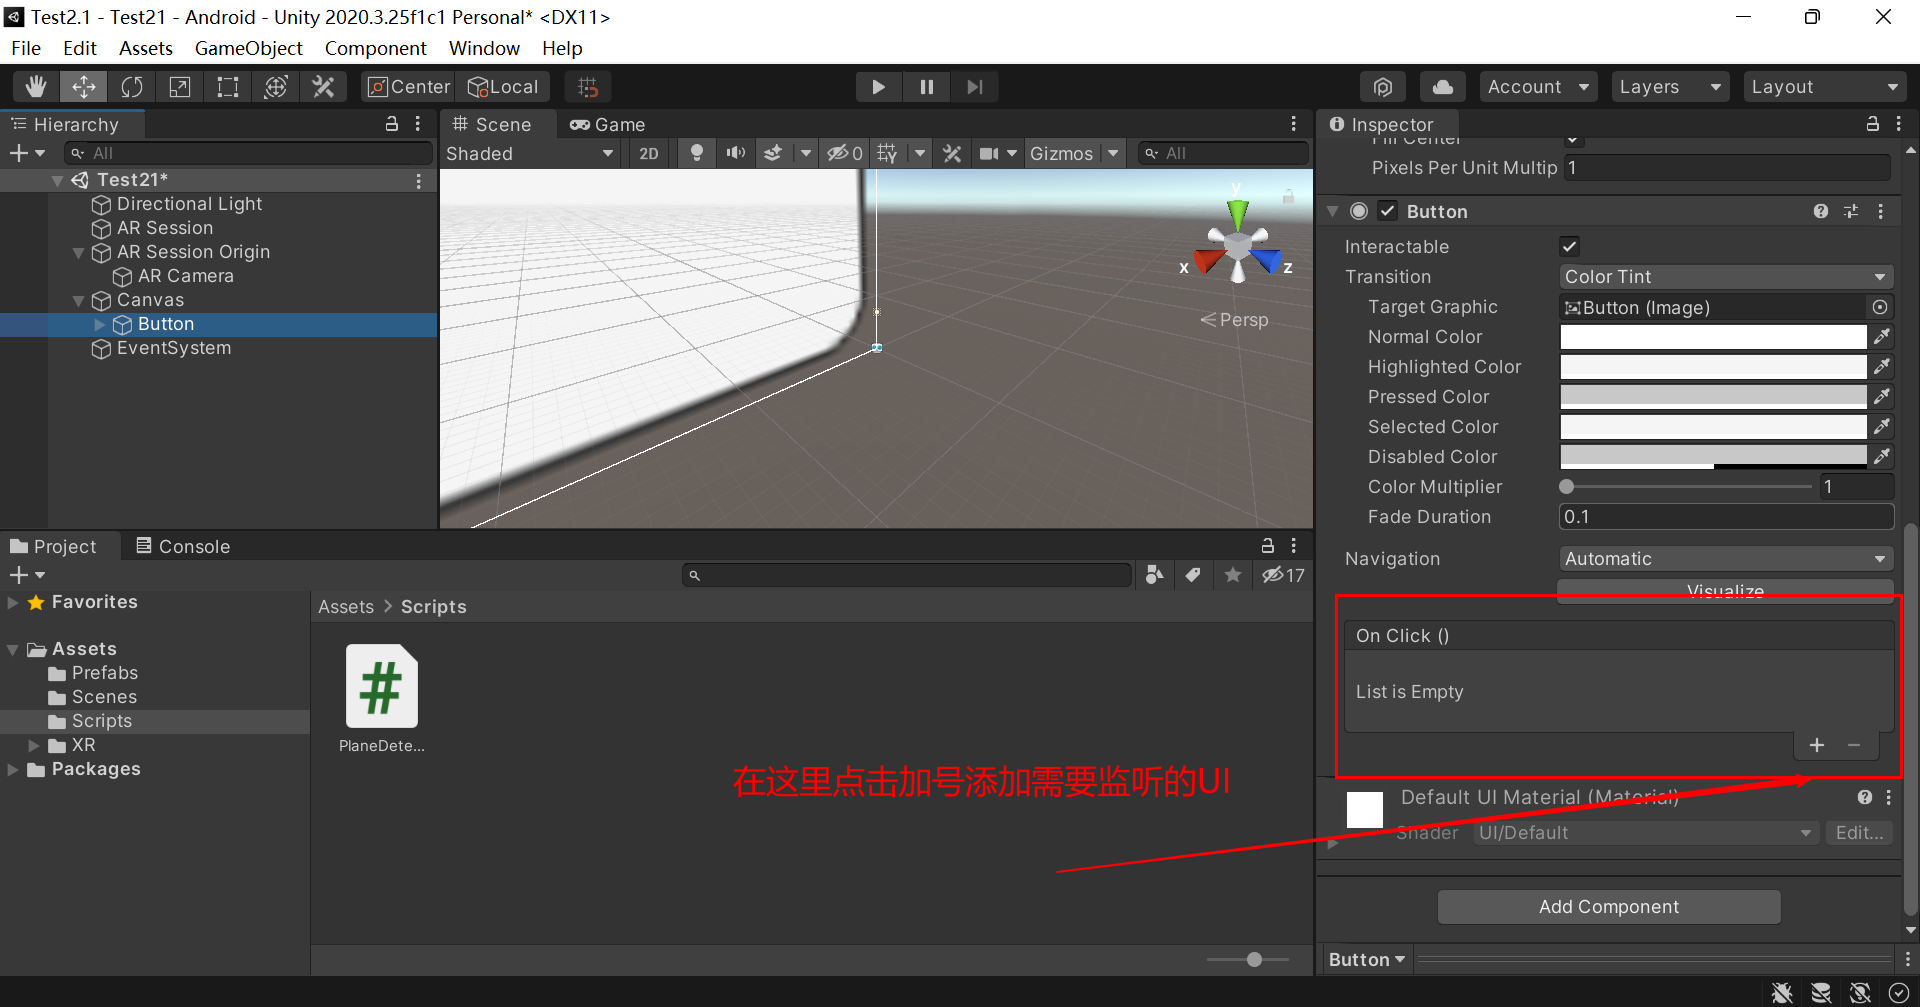
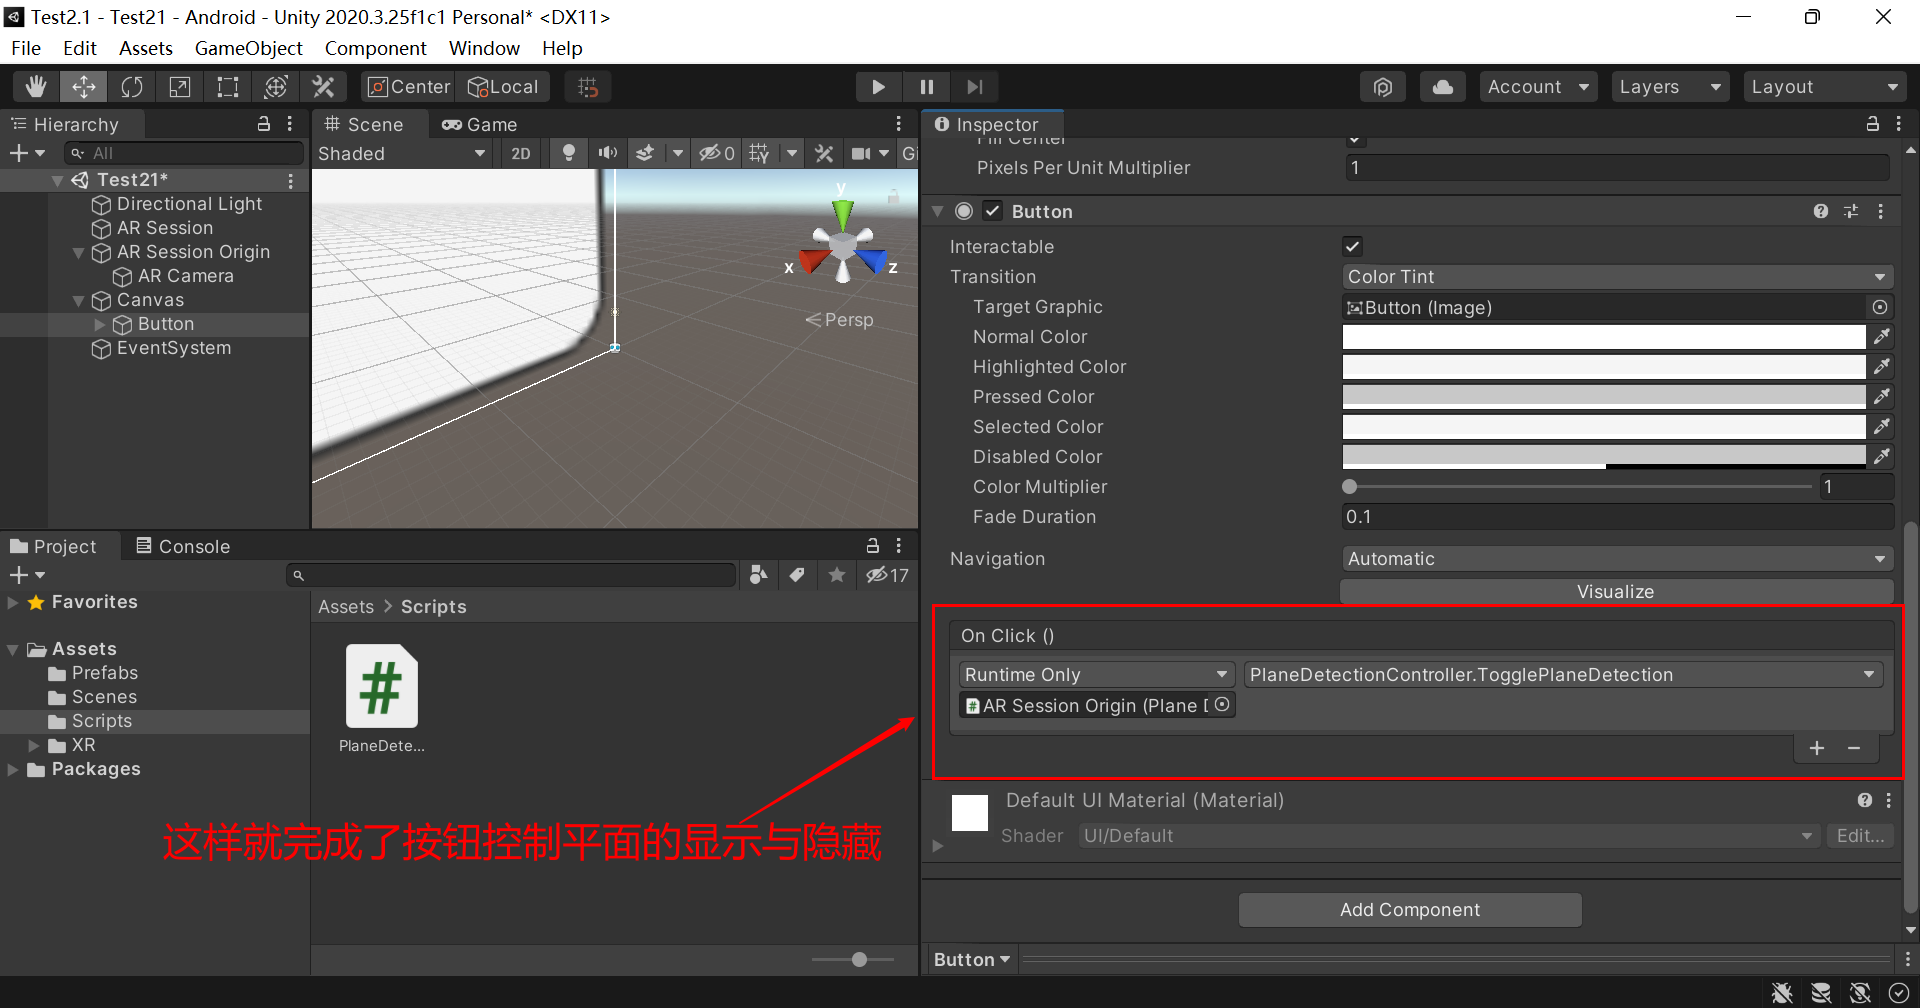
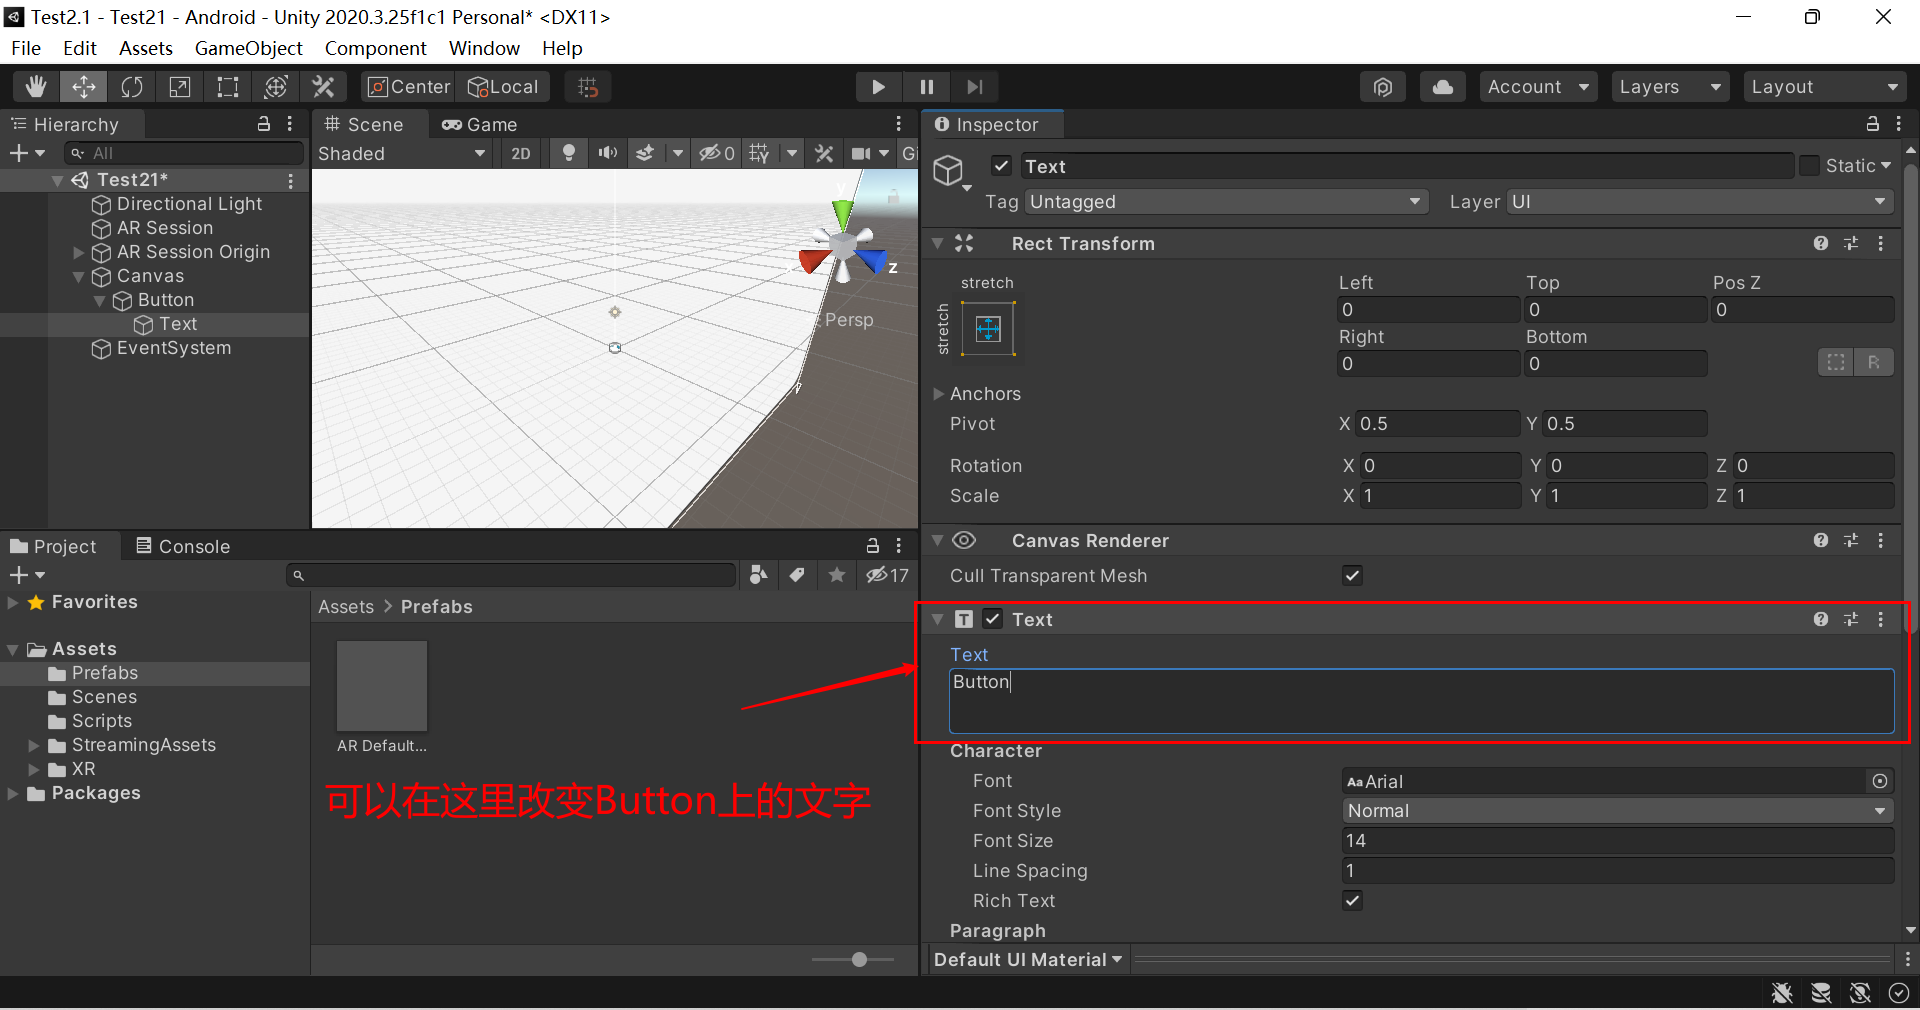
- 添加一个UI-Button,将按钮与脚本中的Toggle Plane Detection()函数绑定

using System.Collections.Generic;
using UnityEngine;
using UnityEngine.UI;
using UnityEngine.XR.ARFoundation;

namespace UnityEngine.XR.ARFoundation.Samples
{
    /// <summary>
    /// This example demonstrates how to toggle plane detection,
    /// and also hide or show the existing planes.
    /// </summary>
    [RequireComponent(typeof(ARPlaneManager))]
    public class PlaneDetectionController : MonoBehaviour
    {
        [Tooltip("The UI Text element used to display plane detection messages.")]
        [SerializeField]
        Text m_TogglePlaneDetectionText;

        /// <summary>
        /// The UI Text element used to display plane detection messages.
        /// </summary>
        public Text togglePlaneDetectionText
        {
            get { return m_TogglePlaneDetectionText; }
            set { m_TogglePlaneDetectionText = value; }
        }

        /// <summary>
        /// Toggles plane detection and the visualization of the planes.
        /// </summary>
        public void TogglePlaneDetection()
        {
            m_ARPlaneManager.enabled = !m_ARPlaneManager.enabled;

            string planeDetectionMessage = "";
            if (m_ARPlaneManager.enabled)
            {
                planeDetectionMessage = "Disable Plane Detection and Hide Existing";
                SetAllPlanesActive(true);
            }
            else
            {
                planeDetectionMessage = "Enable Plane Detection and Show Existing";
                SetAllPlanesActive(false);
            }

            if (togglePlaneDetectionText != null)
                togglePlaneDetectionText.text = planeDetectionMessage;
        }

        /// <summary>
        /// Iterates over all the existing planes and activates
        /// or deactivates their <c>GameObject</c>s'.
        /// </summary>
        /// <param name="value">Each planes' GameObject is SetActive with this value.</param>
        void SetAllPlanesActive(bool value)
        {
            foreach (var plane in m_ARPlaneManager.trackables)
                plane.gameObject.SetActive(value);
        }

        void Awake()
        {
            m_ARPlaneManager = GetComponent<ARPlaneManager>();
        }

        ARPlaneManager m_ARPlaneManager;
    }
}


 1万+
1万+

 被折叠的 条评论
为什么被折叠?
被折叠的 条评论
为什么被折叠?
 到【灌水乐园】发言


