


0. 环境
- ubuntu18(依赖python2和pip,建议直接ubuntu18不用最新的)
- pixhawk 2.4.8
- pixhawk 4
1. 获取源码
# 安装git
sudo apt install git# 获取源码
cd ~/work
git clone --recurse-submodules https://github.com/ArduPilot/ardupilot
cd ardupilot
# 如果初次没顺利克隆子仓库,则:
git clone  https://github.com/ArduPilot/ardupilot
cd ardupilot
git submodule update --init --recursive
# 压缩源码备份
cd ~/work
7z a ardupilot_git_src_20240317.7z ardupilot
2. 安装依赖
$ ./Tools/environment_install/install-prereqs-ubuntu.sh
Install ArduPilot STM32 toolchain [N/y]?N
3. 安装交叉编译工具链
下载
https://firmware.ardupilot.org/Tools/STM32-tools/gcc-arm-none-eabi-10-2020-q4-major-x86_64-linux.tar.bz2
可以到这里浏览版本:
https://firmware.ardupilot.org/Tools/STM32-tools/
解压
tar -xjvf gcc-arm-none-eabi-10-2020-q4-major-x86_64-linux.tar.bz2
设置环境变量
export PATH=$PATH:/home/xxjianvm/work/gcc-arm-none-eabi-10-2020-q4-major/bin4. 编译
# 设置环境变量
export PATH=$PATH:/home/xxjianvm/work/gcc-arm-none-eabi-10-2020-q4-major/bin
export PATH=$PATH:/home/xxjianvm/work/ardupilot/Tools/autotest
export PATH=/usr/lib/ccache:$PATH
source /home/xxjianvm/work/ardupilot/Tools/completion/completion.bash
# 配置
./waf list_boards
./waf configure --board fmuv3          # 3DR Pixhawk 2 boards
#./waf configure --board fmuv5          # Pixhawk 4
# 编译
./waf clean
#./waf rover
#./waf copter 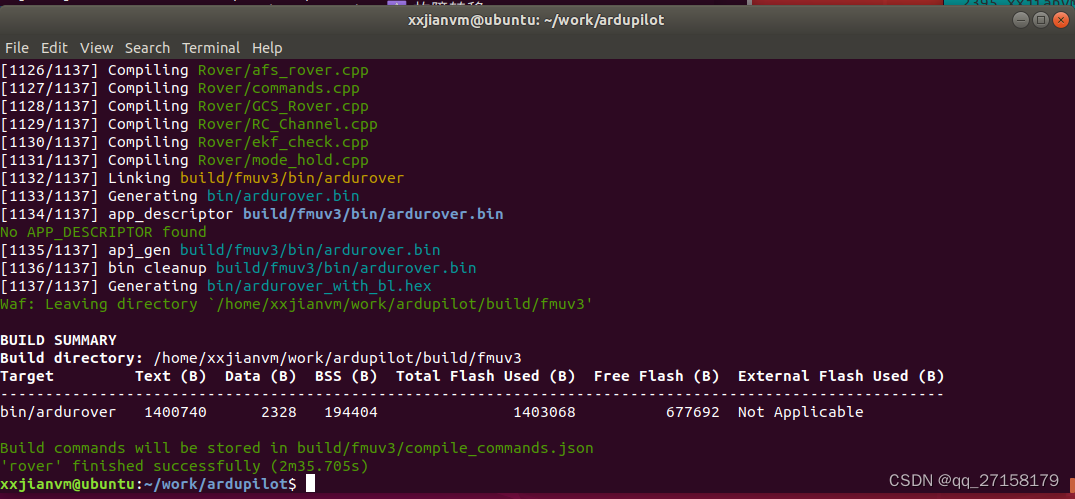
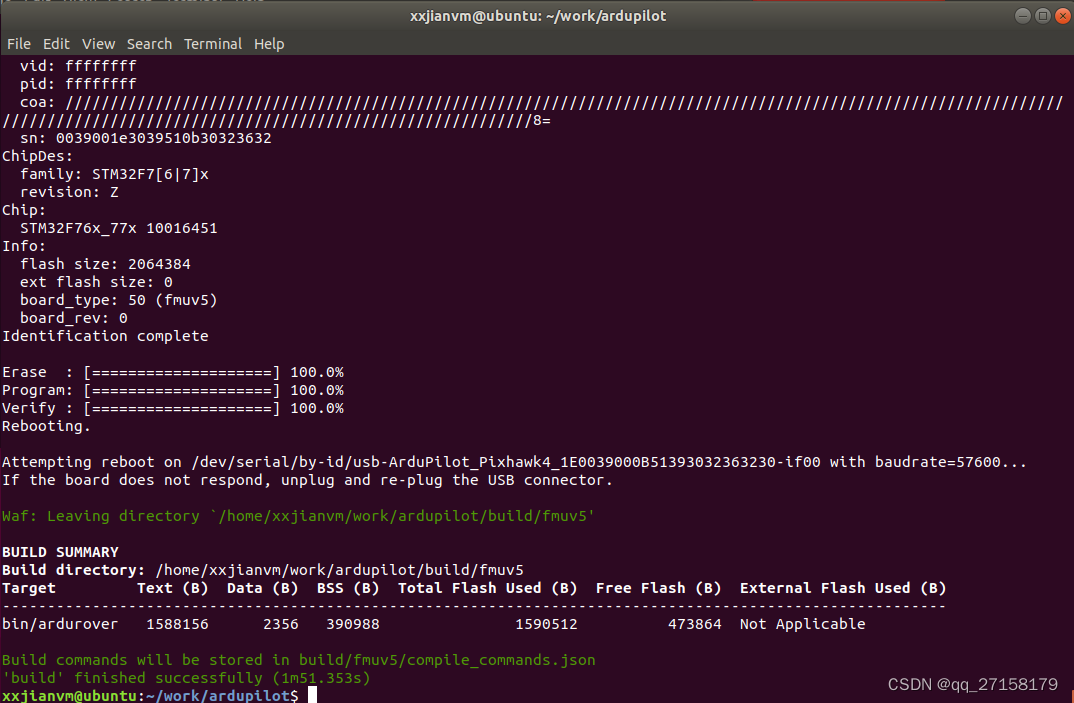
# 上传
./waf --targets bin/ardurover --upload5. 问题集锦
问题:/usr/bin/python3: can't open file '/home/xxjianvm/work/ardupilot/modules/DroneCAN/dronecan_dsdlc/dronecan_dsdlc.py': [Errno 2] No such file or directory
分析:网络不好,浏览发现dronecan_dsdlc是空的
解决办法:把文件夹 dronecan_dsdlc 删除,再次执行 git submodule update --init --recursive
问题:dronecan_dsdlc.py: error: the following arguments are required: namespace_dir
分析:发现DroneCAN下的DSDL、libcanard又是空的
6. 参考
[Pixhawk] ardupilot源码windows编译教程,https://blog.csdn.net/Sandman06/article/details/115617932

Windows/Ubuntu操作系统下ArduPilot(APM)固件的编译方法,https://blog.csdn.net/oqqENvY12/article/details/60581036
ardupilot的编译过程,https://blog.csdn.net/u014220146/article/details/133068197
https://ardupilot.org/dev/docs/building-setup-linux.html#building-setup-linux
https://github.com/ArduPilot/ardupilot/blob/master/BUILD.md
https://github.com/pixhawk/Hardware


 2432
2432

 被折叠的 条评论
为什么被折叠?
被折叠的 条评论
为什么被折叠?
 到【灌水乐园】发言


