### 回答1:
你可以使用 PyBullet 的 `pybullet.createMultiBody` 函数创建一个相机,并使用 `pybullet.getCameraImage` 函数获取 RGB 和深度图像。接下来,使用 `pybullet.resetBasePositionAndOrientation` 函数固定相机的位置和方向,最后使用 `pybullet.getCameraImage` 函数再次获取图像。代码如下:
```python
import pybullet as p
import time
# Initialize the simulation environment
physicsClient = p.connect(p.DIRECT)
p.setGravity(0, 0, -10)
# Create the camera
camera_id = p.createMultiBody(basePosition=[0, 0, 1],
baseOrientation=[0, 0, 0, 1],
bodyType=p.GEOM_BOX,
visualShapeId=-1,
camera=1)
# Set the camera position and orientation
p.resetBasePositionAndOrientation(camera_id, [0, 0, 1], [0, 0, 0, 1])
# Get the RGB and depth images
while True:
_, _, rgb, depth, _ = p.getCameraImage(width=256, height=256, viewMatrix=camera_id,
projectionMatrix=camera_id, renderer=p.ER_BULLET_HARDWARE_OPENGL)
print(rgb.shape)
print(depth.shape)
time.sleep(0.1)
# Disconnect the simulation
p.disconnect()
```
请注意,上面的代码是一个简单的示例,你可以根据需要进行修改。
### 回答2:
在使用Python编写并在PyBullet仿真环境中固定相机位置,并最终输出RGB和深度图像,可以按照以下步骤进行操作。
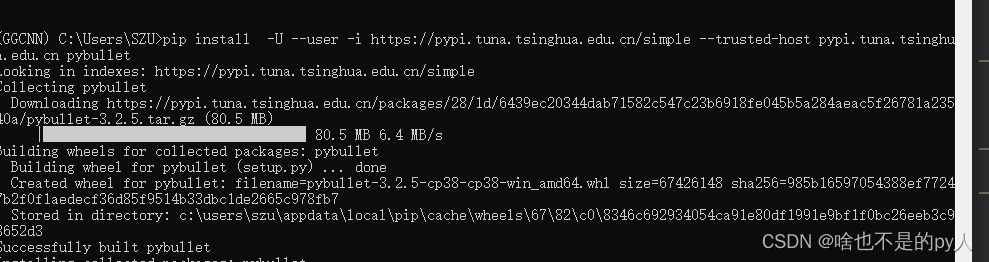
首先,您需要安装所需的库和工具。确保您已安装pybullet库和numpy库。
然后,您需要导入所需的库和模块。可以使用以下代码实现:
```python
import pybullet as pb
import numpy as np
```
接下来,您需要初始化仿真环境。使用以下代码可以启动PyBullet仿真环境:
```python
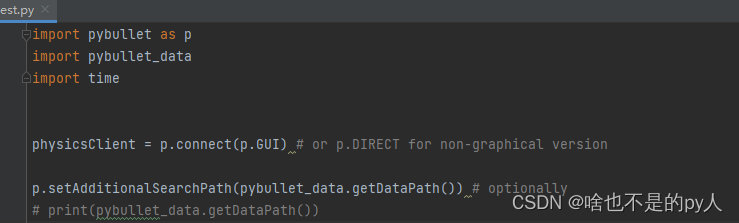
pb.connect(pb.GUI) # 连接到PyBullet仿真环境
pb.setAdditionalSearchPath(pybullet_data.getDataPath()) # 设置物理引擎的数据路径
pb.setGravity(0, 0, -9.8) # 设置仿真环境中的重力
plane_id = pb.loadURDF("plane.urdf") # 加载地面
```
在此之后,您需要创建相机对象并设置其位置和朝向。可以使用以下代码实现:
```python
# 创建相机
fov = 60 # 视野角度
aspect = 1.0 # 宽高比
near = 0.02 # 近裁剪面
far = 5.0 # 远裁剪面
camera_target_position = [0, 0, 0] # 相机的目标位置
camera_up_vector = [0, 0, 1] # 相机的朝向向量
camera_distance = 0.5 # 相机与目标的距离
# 创建相机视角
view_matrix = pb.computeViewMatrixFromYawPitchRoll(camera_target_position, camera_distance, 0, 0, 0, 2)
projection_matrix = pb.computeProjectionMatrixFOV(fov, aspect, near, far)
# 创建相机
camera_id = pb.addUserDebugCamera(camera_target_position, view_matrix, projection_matrix)
```
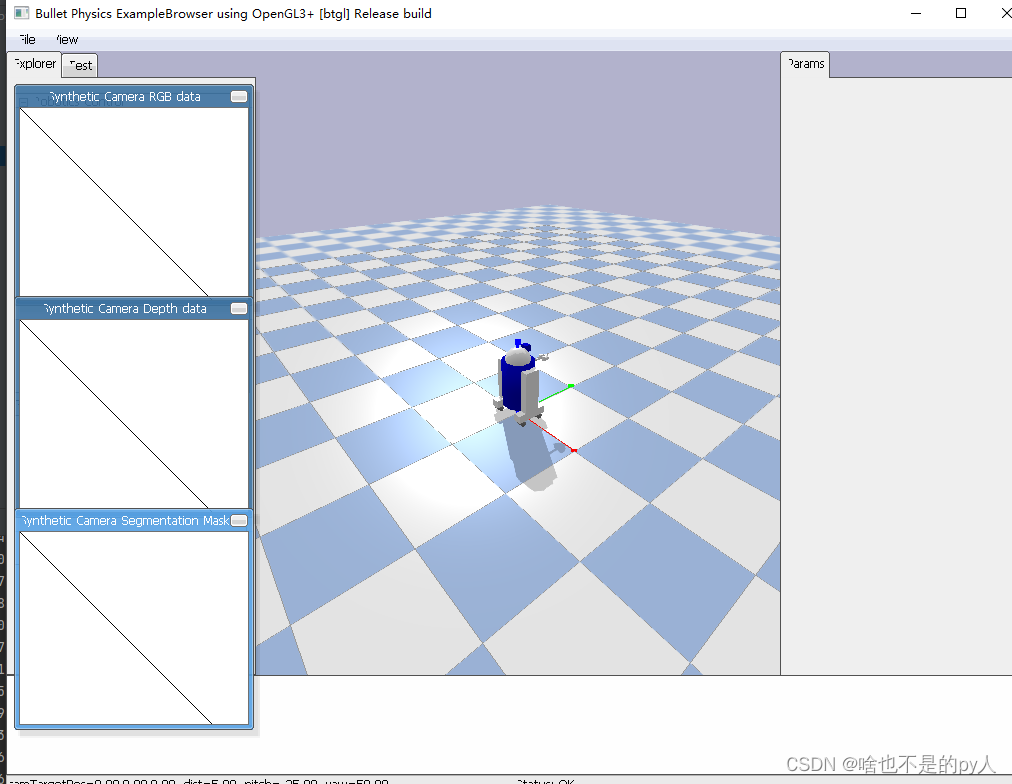
最后,您可以使用以下代码捕获相机的RGB和深度图像:
```python
# 获取RGB图像
width = 640 # 图像的宽度
height = 480 # 图像的高度
rgb_image = pb.getCameraImage(width, height, camera_id, renderer=pb.ER_BULLET_HARDWARE_OPENGL)
rgb_pixels = np.array(rgb_image[2], dtype=np.uint8).reshape(height, width, -1)
# 获取深度图像
depth_pixels = np.array(rgb_image[3], dtype=np.float32).reshape(height, width)
depth_image = (far + near - (2.0 * far * near) / depth_pixels) / (far - near)
```
您可以将RGB和深度图像保存为图像文件,也可以对其进行进一步的处理和分析。
最后,不要忘记在程序结束时释放仿真环境资源:
```python
pb.disconnect() # 断开与仿真环境的连接
```
这样,您就能够使用Python在PyBullet仿真环境中固定相机位置并输出RGB和深度图像。
### 回答3:
在pybullet仿真环境中使用Python编写,并固定相机在特定位置上,最后输出RGB和深度图像的步骤如下:
1. 导入所需的库和模块:
```python
import pybullet as p
import pybullet_data
import cv2
```
2. 初始化仿真环境:
```python
p.connect(p.DIRECT)
p.setAdditionalSearchPath(pybullet_data.getDataPath())
p.setGravity(0, 0, -9.8)
planeId = p.loadURDF("plane.urdf")
```
3. 添加机器人或其他模型:
```python
robotId = p.loadURDF("path_to_your_robot.urdf", basePosition=[0, 0, 0], baseOrientation=[0, 0, 0, 1])
```
4. 设置相机参数并固定在某一位置上:
```python
# 相机参数
width = 640
height = 480
fov = 60
aspect = width / height
near = 0.02
far = 5
# 相机位置和朝向
camera_pos = [0, 0, 1] # 设置相机位置
target_pos = [0, 0, 0] # 设置相机朝向
up_vector = [0, 0, 1] # 设置相机上方向
# 创建相机
view_matrix = p.computeViewMatrix(camera_pos, target_pos, up_vector)
projection_matrix = p.computeProjectionMatrixFOV(fov, aspect, near, far)
# 添加相机
cameraId = p.addUserDebugCamera(camera_pos, target_pos, up_vector, width, height, view_matrix, projection_matrix)
```
5. 循环渲染仿真环境,并获取RGB和深度图像:
```python
while True:
# 获取相机图像
(_, _, px, _, _) = p.getCameraImage(width, height, view_matrix, projection_matrix)
# 转换图像格式
img_rgb = cv2.cvtColor(px, cv2.COLOR_BGR2RGB)
img_depth = px[:, :, 3]
# 显示图像
cv2.imshow("RGB Image", img_rgb)
cv2.imshow("Depth Image", img_depth)
# 退出循环
if cv2.waitKey(1) & 0xFF == ord('q'):
break
```
6. 释放资源并关闭窗口:
```python
cv2.destroyAllWindows()
p.disconnect()
```
请确保在编写代码前安装了相应的库(pybullet、pybullet_data、opencv-python)并将模型文件(机器人模型)放在正确的路径下。
这样,就可以使用Python在pybullet仿真环境中设置并固定相机在某一位置上,并最终输出RGB和深度图像了。


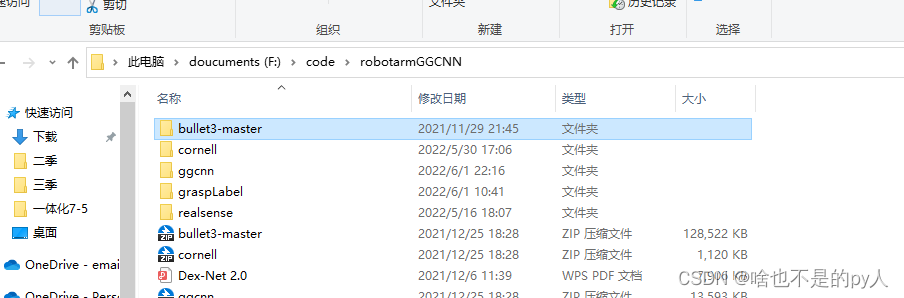

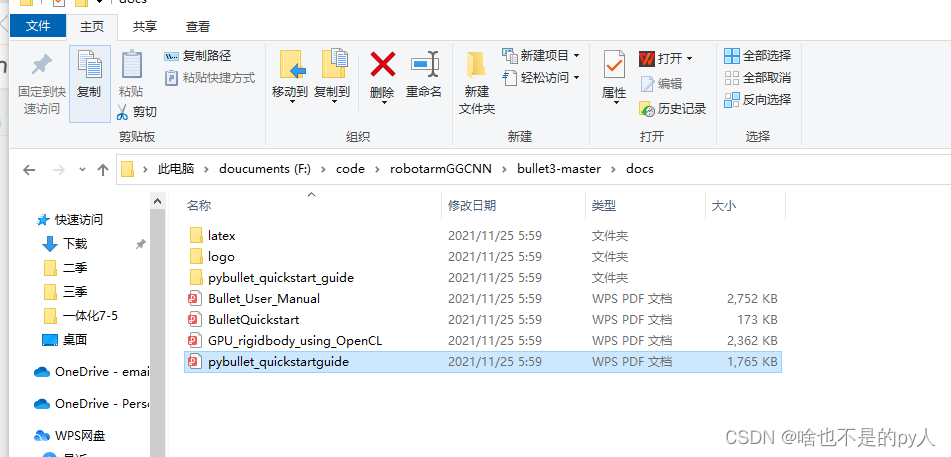


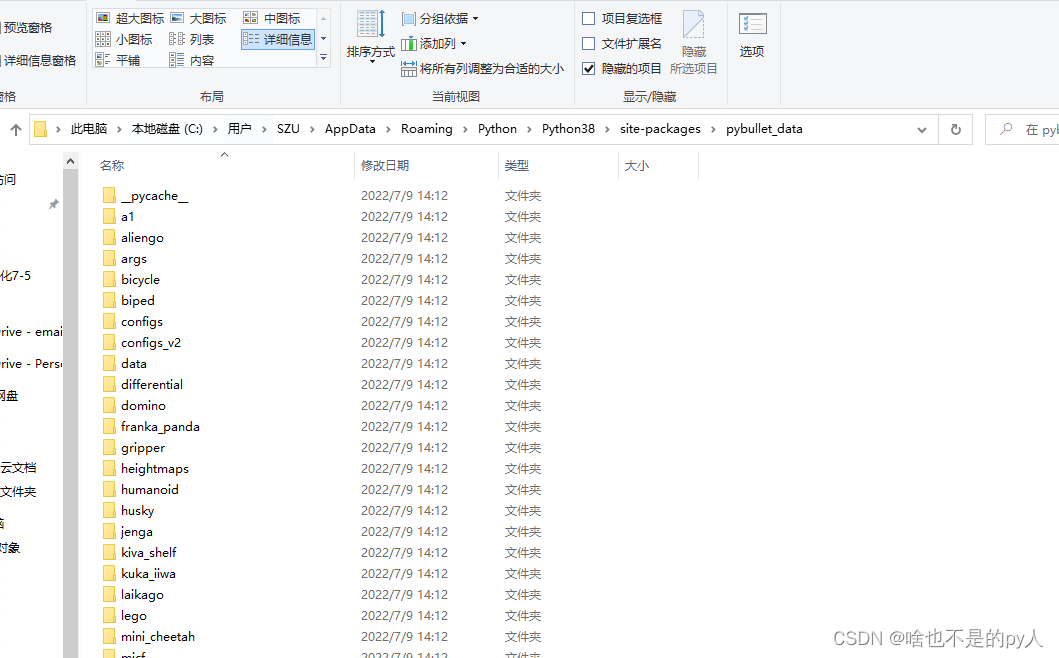
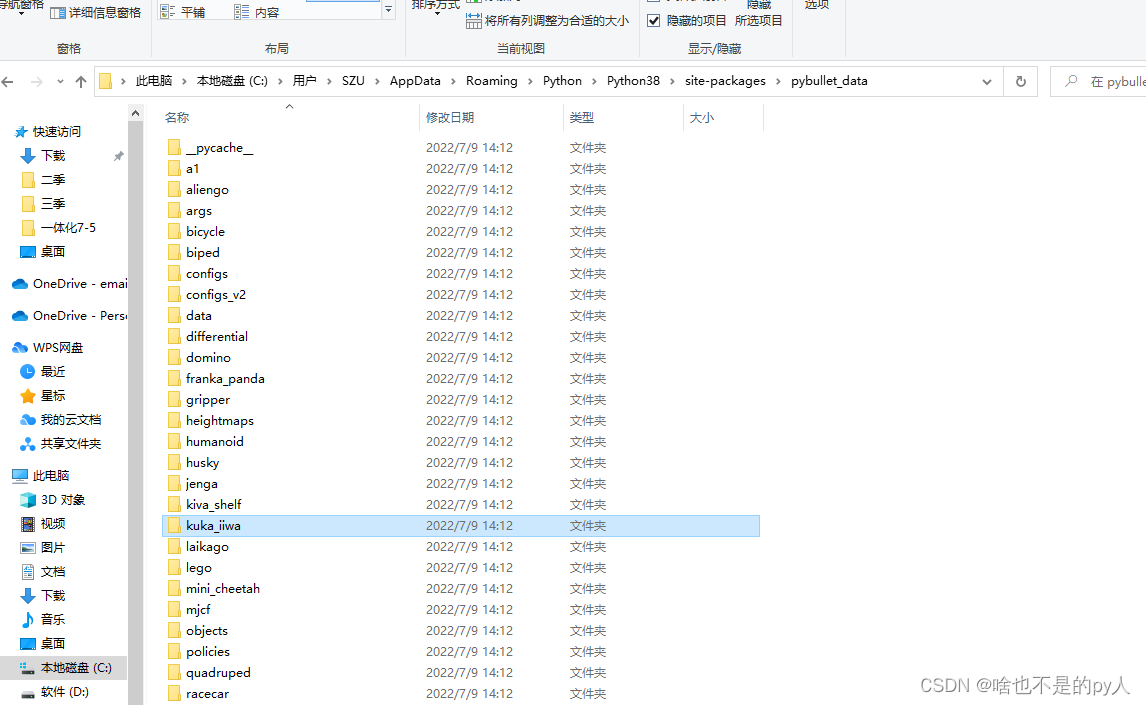
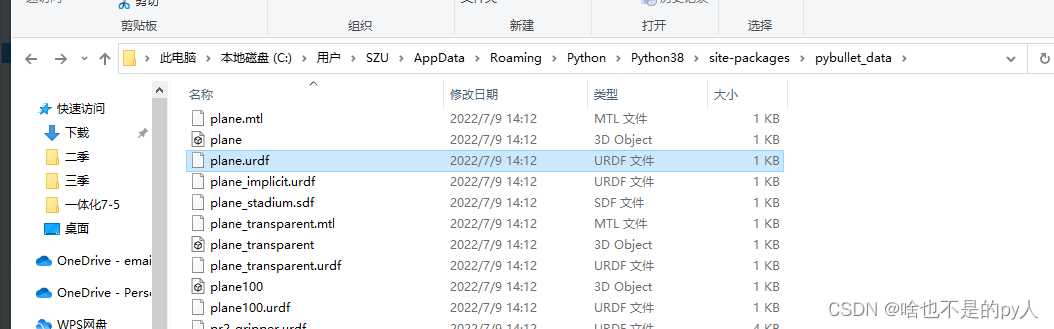
 可以看到 这就是pybullet的安装路径


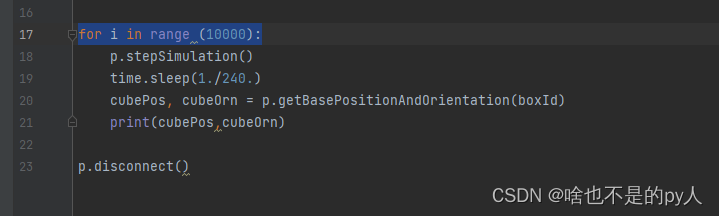
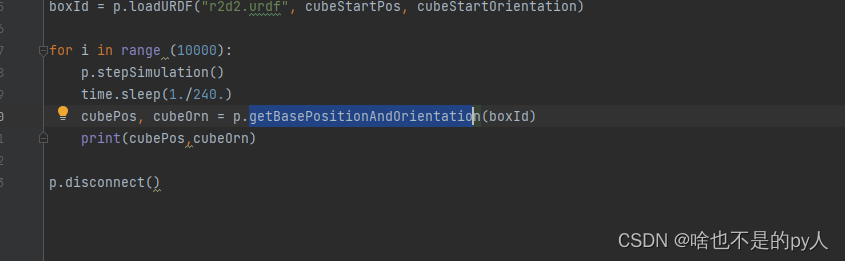 运用这个函数


 4702
4702


 被折叠的 条评论
为什么被折叠?
被折叠的 条评论
为什么被折叠?
 到【灌水乐园】发言


