


一. 安装
1. Ubuntu
# 安装依赖
# 必选
sudo apt install build-essential libglib2.0-dev cmake
# 可选,可根据使用的语言选择安装
sudo apt install default-jdk python-all-dev liblua5.1-dev golang doxygen
# 拷贝源码
git clone https://github.com/lcm-proj/lcm.git
cd lcm
# 编译并安装
mkdir build && cd build
cmake ..
make -j4
sudo make install
2. Windows
1)安装 Python
可以使用 Anaconda,也可以直接安装,安装完一定要添加环境变量。添加成功后在 CMD 中输入python会进入 python 交互命令行。
2)安装 Glib for Windows
从网站上安装 MSYS2 环境,假设我们把 MSYS2 安装到了 D 盘根目录,运行 D:\msys64\msys2_shell.cmd打开 MSYS2 的终端,在终端中运行pacman -S mingw-w64-x86_64-gtk3命令安装 Glib。
安装完成后将D:\msys64\mingw64\lib和D:\msys64\mingw64\bin添加进环境变量,在正式编译安装 LCM 之前需要重启 Windows 来使环境变量生效。
3)安装 CMake
从网站上安装 CMake,在 Windows 上可以直接下载 Windows x64 Installer 来安装。
4)安装 Visual Studio
从网站上安装 Visual Studio Community 2022(更早的版本也可以),安装 VS 主要是获取其 MSVC 编译环境来进行 LCM 的编译,所以我们只需要安装“使用 C++ 的桌面开发”即可。
5)编译安装 LCM
下载安装包并解压,打开 CMake GUI,选择源码目录和安装目录。

点击 Configure,创建build目录并选择编译器和平台,因为我安装的是 Visual Studio 2022,所以选择 2022 的编译器版本。

等待第一次 Configure 结束后,我们需要把LCM_ENBALE_TESTS选项去掉,然后重新 Configure。

点击 Generate 生成 Visual Studio 工程,进入/lcm-master/build文件夹,打开 lcm.sln 并将生成方式从 debug 改成 release。

在 ALL_BUILD 项目上单击右键,选择生成。

编译成功后使用管理员身份重新打开 lcm.sln 解决方案。在 INSTALL 项目上单击右键,选择仅用于项目>>仅生成 INSTALL。

安装成功后将C:\Program Files\lcm\bin添加进环境变量并重启使之生效。
二. 单机通信
本节以 Windows 环境演示,所有代码在 Ubuntu 下也可以正常运行,Ubuntu 环境下编译运行很简单,只需要安装build-essential就可以轻松完成下面所有的编译工作。
创建 lcm_test 文件夹,创建lcm_send.cpp,lcm_receive.cpp,read_log.cpp,example_t.lcm,CMakeLists.txt五个文件。
lcm_send.cpp:
#include <lcm/lcm-cpp.hpp>

#include "exlcm/example_t.hpp"

int main(int argc, char ** argv)
{
    lcm::LCM lcm("udpm://239.255.76.67:7667?ttl=1");
    if(!lcm.good())
        return 1;
    exlcm::example_t my_data;
    my_data.timestamp = 0;
    my_data.position[0] = 1;
    my_data.position[1] = 2;
    my_data.position[2] = 3;
    my_data.orientation[0] = 1;
    my_data.orientation[1] = 0;
    my_data.orientation[2] = 0;
    my_data.orientation[3] = 0;
    my_data.num_ranges = 15;
    my_data.ranges.resize(my_data.num_ranges);
    for(int i = 0; i < my_data.num_ranges; i++)
        my_data.ranges[i] = i;
    my_data.name = "example string from computer1";
    my_data.enabled = true;
    lcm.publish("EXAMPLE", &my_data);
    return 0;
}
lcm_receive.cpp:
#include <stdio.h>
#include <lcm/lcm-cpp.hpp>
#include "exlcm/example_t.hpp"
class Handler
{
    public:
        ~Handler() {}
        void handleMessage(const lcm::ReceiveBuffer* rbuf,
                const std::string& chan,
                const exlcm::example_t* msg)
        {
            int i;
            printf("Received message on channel \"%s\":\n", chan.c_str());
            printf("  timestamp   = %lld\n", (long long)msg->timestamp);
            printf("  position    = (%f, %f, %f)\n",
                    msg->position[0], msg->position[1], msg->position[2]);
            printf("  orientation = (%f, %f, %f, %f)\n",
                    msg->orientation[0], msg->orientation[1],
                    msg->orientation[2], msg->orientation[3]);
            printf("  ranges:");
            for(i = 0; i < msg->num_ranges; i++)
                printf(" %d", msg->ranges[i]);
            printf("\n");
            printf("  name        = '%s'\n", msg->name.c_str());
            printf("  enabled     = %d\n", msg->enabled);
        }
};
int main(int argc, char** argv)
{
    lcm::LCM lcm("udpm://239.255.76.67:7667?ttl=1");
    if(!lcm.good())
        return 1;
    Handler handlerObject;
    lcm.subscribe("EXAMPLE", &Handler::handleMessage, &handlerObject);
    while(0 == lcm.handle());
    return 0;
}
read_log.cpp:
#include <stdio.h>

#include <lcm/lcm-cpp.hpp>

#include "exlcm/example_t.hpp"

int main(int argc, char **argv)
{
    if (argc < 2) {
        fprintf(stderr, "usage: read_log <logfile>\n");
        return 1;
    }

    // Open the log file.
    lcm::LogFile log(argv[1], "r");
    if (!log.good()) {
        perror("LogFile");
        fprintf(stderr, "couldn't open log file %s\n", argv[1]);
        return 1;
    }

    while (1) {
        // Read a log event.
        const lcm::LogEvent *event = log.readNextEvent();
        if (!event)
            break;

        // Only process messages on the EXAMPLE channel.
        if (event->channel != "EXAMPLE")
            continue;

        // Try to decode the message.
        exlcm::example_t msg;
        if (msg.decode(event->data, 0, event->datalen) != event->datalen)
            continue;

        // Decode success!  Print out the message contents.
        printf("Message:\n");
        printf("  timestamp   = %lld\n", (long long) msg.timestamp);
        printf("  position    = (%f, %f, %f)\n", msg.position[0], msg.position[1], msg.position[2]);
        printf("  orientation = (%f, %f, %f, %f)\n", msg.orientation[0], msg.orientation[1],
               msg.orientation[2], msg.orientation[3]);
        printf("  ranges:");
        for (int i = 0; i < msg.num_ranges; i++)
            printf(" %d", msg.ranges[i]);
        printf("\n");
        printf("  name        = '%s'\n", msg.name.c_str());
        printf("  enabled     = %d\n", msg.enabled);
    }

    // Log file is closed automatically when the log variable goes out of
    // scope.

    printf("done\n");
    return 0;
}
example_t.lcm:
package exlcm;
struct example_t
{
    int64_t  timestamp;
    double   position[3];
    double   orientation[4];
    int32_t  num_ranges;
    int16_t  ranges[num_ranges];
    string   name;
    boolean  enabled;
}
CMakeLists.txt:
cmake_minimum_required(VERSION 3.1)

project(lcm_test)

find_package(lcm REQUIRED)

add_executable(lcm_receive lcm_receive.cpp)

add_executable(lcm_send lcm_send.cpp)

add_executable(read_log read_log.cpp)

target_link_libraries(lcm_receive lcm)

target_link_libraries(lcm_send lcm)

target_link_libraries(read_log lcm)
随后使用命令行(cmd、PowerShell)打开 lcm_test 文件夹,并运行lcm-gen -x example_t.lcm命令生成消息类型,成功运行后会生成 exlcm 文件夹。若没有识别lcm-gen命令,则需要检查是否成功安装 lcm,或是否将 lcm 编译结果添加进环境变量。
创建 build 文件夹并进入,随后运行cmake ..和make。若没有 mingw 提供的 make 命令,则可以仿照编译 lcm 的流程,使用 CMake GUI 生成 Visual Studio 工程,使用 Visual Studio 编译并运行。下面我都是使用 VSCode+MinGW 进行演示的。
编译完成后先运行 lcm_receive.exe,再运行 lcm_send.exe,便可看到接收到的消息。

三. 多机通信
首先需要保证两台电脑处于一个局域网的子网下,可以使用 ping 命令进行验证。在 WIndows 上运行ipconfig获取 IP 地址,在 Ubuntu 上运行hostname -I获取 IP 地址。
在 Windows 上还需要关闭防火墙,打开设置中的“网络和Internet”,依次选择“高级网络设置”,“Windows 防火墙”,“高级设置”。点击“入站规则”,找到“文件和打印机共享(回显请求 - ICMPv4-In)”,将其设置为允许,如下图:

成功 ping 通后,在 Ubuntu 环境中首先需要运行ifconfig | grep -B 1 <ubuntu ip address> | grep "flags"| cut -d ':' -f1,查看该 IP 对应的网络设备,其中 <ubuntu ip address> 需要用实际获取到的 IP 地址进行替换。
假设我们对应的网络设备是 lo,下面用 <lo> 代替,使用时需要进行替换。运行下面两条命令来显式使能 UDP 多播和添加路由表。
sudo ifconfig <lo> multicast #使能UDP多播
sudo route add -net 224.0.0.0 netmask 240.0.0.0 dev <lo> #添加路由表
Ubuntu 配置结束,可以正常进行消息的收发。
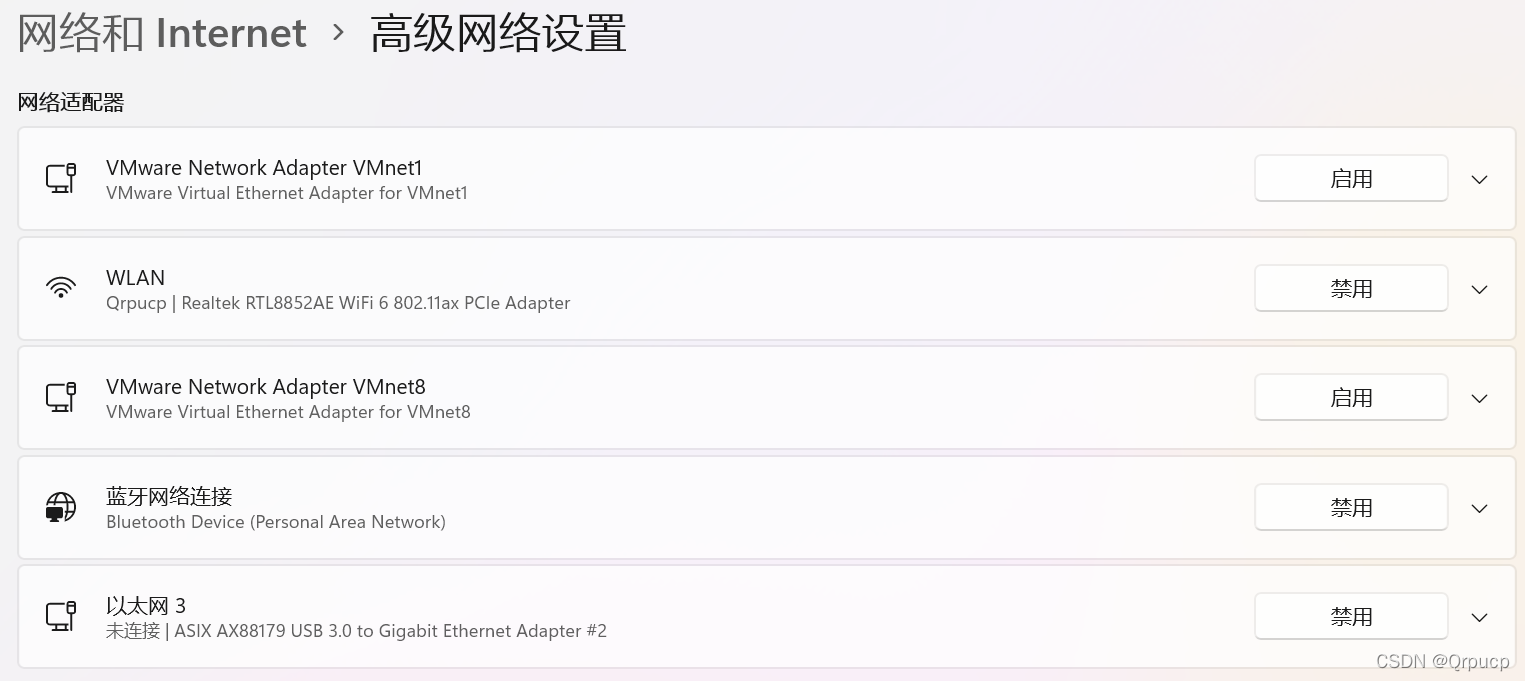
在 Windows 上如果安装了 VMware 等虚拟机,需要先禁用虚拟机的网卡,如下图。
禁用完网卡后就可以进行多机收发的测试了,分别在两台电脑上运行lcm_receive和lcm_send即可。如果发现不能正常通信,可以先关闭 Windows 的防火墙再进行尝试,如果问题解决,则可以打开防火墙,在防火墙上开放 UDP 7667 端口即可;如果问题没有解决,说明不是防火墙的问题,可以按照下面这篇文章在 Windows 上配置路由表再进行尝试。
四. 日志保存与读取
在数据收发的过程中,运行lcm-logger即可进行日志的保存,运行结束后会在当前目录下生成 lcmlog 文件,我们可以使用前面生成的read_log程序来进行日志的读取。使用 MITlcm-log2smat 还可以将 lcm 日志文件转化为 Matlab(.mat)或 Python Pickle (.pkl) 文件。
五. 参考资料
Lightweight Communications and Marshalling (LCM)


 407
407


 被折叠的 条评论
为什么被折叠?
被折叠的 条评论
为什么被折叠?
 到【灌水乐园】发言


