


安装
sudo apt-get install ros-melodic-depthimage-to-laserscan
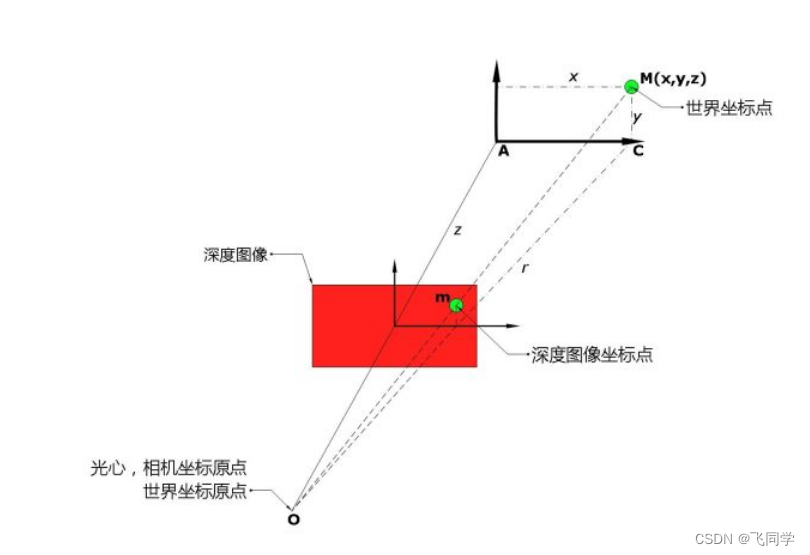
depthimage_to_laserscan 功能包核心:
订阅的Topic
image(sensor_msgs/Image)
输入图像信息。
camera_info(sensor_msgs/CameraInfo)
关联图像的相机信息。通常不需要重新映射,因为camera_info将从与image相同的命名空间中进行订阅。
发布的Topic
scan(sensor_msgs/LaserScan)
发布转换成的激光雷达类型数据。
一般需要设置的是:
scan_height(int, default: 1 pixel)
设置用于生成激光雷达信息的象素行数。
scan_time(double, default: 1/30.0Hz (0.033s))
两次扫描的时间间隔。
range_min(double, default: 0.45m)
返回的最小范围。结合range_max使用,只会获取 range_min 与 range_max 之间的数据。
range_max(double, default: 10.0m)
返回的最大范围。结合range_min使用,只会获取 range_min 与 range_max 之间的数据。
output_frame_id(str, default: camera_depth_frame)
激光信息的ID,需要与深度相机的坐标系一致。
################################################################
根据rostopic list中深度相机的深度图像话题修改image和camera_info的内容

为了与2D激光雷达输出的默认激光话题/scan区分,将输出的伪激光话题remap重映射为depth_scan
核心代码
取深度图像上每一列最小值依次保存到雷达ranges[]数组中,这样理论上,我们将会获kinect前方纵向上最近的障碍物距离,ranges[]数组体现了横向每个障碍点到kinect距离。但是实际,纵向上扫面的高度极为苛刻,并不能把地面到到0.6米的高度都扫一遍,因为什么呢,请看后面总结。先看核心代码,思路:先行扫描将数据存到ranges[]中,然后再高度扫面,比较下一行与原来数据ranges[],小数据替换原来ranges[]中的大数据,这样就将高度给压缩了。
在其中的convert函數中
void convert(const sensor_msgs::ImageConstPtr& depth_msg, const image_geometry::PinholeCameraModel& cam_model,
const sensor_msgs::LaserScanPtr& scan_msg, const int& scan_height)
計算到圖像中心的偏移量是通過
const int offset = (int)(center_y - scan_height/2);
這裡修改為:
const int offset = 0;
  if (!_sdf->HasElement("pointCloudCutoff"))
    this->point_cloud_cutoff_ = 0.4;
  else
    this->point_cloud_cutoff_ = _sdf->GetElement("pointCloudCutoff")->Get<double>();
  if (!_sdf->HasElement("pointCloudCutoffMax"))
    this->point_cloud_cutoff_max_ = 5.0;
  else
限制最远5米
<launch>
    <node pkg="depthimage_to_laserscan" type="depthimage_to_laserscan" name="depthimage_to_laserscan">
        <remap from="image" to="/camera/depth/image_raw" />
        <param name="output_frame_id" value="camera_link"  />
    </node>
</launch>
参考:https://www.itdaan.com/blog/2017/09/14/e707ed6398575abe92857ccb9d01f078.html 核心代码算法讲解
https://blog.csdn.net/YiYeZhiNian/article/details/106084250 代码架构简析


 319
319


 被折叠的 条评论
为什么被折叠?
被折叠的 条评论
为什么被折叠?
 到【灌水乐园】发言


