


 该文是关于NuScenes数据集的MapExpansion模块的学习记录,主要涉及在GoogleColab环境中初始化地图加载、地图的可视化(包括渲染多个图层、特定记录的地图层)以及导航功能。文章还提到了数据探索和车道连接信息的处理。
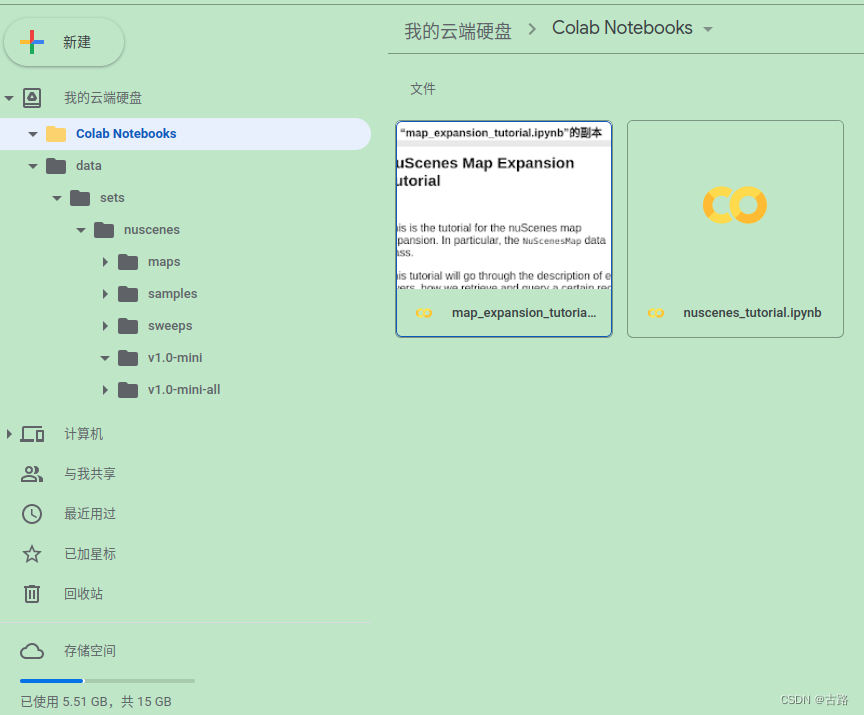
nuScenes Map Expansion Tutorial
0.引言
1.Google colab
本地配置还是比较麻烦,使用官方的教程进行学习,官方的教程是基于colab的。
我的云盘:
挂载Google云盘:
from google.colab import drive
drive.mount('/content/drive/')
import os
os.chdir('/content/drive/My Drive/')
!pwd
运行时会提示:

2.初始化加载地图
!pip install nuscenes-devkit &> /dev/null  # Install nuImages.import matplotlib.pyplot as plt
import matplotlib.pyplot as plt
import tqdm
import numpy as np

from nuscenes.map_expansion.map_api import NuScenesMap
from nuscenes.map_expansion import arcline_path_utils
from nuscenes.map_expansion.bitmap import BitMap
from google.colab import drive
drive.mount('/content/drive/')
import os
os.chdir('/content/drive/My Drive/')
!pwd
nusc_map = NuScenesMap(dataroot='/content/drive/My Drive/data/sets/nuscenes', map_name='singapore-onenorth')
3.Visualization
- Rendering multiple layers

- Rendering the lidar basemap
Rendering the lidar basemap
New: We can render the HD lidar basemap used for localization. The basemap is a bitmap image that can be underlaid for most functions (render_centerlines, render_egoposes_on_fancy_map, render_layers, render_map_patch, render_next_roads, render_record). The same BitMap class can also be used to render the semantic prior (drivable surface + sidewalk) from the original nuScenes release. Note that in this visualization we only show the lane annotations for better visibility.

-
Rendering a particular record of the map layer

-
Rendering binary map mask layers


- Rendering map layers on top of camera images
!pip install nuscenes-devkit &> /dev/null  # Install nuImages.import matplotlib.pyplot as plt

# Init nuScenes. Requires the dataset to be stored on disk.
from nuscenes.nuscenes import NuScenes
from google.colab import drive
drive.mount('/content/drive/')
import os
os.chdir('/content/drive/My Drive/')
!pwd
nusc = NuScenes(version='v1.0-mini', dataroot='/content/drive/My Drive/data/sets/nuscenes', verbose=True, map_resolution=1)

# Pick a sample and render the front camera image.
sample_token = nusc.sample[9]['token']
layer_names = ['road_segment', 'lane', 'ped_crossing', 'walkway', 'stop_line', 'carpark_area']
camera_channel = 'CAM_FRONT'
nusc_map.render_map_in_image(nusc, sample_token, layer_names=layer_names, camera_channel=camera_channel)

- Rendering ego poses on the map

4.Navigation
We also provide functions for navigation around the road network. For this purpose, the road layers lane, road_block and road_segment are especially useful (see definitions below). The get_next_roads(x, y) function looks at the road layer at a particular point. It then retrieves the next road object in the direction of the lane or road_block. As road_segments do not have a direction (e.g. intersections), we return all possible next roads.

- Working with Lanes
For the prediction challenge we added connectivity information to the map expansion (v1.2) to efficiently query which lane is connected to which other lanes. Below we render the lane and lane_connector objects. The lanes and lane_connectors are defined by parametric curves. The resolution_meters parameter specifies the discretization resolution of the curve. If we set it to a high value (e.g. 100), the curves will appear as straight lines. We recommend setting this value to 1m or less.

- Data Exploration
Let’s render a particular patch on the map:

- Polygon

- Drivable Area
Drivable area is defined as the area where the car can drive, without consideration for driving directions or legal restrictions. This is the only layer in which the record can be represented by more than one geometric entity.
Note: On some machines this polygon renders incorrectly as a filled black rectangle.

If we render this road segment we can see that it is indeed an intersection:


5.other
其实我更好奇他是如何将数据转换为json文件的?


 1万+
1万+

 被折叠的 条评论
为什么被折叠?
被折叠的 条评论
为什么被折叠?
 到【灌水乐园】发言


