


和上一章节一样,机器人入门同样有三种方式,本文只演示第一种和第三种方式
一、基于GUI的方式
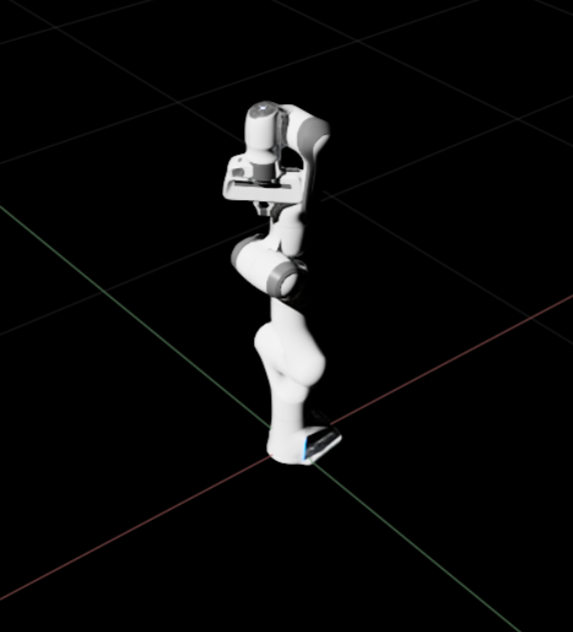
1.打开isaacsim,从新的stage开始(File > New Stage)然后通过Create > Robot > Franka Emika Panda Arm将机器人添加到场景中
2.检查机器人
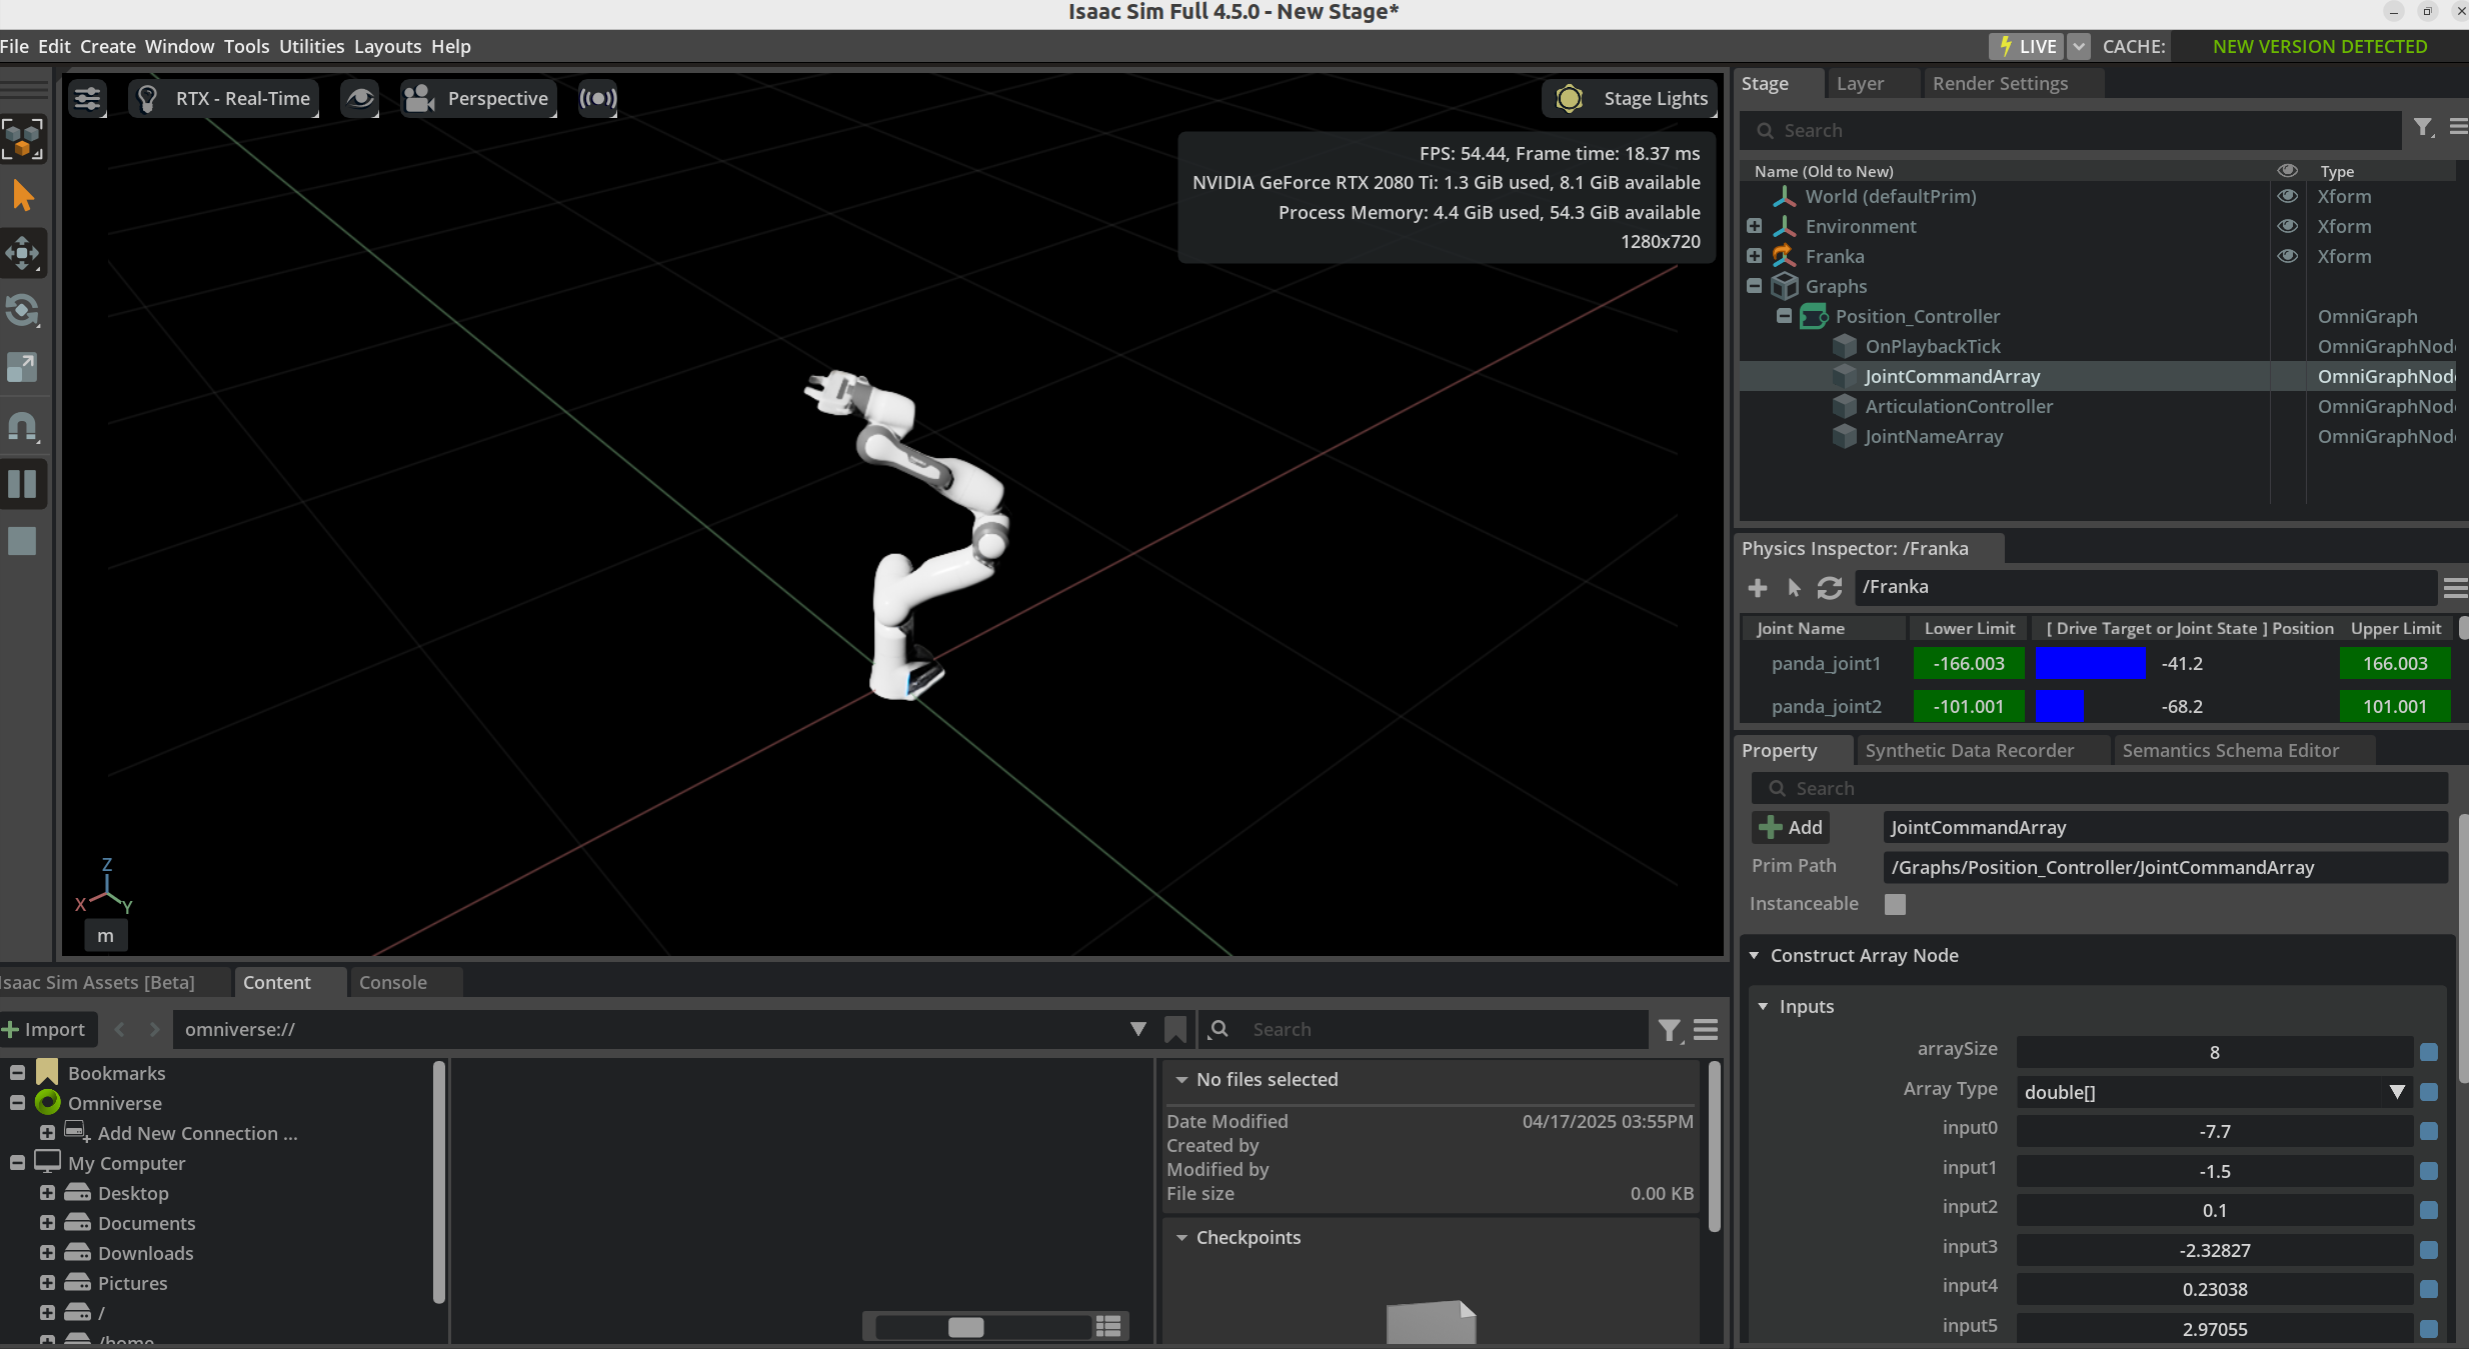
使用Physics Inspector 检查机器人的关节属性。使用方式,先打开Physics Inspector(Tools > Physics > Physics Inspector)
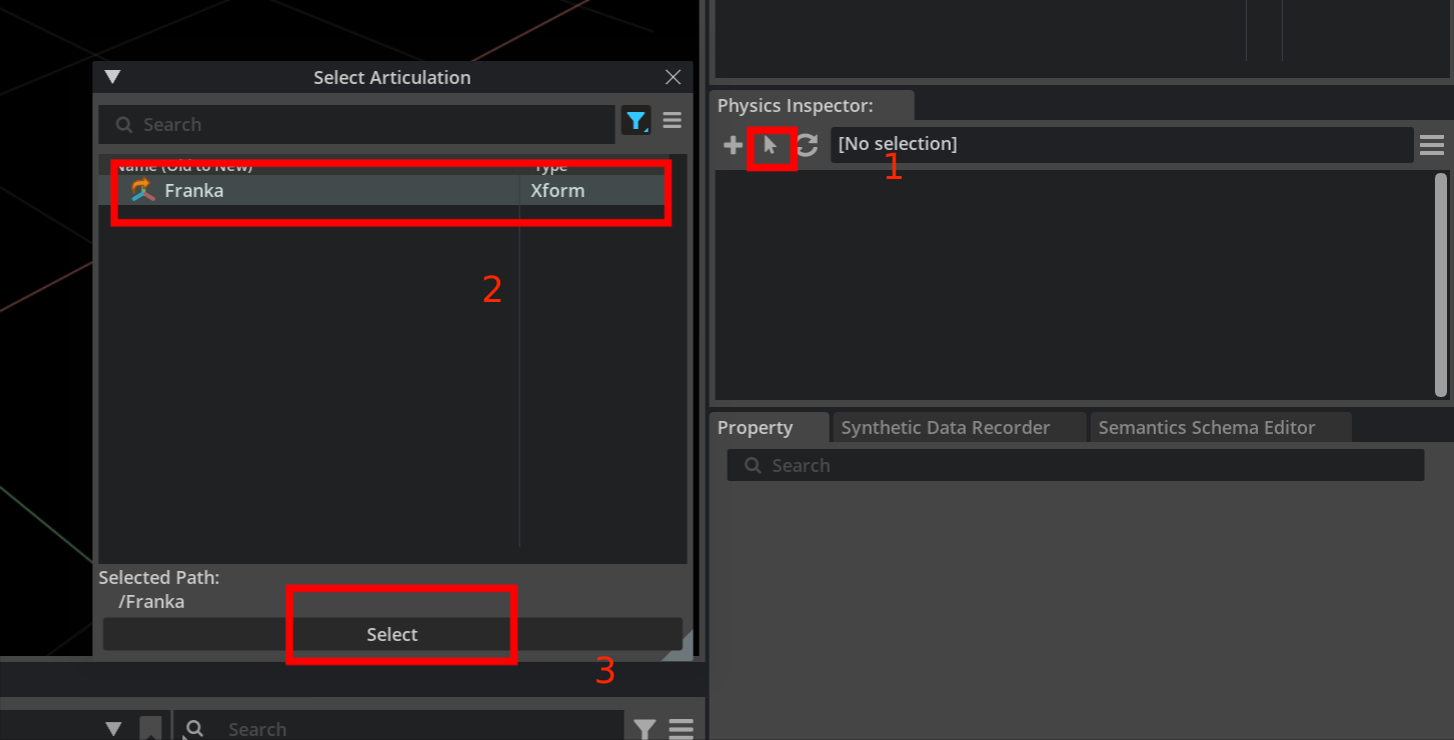
更改其中的值可以在stage上看到相应的改动情况
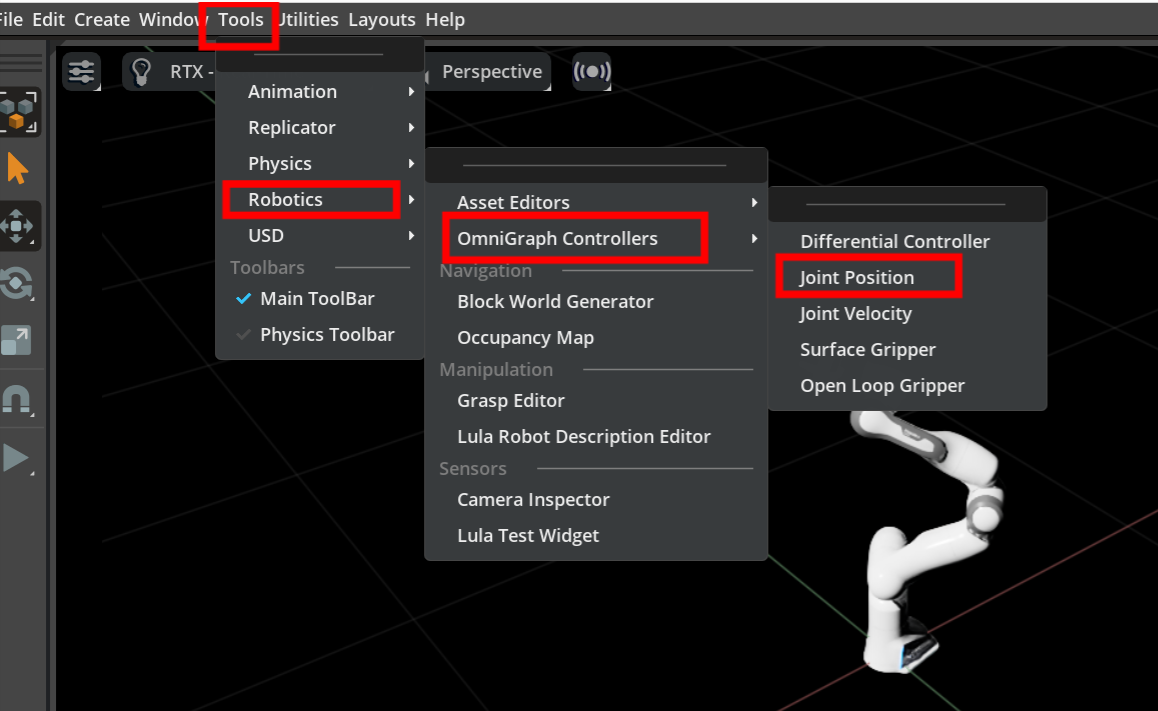
3.控制机器人
依次选择Tools -> Robotics -> Omnigraph Controllers -> Joint Position打开图形生成器:
在新出现的“Articulation Position Controller Inputs”弹出窗口中,单击“Robot Prim”字段的 “Add”,选择 Franka 作为 Target。
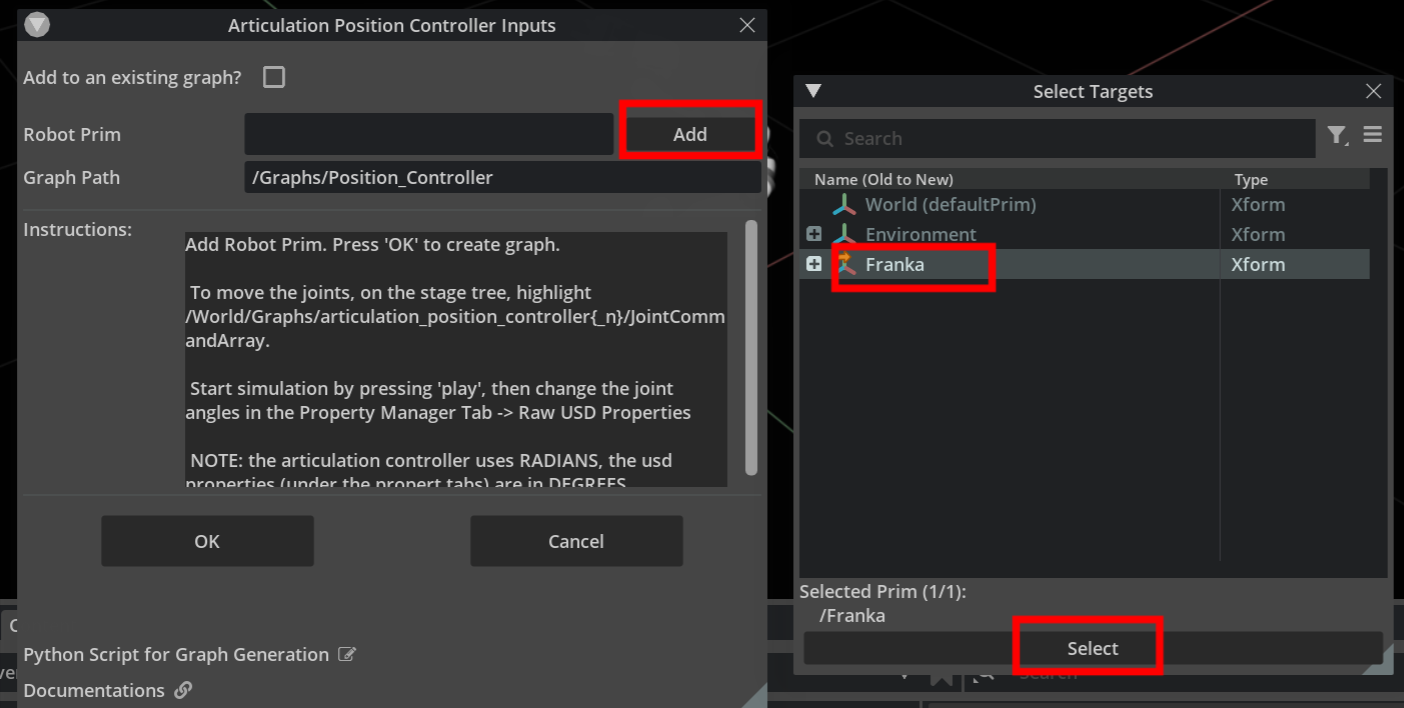
点击play开始模拟,在stage树中打开JointCommandArray的属性面板,改变属性可以看到关节的运动:
二、基于python的方式
在解压目录下运行:
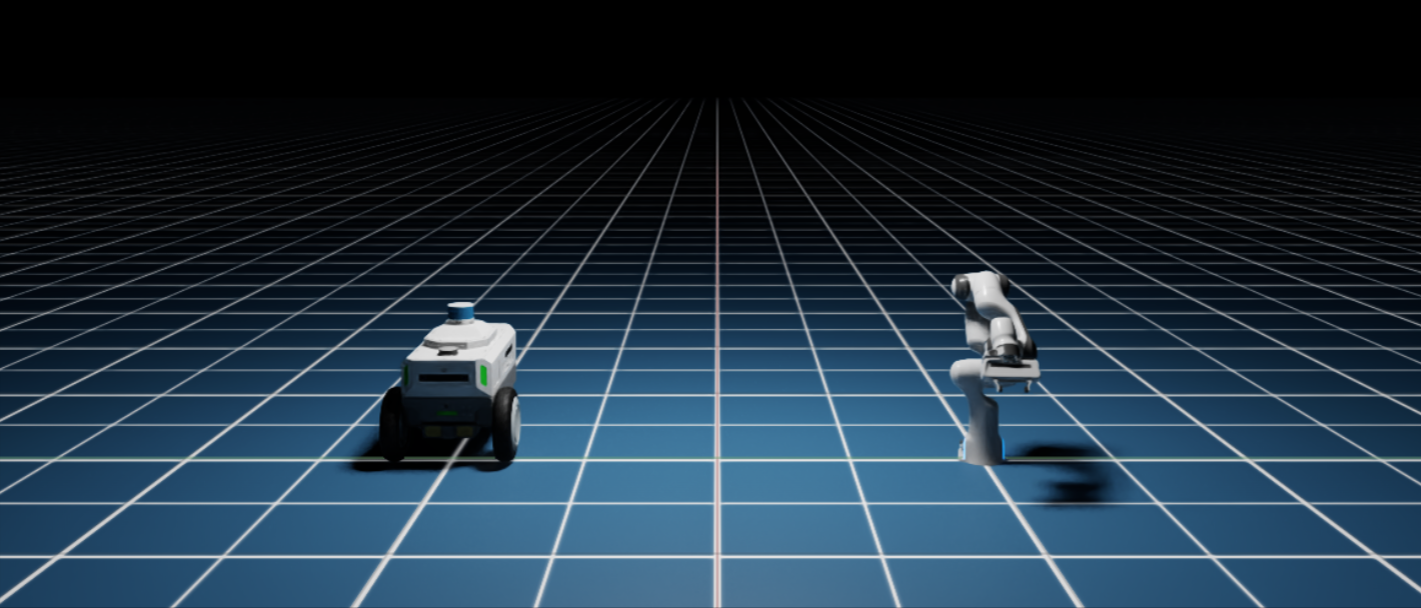
./python.sh standalone_examples/tutorials/getting_started_robot.py运行结果:
代码关键部分:
    for i in range(4):
        print("running cycle: ", i)
        if i == 1 or i == 3:
            print("moving")
            # move the arm
            arm.set_joint_positions([[-1.5, 0.0, 0.0, -1.5, 0.0, 1.5, 0.5, 0.04, 0.04]])
            # move the car
            car.set_joint_velocities([[1.0, 1.0, 1.0, 1.0, 1.0, 1.0, 1.0]])
        if i == 2:
            print("stopping")
            # reset the arm
            arm.set_joint_positions([[0.0, 0.0, 0.0, 0.0, 0.0, 0.0, 0.0, 0.0, 0.0]])
            # stop the car
            car.set_joint_velocities([[0.0, 0.0, 0.0, 0.0, 0.0, 0.0, 0.0]])

        for j in range(100):
            # step the simulation, both rendering and physics
            my_world.step(render=True)
            # print the joint positions of the car at every physics step
            if i == 3:
                car_joint_positions = car.get_joint_positions()
                print("car joint positions:", car_joint_positions)
代码运行四个周期,在每个周期中,机械臂和汽车将移动或停止移动。汽车的关节位置将在最后一个周期的每个物理步骤中打印。


 897
897

 被折叠的 条评论
为什么被折叠?
被折叠的 条评论
为什么被折叠?
 到【灌水乐园】发言


