


一、综述
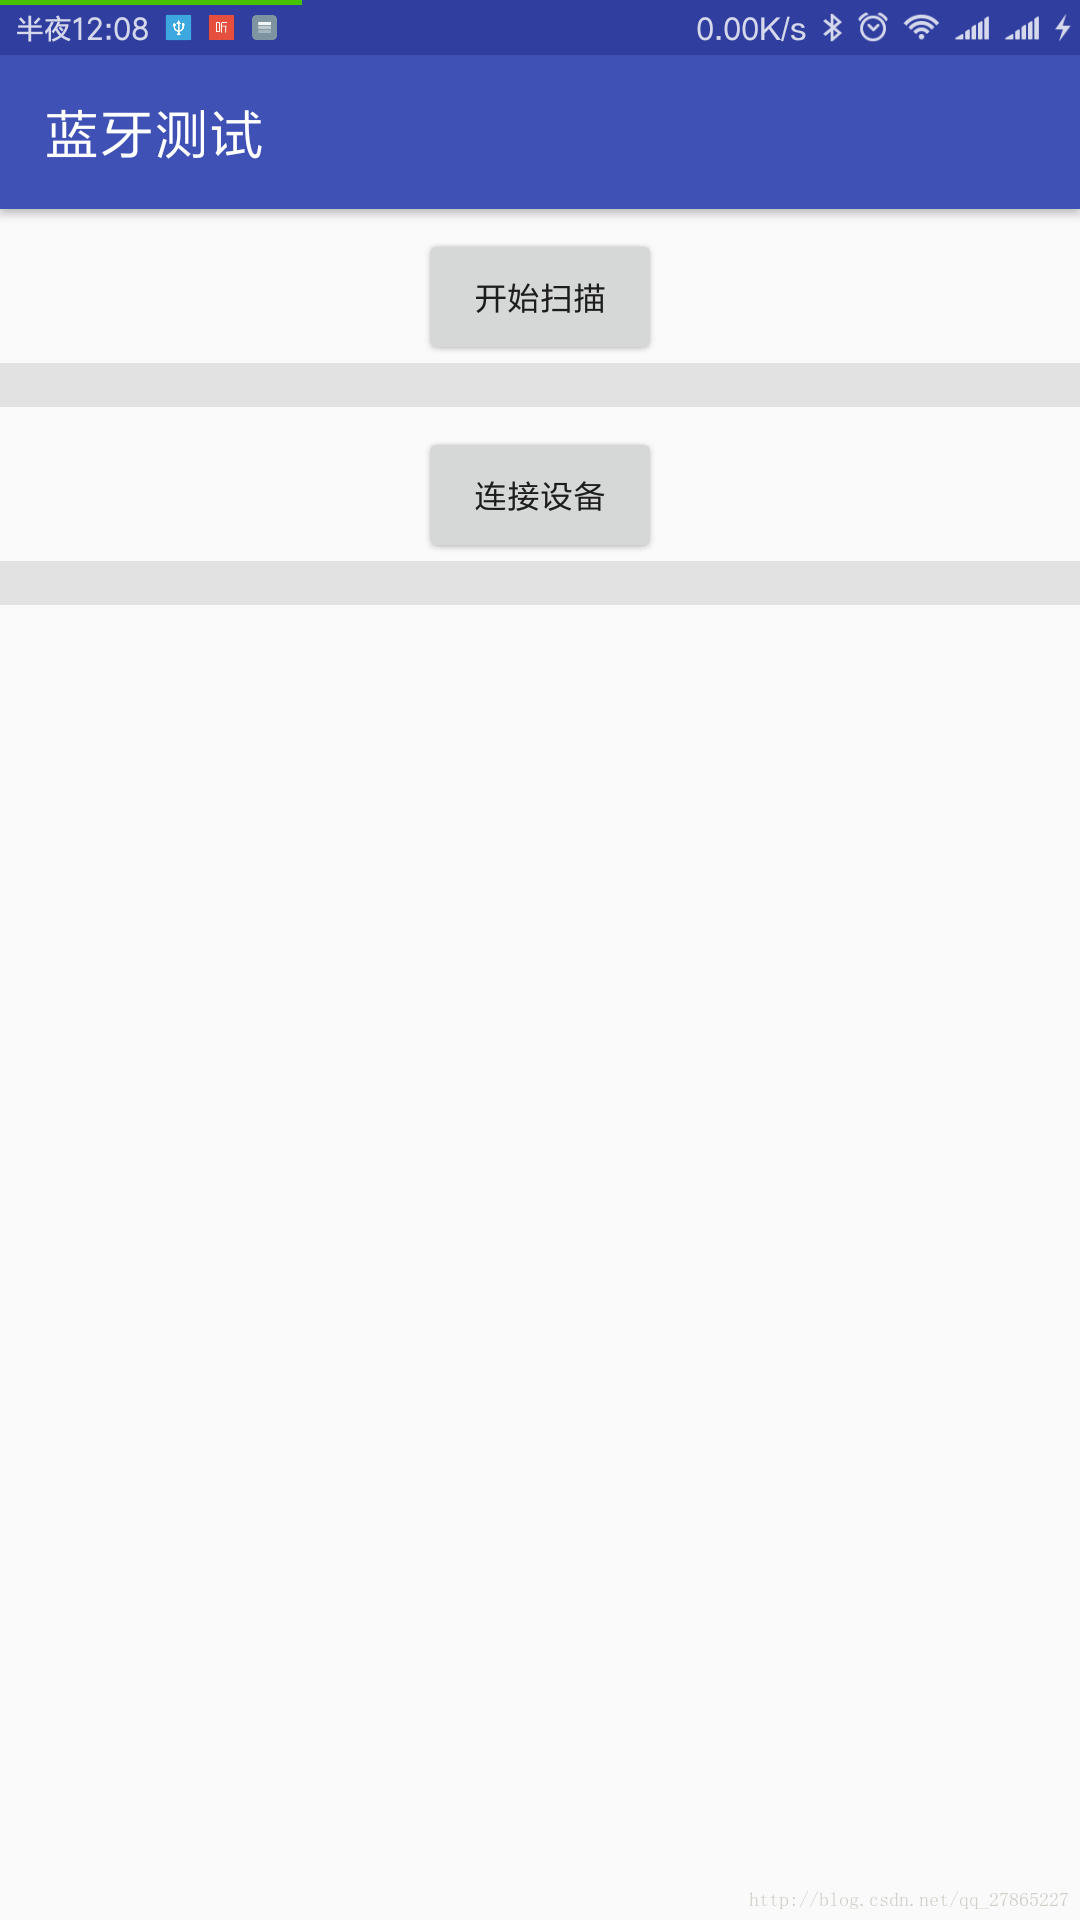
关于低功耗蓝牙的扫描,我总结为三步一坑,接下来我会具体讲解哪三个步骤和哪一个坑。我们这个类的目的就是获取到设备名称和
看下图片先

二、第一步:权限配置
提前说一下:Android5.0以下的小伙伴,我不管,我不管,我不管!
权限配置:AndroidManidest.xml 代码如下
<?xml version="1.0" encoding="utf-8"?>
 <manifest xmlns:android="http://schemas.android.com/apk/res/android"
    package="top.sangxin2016.lanya">
    <uses-permission android:name="android.permission.BLUETOOTH"/>
    <uses-permission android:name="android.permission.BLUETOOTH_ADMIN"/>
    <uses-permission android:name="android.permission.ACCESS_COARSE_LOCATION"/>
    <uses-feature android:name="android.hardware.bluetooth_le" android:required="true"/>

    <application
        android:name=".MyApplication"
        android:allowBackup="true"
        android:icon="@mipmap/ic_launcher"
        android:label="@string/app_name"
        android:roundIcon="@mipmap/ic_launcher_round"
        android:supportsRtl="true"
        android:theme="@style/AppTheme">
        <activity android:name=".MainActivity">
            <intent-filter>
                <action android:name="android.intent.action.MAIN" />

                <category android:name="android.intent.category.LAUNCHER" />
            </intent-filter>
        </activity>
        <activity android:name=".Connection"/>
        <service android:name=".BluetoothLeService"/>
    </application>

</manifest>
<uses-permission android:name="android.permission.BLUETOOTH"/>
    <uses-permission android:name="android.permission.BLUETOOTH_ADMIN"/>
    <uses-permission android:name="android.permission.ACCESS_COARSE_LOCATION"/>
    <uses-feature android:name="android.hardware.bluetooth_le" android:required="true"/>
三、获取权限进行扫面
首先把需要的几个变量定义一下。这几个就是用来管理蓝牙的!
 //蓝牙适配器
    private BluetoothAdapter bleadapter;
    //设备扫描
    private BluetoothLeScanner blescanner;
    //扫描回调接口
    private ScanCallback scanCallback;
    //蓝牙设备
    private BluetoothDevice bledevice;
    //是否找到设备
//动态申请权限
RequestPerission(this,Manifest.permission.ACCESS_COARSE_LOCATION); //获取服务并且初始化bleadapter
BluetoothManager bluetoothManager = (BluetoothManager) getSystemService(BLUETOOTH_SERVICE);//这里与标准蓝牙略有不同
bleadapter = bluetoothManager.getAdapter();
//判断是否能够使用,不能的话进行使能
if (!bleadapter.isEnabled()) {
bleadapter.enable();
}
//初始化scaner,由于版本原因,所以要加一个判断
if (Build.VERSION.SDK_INT >= Build.VERSION_CODES.LOLLIPOP) {
blescanner = bleadapter.getBluetoothLeScanner();
}
//进入状态,准备搜索
    private void initscanbutton() {
        scan_button.setOnClickListener(new View.OnClickListener() {
            @Override
            public void onClick(View view) {
                //开始扫描
                if (Build.VERSION.SDK_INT >= Build.VERSION_CODES.LOLLIPOP) {
                    blescanner.startScan(scanCallback);
                    MyApplication.MyToast("开始扫描");
                    //设置停止时间
                    stopscan(5);
                }
            }
        });
四、回调显示并停止扫描
初始化扫描回调接口
//初始化scanercallback
        if (Build.VERSION.SDK_INT >= Build.VERSION_CODES.LOLLIPOP) {
            scanCallback = new ScanCallback() {
                @Override
                public void onScanResult(int callbackType, ScanResult result) {
                    super.onScanResult(callbackType, result);
                    BluetoothDevice device = null;
                    if (android.os.Build.VERSION.SDK_INT >= android.os.Build.VERSION_CODES.LOLLIPOP) {
                        device = result.getDevice();
                    }
                 //   MyApplication.MyToast("找到了名字是:"+device.getName()+"    地址是"+device.getAddress());


                    //进行盘判断是否是我的设备
                    if(device.getName().equals("sangxin")){
                        //获取设备名字和地址
                        device_name=device.getName()+"";
                        device_adress=device.getAddress();
                        isfindmyudevice=true;
                    }


                    //更新Textview
                    stetext("名字是:"+device.getName()+"    地址是"+device.getAddress());

                }

                @Override
                public void onBatchScanResults(List<ScanResult> results) {
                    super.onBatchScanResults(results);


                }

                @Override
                public void onScanFailed(int errorCode) {
                    super.onScanFailed(errorCode);

                }
            };
定时停止扫描
  //停止扫描
    private void stopscan(final int i) {
        new Thread(new Runnable() {
            @Override
            public void run() {
                try {
                    Thread.sleep(i*1000);
                } catch (InterruptedException e) {
                    e.printStackTrace();
                }

                    MainActivity.this.runOnUiThread(new Runnable() {
                        @Override
                        public void run() {
                            if (Build.VERSION.SDK_INT >= Build.VERSION_CODES.LOLLIPOP) {
                                blescanner.stopScan(scanCallback);
                            }
                        }
                    });

            }
        }).start();
}具体的步骤很简单,先获取到本地的蓝牙适配器BluetoothAdapter,还有低功耗蓝牙扫
描者BluetoothLeScanner,然后调用startScan(ScanCallback callback)方法进行扫描,并开
启线程调用stopScan(ScanCallback callback)进行停止扫描设备。
Manifest源码
<?xml version="1.0" encoding="utf-8"?>
<manifest xmlns:android="http://schemas.android.com/apk/res/android"
    package="top.sangxin2016.lanya">
    <uses-permission android:name="android.permission.BLUETOOTH"/>
    <uses-permission android:name="android.permission.BLUETOOTH_ADMIN"/>
    <uses-permission android:name="android.permission.ACCESS_COARSE_LOCATION"/>
    <uses-feature android:name="android.hardware.bluetooth_le" android:required="true"/>

    <application
        android:name=".MyApplication"
        android:allowBackup="true"
        android:icon="@mipmap/ic_launcher"
        android:label="@string/app_name"
        android:roundIcon="@mipmap/ic_launcher_round"
        android:supportsRtl="true"
        android:theme="@style/AppTheme">
        <activity android:name=".MainActivity">
            <intent-filter>
                <action android:name="android.intent.action.MAIN" />

                <category android:name="android.intent.category.LAUNCHER" />
            </intent-filter>
        </activity>
        <activity android:name=".Connection"/>
        <service android:name=".BluetoothLeService"/>
    </application>

</manifest>
扫描类MainActivity源码
package top.sangxin2016.lanya;

import android.Manifest;
import android.bluetooth.BluetoothAdapter;
import android.bluetooth.BluetoothDevice;
import android.bluetooth.BluetoothManager;
import android.bluetooth.le.BluetoothLeScanner;
import android.bluetooth.le.ScanCallback;
import android.bluetooth.le.ScanResult;
import android.content.Intent;
import android.os.Build;
import android.support.v7.app.AppCompatActivity;
import android.os.Bundle;
import android.view.View;
import android.widget.Button;
import android.widget.TextView;

import java.util.List;

import static top.sangxin2016.lanya.MyApplication.RequestPerission;

public class MainActivity extends AppCompatActivity {
    //扫描按钮结果显示
    private Button scan_button ;
    private TextView showresult;
    //连接按键
    private Button connect_button;


    //蓝牙适配器
    private BluetoothAdapter bleadapter;
    //设备扫描
    private BluetoothLeScanner blescanner;
    //扫描回调接口
    private ScanCallback scanCallback;
    //蓝牙设备
    private BluetoothDevice bledevice;
    //是否找到设备
    private boolean  isfindmyudevice=false;

    //设备名字和地址
    private String device_name;
    private String device_adress;


    @Override
    protected void onCreate(Bundle savedInstanceState) {
        super.onCreate(savedInstanceState);
        setContentView(R.layout.activity_main);
        initview();    //初始化界面
        initble();      //初始化蓝牙
        initscanbutton(); //开始进入准备状态

    }

    @Override
    protected void onDestroy() {
        super.onDestroy();
       // bleadapter.disable();
    }

    //进入状态,准备搜索
    private void initscanbutton() {
        scan_button.setOnClickListener(new View.OnClickListener() {
            @Override
            public void onClick(View view) {
                //开始扫描
                if (Build.VERSION.SDK_INT >= Build.VERSION_CODES.LOLLIPOP) {
                    blescanner.startScan(scanCallback);
                    MyApplication.MyToast("开始扫描");
                    //设置停止时间
                    stopscan(5);
                }
            }
        });

        //传递设备名和设备地址以进行连接
        connect_button.setOnClickListener(new View.OnClickListener() {
            @Override
            public void onClick(View view) {
                if(isfindmyudevice) {
                    Intent intent = new Intent(MainActivity.this, Connection.class);
                    intent.putExtra(Connection.EXTRAS_DEVICE_NAME,device_name);
                    intent.putExtra(Connection.EXTRAS_DEVICE_ADDRESS, device_adress);
                    startActivity(intent);
                }else {
                    MyApplication.MyToast("未找到相关设备");
                }
            }
        });


    }

    //停止扫描
    private void stopscan(final int i) {
        new Thread(new Runnable() {
            @Override
            public void run() {
                try {
                    Thread.sleep(i*1000);
                } catch (InterruptedException e) {
                    e.printStackTrace();
                }

                    MainActivity.this.runOnUiThread(new Runnable() {
                        @Override
                        public void run() {
                            if (Build.VERSION.SDK_INT >= Build.VERSION_CODES.LOLLIPOP) {
                                blescanner.stopScan(scanCallback);
                            }
                        }
                    });

            }
        }).start();
    }

    //初始化bleadapter
    private void initble() {
        //获取服务并且初始化bleadapter
        BluetoothManager bluetoothManager = (BluetoothManager) getSystemService(BLUETOOTH_SERVICE);//这里与标准蓝牙略有不同
        bleadapter = bluetoothManager.getAdapter();
        //判断是否能够使用,不能的话进行使能
        if (!bleadapter.isEnabled()) {
            bleadapter.enable();
        }
        //动态申请权限
       RequestPerission(this,Manifest.permission.ACCESS_COARSE_LOCATION);


        //初始化scaner,由于版本原因,所以要加一个判断
        if (Build.VERSION.SDK_INT >= Build.VERSION_CODES.LOLLIPOP) {
            blescanner = bleadapter.getBluetoothLeScanner();
        }

        //初始化scanercallback
        if (Build.VERSION.SDK_INT >= Build.VERSION_CODES.LOLLIPOP) {
            scanCallback = new ScanCallback() {
                @Override
                public void onScanResult(int callbackType, ScanResult result) {
                    super.onScanResult(callbackType, result);
                    BluetoothDevice device = null;
                    if (android.os.Build.VERSION.SDK_INT >= android.os.Build.VERSION_CODES.LOLLIPOP) {
                        device = result.getDevice();
                    }
                 //   MyApplication.MyToast("找到了名字是:"+device.getName()+"    地址是"+device.getAddress());


                    //进行盘判断是否是我的设备
                    if(device.getName().equals("sangxin")){
                        //获取设备名字和地址
                        device_name=device.getName()+"";
                        device_adress=device.getAddress();
                        isfindmyudevice=true;
                    }


                    //更新Textview
                    stetext("名字是:"+device.getName()+"    地址是"+device.getAddress());

                }

                @Override
                public void onBatchScanResults(List<ScanResult> results) {
                    super.onBatchScanResults(results);


                }

                @Override
                public void onScanFailed(int errorCode) {
                    super.onScanFailed(errorCode);

                }
            };
        }


    }

    private void stetext(final String name) {
        MainActivity.this.runOnUiThread(new Runnable() {
            @Override
            public void run() {
                showresult.append(name+"\n");
            }
        });
    }

    //初始化界面
    private void initview() {
        scan_button = findViewById(R.id.button);
        showresult=findViewById(R.id.textView);
        connect_button=findViewById(R.id.button3);
    }


}
下一篇将会讲连接,这个就很简单了,主要是跨线程通信IPC比较麻烦,
用到了服务。


 446
446


 被折叠的 条评论
为什么被折叠?
被折叠的 条评论
为什么被折叠?
 到【灌水乐园】发言


