


官方github链接:(注意不要和isaac sim的库混淆)
https://github.com/NVIDIA-Omniverse/IsaacGymEnvs
1. 安装
1.1. 本人安装环境
# >>> conda initialize >>>
# !! Contents within this block are managed by 'conda init' !!
# __conda_setup="$('/home/blamlight/anaconda3/bin/conda' 'shell.bash' 'hook' 2> /dev/null)"
# if [ $? -eq 0 ]; then
#     eval "$__conda_setup"
# else
#     if [ -f "/home/blamlight/anaconda3/etc/profile.d/conda.sh" ]; then
#         . "/home/blamlight/anaconda3/etc/profile.d/conda.sh"
#     else
#         export PATH="/home/blamlight/anaconda3/bin:$PATH"
#     fi
# fi
# unset __conda_setup
# <<< conda initialize <<<


# >>> cuda initialize >>>
export PATH=$PATH:/usr/local/cuda/bin
export LD_LIBRARY_PATH=$LD_LIBRARY_PATH:/usr/local/cuda/lib64
export LIBRARY_PATH=$LIBRARY_PATH:/usr/local/cuda/lib64
# <<< cuda initialize <<<


# >>> isaacgym initialize >>>
export LD_LIBRARY_PATH=$LD_LIBRARY_PATH:/home/blamlight/anaconda3/envs/isaacgym/lib
# <<< isaacgym initialize <<<


# >>> mujoco initialize >>>
export LD_LIBRARY_PATH=$LD_LIBRARY_PATH:/home/blamlight/.mujoco/mujoco-3.0.1/bin
# export LD_LIBRARY_PATH=$LD_LIBRARY_PATH:/home/blamlight/.mujoco/mujoco210/bin
export LD_LIBRARY_PATH=$LD_LIBRARY_PATH:/usr/lib/nvidia
export LD_PRELOAD=/usr/lib/x86_64-linux-gnu/libGLEW.so
# <<< mujoco initialize <<<


# >>> ocs2 initialize >>>
export LD_LIBRARY_PATH=$LD_LIBRARY_PATH:~/ROS1_WS/ocs2_ws/src/raisimLib/raisim/linux/lib
export PYTHONPATH=$PYTHONPATH:~/ROS1_WS/ocs2_ws/src/raisimLib/raisim/linux/lib

export PATH=/opt/openrobots/bin:$PATH
export PKG_CONFIG_PATH=/opt/openrobots/lib/pkgconfig:$PKG_CONFIG_PATH
export LD_LIBRARY_PATH=/opt/openrobots/lib:$LD_LIBRARY_PATH
#export PYTHONPATH=/opt/openrobots/lib/python3.10/site-packages:$PYTHONPATH # Adapt your desired python version here
export CMAKE_PREFIX_PATH=/opt/openrobots:$CMAKE_PREFIX_PATH
# <<< ocs2 initialize <<<


alias src='source ~/.bashrc'
alias initconda='. ~/anaconda3/bin/activate'
alias deconda='conda deactivate'

alias myisaac='. ~/anaconda3/bin/activate && conda activate isaacgym'
alias mymujoco='. ~/anaconda3/bin/activate && conda activate mujoco'
alias myocs2='. ~/anaconda3/bin/activate && conda activate ocs2'


echo "ros noetic(1) or ros2 foxy(2)?"
read edition
if [ "$edition" -eq "2" ];then
  source /opt/ros/foxy/setup.bash
  source ~/ROS2_WS/catkin_ws/install/setup.bash
  echo "source ros foxy"
else
  source /opt/ros/noetic/setup.bash
  source ~/ROS1_WS/blamlight_ws/devel/setup.bash
  source ~/ROS1_WS/unitree_ws/devel/setup.bash
  source ~/ROS1_WS/ocs2_ws/devel/setup.bash
  source ~/ROS1_WS/go1_ocs2_ws/devel/setup.bash
  echo "source ros noetic"
fi

export ROBOT_TYPE=go1
1.2. 安装说明
根据官方github步骤克隆工作区,但是不建议使用bash文件创建conda环境。可以直接自定义一个anaconda环境。
使用python3.7。
使用pip安装环境。使用conda安装环境可能出现该错误:
出现 错误代码:... undefined symbol: free_gemm_select, version libcublasLt.so.11(3090显卡)-CSDN博客
Previous PyTorch Versions | PyTorch
pip install torch==1.8.1+cu111 torchvision==0.9.1+cu111 torchaudio==0.8.1 -f https://download.pytorch.org/whl/torch_stable.html2. 测试环境
开始训练ant模型:如果想要查看效果可以headless=False
python train.py task=Ant headless=Trueheadless=True大约2分钟训练完。

查看训练结果:
python train.py task=Ant checkpoint=runs/Ant_26-21-14-55/nn/last_Ant_ep_500_rew__6816.49_.pth test=True num_envs=64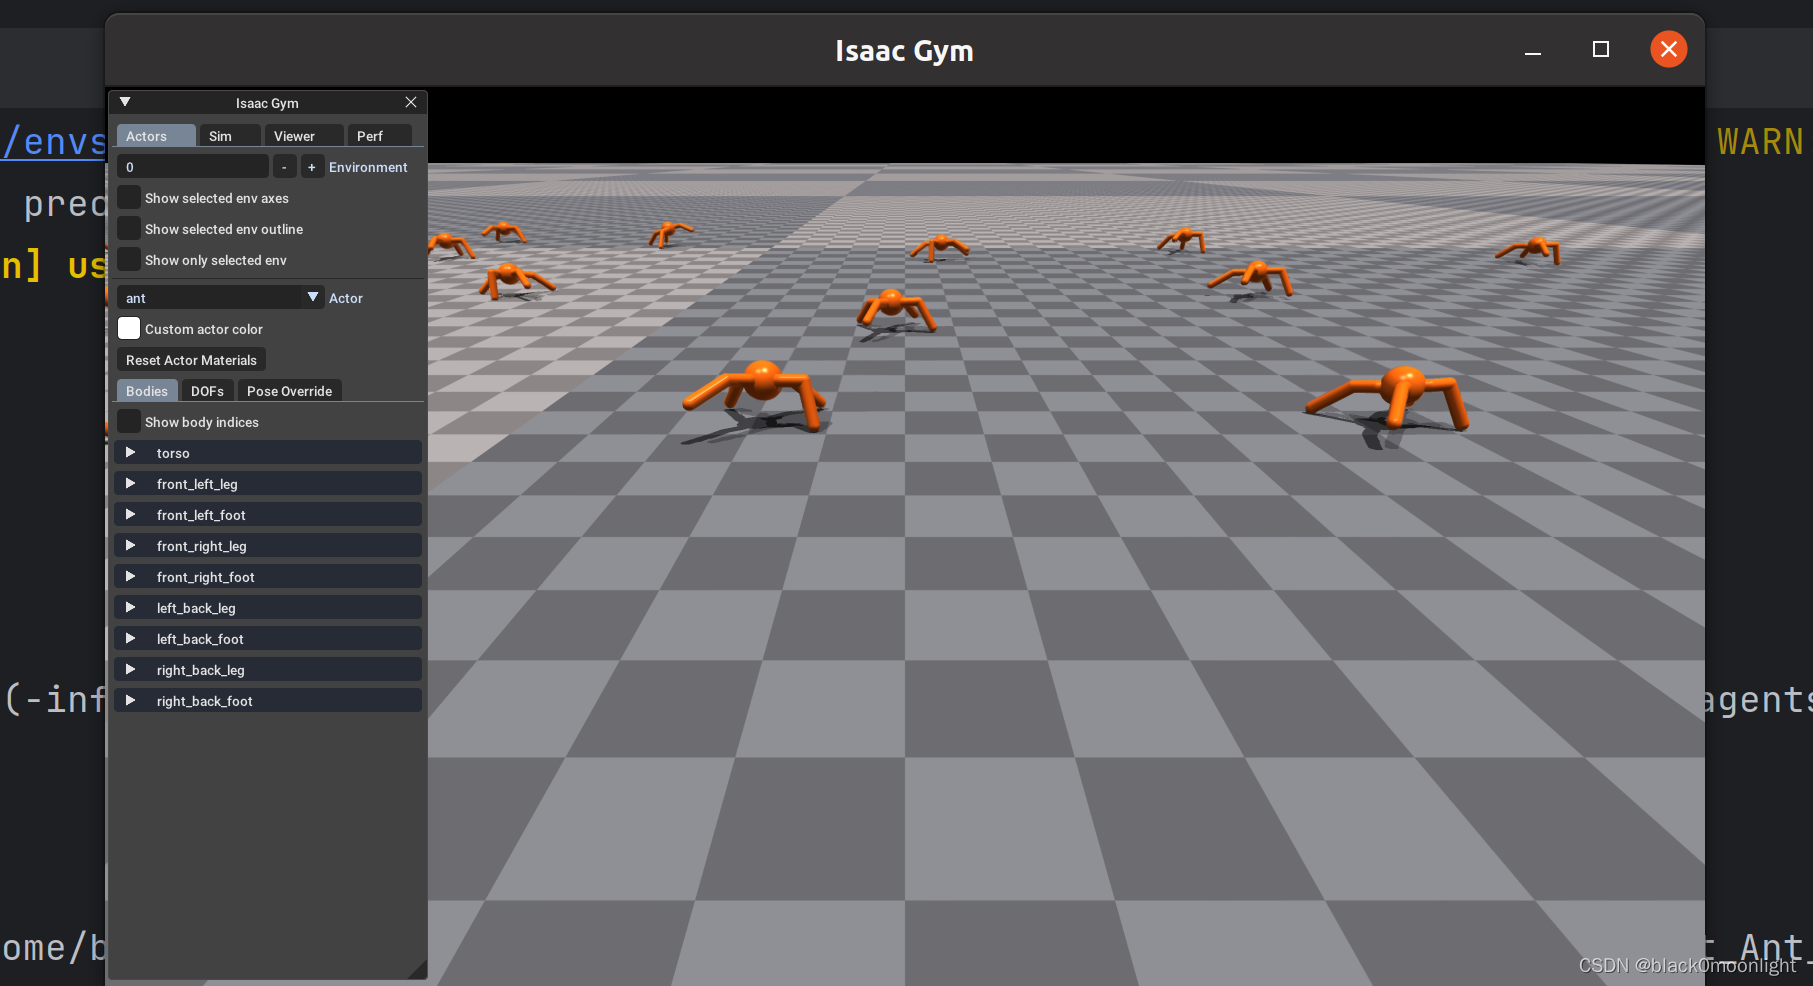
其中的参数参考:
https://github.com/NVIDIA-Omniverse/IsaacGymEnvs
Key arguments to the train.py script are:
task=TASK- selects which task to use. Any ofAllegroHand,AllegroHandDextremeADR,AllegroHandDextremeManualDR,AllegroKukaLSTM,AllegroKukaTwoArmsLSTM,Ant,Anymal,AnymalTerrain,BallBalance,Cartpole,FrankaCabinet,Humanoid,IngenuityQuadcopter,ShadowHand,ShadowHandOpenAI_FF,ShadowHandOpenAI_LSTM, andTrifinger(these correspond to the config for each environment in the folderisaacgymenvs/config/task)train=TRAIN- selects which training config to use. Will automatically default to the correct config for the environment (ie.<TASK>PPO).num_envs=NUM_ENVS- selects the number of environments to use (overriding the default number of environments set in the task config).seed=SEED- sets a seed value for randomizations, and overrides the default seed set up in the task configsim_device=SIM_DEVICE_TYPE- Device used for physics simulation. Set tocuda:0(default) to use GPU and tocpufor CPU. Follows PyTorch-like device syntax.rl_device=RL_DEVICE- Which device / ID to use for the RL algorithm. Defaults tocuda:0, and also follows PyTorch-like device syntax.graphics_device_id=GRAPHICS_DEVICE_ID- Which Vulkan graphics device ID to use for rendering. Defaults to 0. Note - this may be different from CUDA device ID, and does not follow PyTorch-like device syntax.pipeline=PIPELINE- Which API pipeline to use. Defaults togpu, can also set tocpu. When using thegpupipeline, all data stays on the GPU and everything runs as fast as possible. When using thecpupipeline, simulation can run on either CPU or GPU, depending on thesim_devicesetting, but a copy of the data is always made on the CPU at every step.test=TEST- If set toTrue, only runs inference on the policy and does not do any training.checkpoint=CHECKPOINT_PATH- Set to path to the checkpoint to load for training or testing.headless=HEADLESS- Whether to run in headless mode.experiment=EXPERIMENT- Sets the name of the experiment.max_iterations=MAX_ITERATIONS- Sets how many iterations to run for. Reasonable defaults are provided for the provided environments.
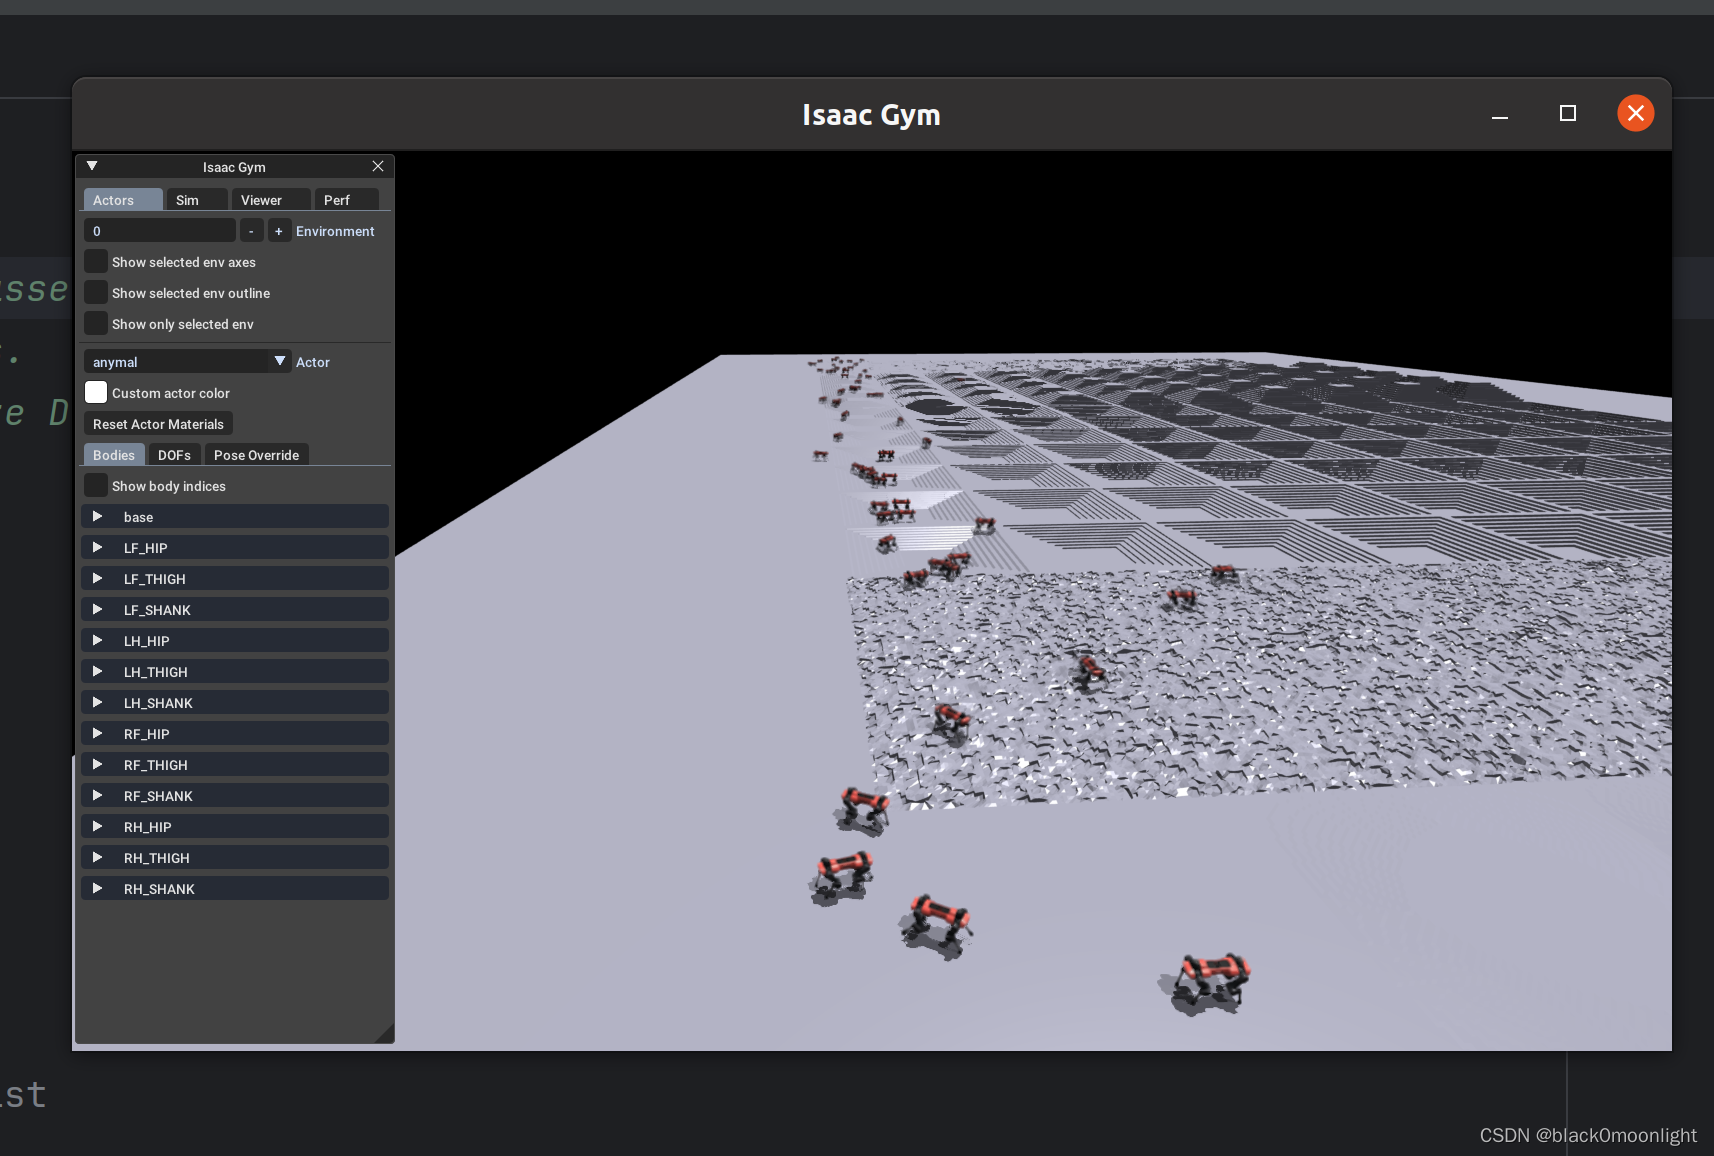
参考多机器狗在复杂地形的并行训练示例:
https://github.com/NVIDIA-Omniverse/IsaacGymEnvs/blob/main/docs/rl_examples.md
先启动conda环境,然后进入 IsaacGymEnvs/isaacgymenvs文件夹,可以看到train.py。
python train.py task=AnymalTerrain headless=HEADLESS使用headless模式约15分钟可以训练完。
查看训练好的模型:(修改模型名字)
python train.py task=AnymalTerrain test=True checkpoint=runs/AnymalTerrain_17-22-41-07/nn/last_AnymalTerrain_ep_1500_rew__19.45_.pth num_envs=64


 2214
2214

 被折叠的 条评论
为什么被折叠?
被折叠的 条评论
为什么被折叠?
 到【灌水乐园】发言


